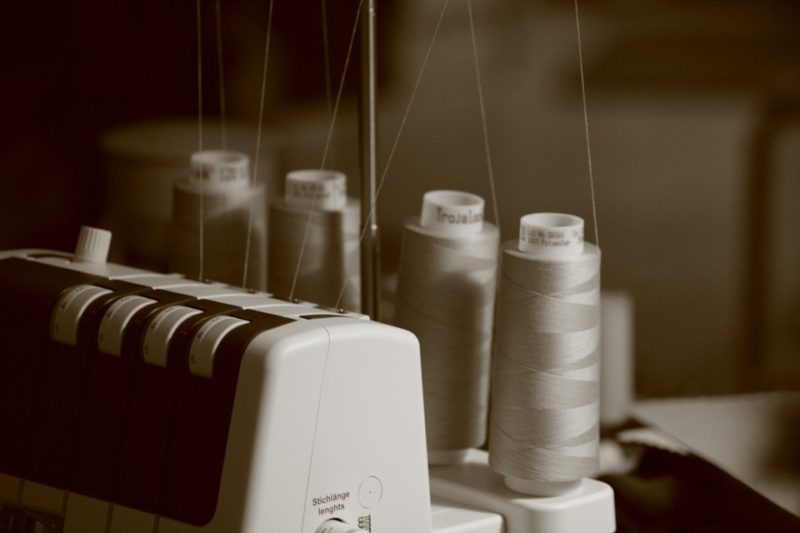
If you want to learn how to use serger sewing machine, we simplified it into three steps. First, we’ll talk about its setup, and you’ll also know more helpful tips regarding its usage. You will even find out various things to do with a serger.
But first, what is a serger sewing machine? We wrote a separate article regarding this machine. It would be best that you read it as well to use it more efficiently.

How To Use Serger Sewing Machine Properly
Step 1. Set up the serger
- Turn off the serger sewing machine
- Read the model’s manual to thread the machine in the correct order
- The diagram on the manual will show how to thread four spools of thread, typically used by sergers since two thread spools are for looping and two thread spools are for the needles
- Determine where the upper looper is and set a thread spool on its spindle
- Pull the upper looper thread up and through the loops under the faceplate according to the color codes
- To thread the lower looper, place the second thread spool on its spindle and have it to the front of the unit
- Use the remaining thread spools for the threads accordingly
Step 2. Make the adjustments
- Turn the serger on and adjust the tension according to the project and material
- Set the tension for each spool, with the recommended tensions seen on the manual
- Set the serger to the stitch you need
- Make a practice stitch so you can see a looped thread
- Check if the looped thread is not too loose or too tight
Step 3. Practice serging
- Lift the presser foot and needles via the presser foot lever and needle dial
- Lift the practice thread up and back, then place a piece of scrap fabric for practicing underneath the presser foot and needles
- Lower the presser foot and needles
- The seam allowance numbers are usually at the right of the needle in the serger, so you can cut the edge of the material by pushing the fabric to the blade
- Practice sewing and control the speed of the serger using the foot pedal
- Continue sewing at the end of the seam
- Tuck the tail of stitches under and hand sew
What Can You Do With A Serger Sewing Machine?
A serger sewing machine is most commonly used for finishing the seams of sewing projects. However, it can also trim the excess seam allowance for you and overcast the material’s edge so that you can save time sewing. You can even use the serger to fix torn seams of sewing projects, make garments, decorating projects, insert elastics, finish the hem or add detail such as ruffles to projects.
- Finish seams quickly and neatly, even on knitted fabrics
- Sergers with coverstitching features can be used for complex thread patterns, hem shirts, attach elastics, and make decorative seams
- Gather fabrics for decors and garments
- Change the cutting width to make rolled hems for napkins and garments to make them look better
- Adjust the differential feed according to various projects to avoid puckering or difficulties in hemming
- Make chain stitches to decorate garments
- Make flatlock seams for elastic materials
Can I Use A Serger For Regular Sewing?
You can use a serger for regular sewing and finish a sewing project, but there will be limitations. Remember that an actual sewing machine offers various stitches, functions for buttonholes, and zippers, which are some examples of what you cannot do with a serger.
Is It Hard To Use A Serger?
It can be hard to use a serger for the first time because you need to get used to its speed. Even slight pressure on the foot control can make the serger too fast, and you risk cutting your fabric or sewing on the wrong part of the fabric. Furthermore, remember that sergers can’t backstitch.
Always leave long tails but never backstitch, or you might cut the chains near the end of the fabric. Sergers also have two different feed dogs. Remember to adjust the ratio between the two according to your project to avoid issues with the results.
You can also read this article on what is serging in sewing to understand the stitches made by a serger.
Can A Serger Sew A Straight Stitch?
You can’t do a straight stitch with a serger, which is why it can’t be a standalone machine when doing projects. Instead, it can only do overlock and mock overlock stitch, blind hem stitch, and mock flatlock stitch. A serger won’t also do a zigzag stitch or embroidery stitches that a sewing machine can.
So is it worth it to get a serger if you already have a sewing machine? The answer is yes if you’re working on many projects that would need to be done quickly. However, its limitation in stitches means you can’t replace a sewing machine with it.
Conclusion
Was this article helpful? To recap how to use serger sewing machine, you’ll start by setting it up then make the adjustments necessary for the project. Don’t forget to practice as well to help you get used to the unit.
Let us know below if you’ve used a serger below. You can also browse our blog for other sewing-related tips and tutorials.
