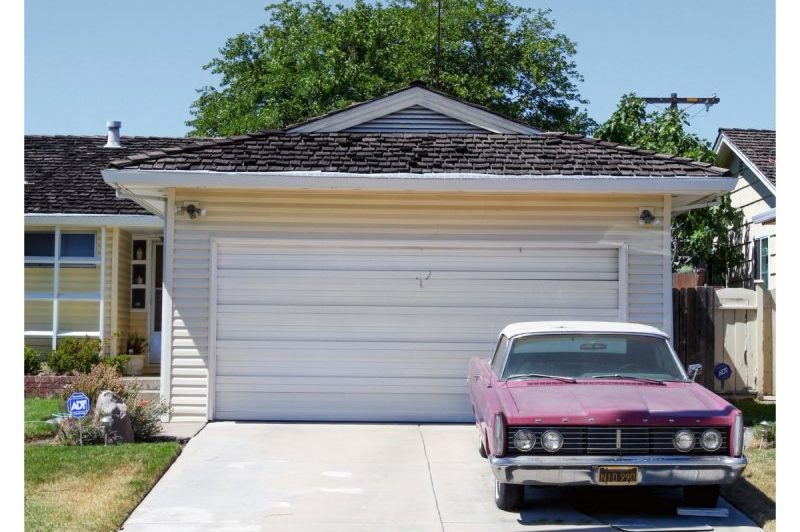
Do you want to know how to turn a carport into a garage?
Don’t you worry; the steps are very simple to execute. I’m sure it will be easier for you.

All you need are some tools, and your time, of course.
But then, you should bear this in mind:
Know the difference between a carport vs. a garage.
So, according to the enclosure, the former is not entirely closed while the latter is otherwise.
Basically, a carport is still a garage, but it doesn’t have walls, as well as openings designed for windows or doors.
So what does that mean?
It only shows that you need to enclose the carport so it will turn into a garage.
Oh, wait! Before you decide to do so, check your local rules and regulations on whether or not you’re still required to obtain a permit for renovation (for converting your carport into a garage).
Are you ready and excited to know the steps?
Just read on!
Steps On Converting A Carport Into A Garage
The steps on how to turn a carport into a garage are straightforward. Make sure to follow each step religiously.
Here are the following:
Step #1. Plan ahead
It’s advisable to ask help from a pro to make the blueprint for you.
Hiring an expert means that you can just get the entire layout of the garage, including its openings (for windows and doors).
In case the location is near the property of your neighbor, you may need to seek help from a land surveyor.
Equally important is that you have to follow the setback distances required by your municipality.
Step #2. Prepare the things needed
In converting your carport to a garage, you don’t need to make a foundation in such a way that you have to dig it.
However, you should make sure of the ground’s stability. Not only that, but you also have to check if there’s an excellent draining system made for the gutters.
After that, there’s a need for you to remove the cover of the carport’s columns and joists, and the soffit, as well.
If the carport comes with a covering on the ceiling, then you can just keep it. Anyway, you can make changes if you want to.
Step #3. Time to erect the walls
Now, it’s time for you to build the wall frames and bottom plate. Preferably, you can use pressure-treated wood.
Take note of this:
Cover the bottom plate with a polyethylene sheet. Through this, you’re ensured of damp proofing.
You may be curious why it has to, and it’s because it’s the base, which means that it will come in contact with the ground.
How about the wall framing?
You can fasten the top to the structure while the sides to the columns.
Take note:
The frame should be enclosed with fiberboard or particleboard and an air barrier membrane.
Step #4. Install the windows and doors
As mentioned earlier, you should have a plan, and that includes where you will be placing the opening for the windows and doors.
This process may depend upon the product you used. It is recommended to check on the instructions from the manufacturer.
Step #5. Make the garage door
Before you make the door, you have to think about this:
See to it that the threshold of the door has a sufficient slope; this is to permit proper water drainage towards the street.
Well, there are lots of garage doors that you can find in the market. Just make sure you opt for the cheapest yet with the highest quality.
Step #6. Make the insulation
After installing the windows and doors, it’s time for you to insulate the garage.
I tell you- wall insulation is a pretty smart investment; it prevents heat loss.
Preferably, use the wool batt insulation, being sustainable, renewable, and all-natural.
All you have to do is to put the insulation between the studs of the wood. You can also add a vapor barrier.
Then, place the furring strips, according to the interior finish you opt for, and the vinyl siding or drywall.
If possible, you can insulate the ceilings too.
Step #7. Time for the exterior finish
There are varying choices for your garage’s exterior finish. It all depends upon your preference.
But, it’s a good idea to match it with your home’s current exterior.
The same is true with your roofing. You can also match the roof of your garage to the color of the shingles of your house.
Then, you can decorate further moldings or some other features to give it a more stylish look.
Conclusion
The steps on how to turn a carport into a garage are very easy; you just have to follow them religiously.
You can opt to do it yourself, but it’s best to hire experts, especially when it comes to planning the blueprint, and of course, if it requires a land surveyor.
Plan ahead to have an excellent result. You can either match the color and design of your new garage with your house.
Anyway, the discretion still lies to you in the end.
Good luck!
