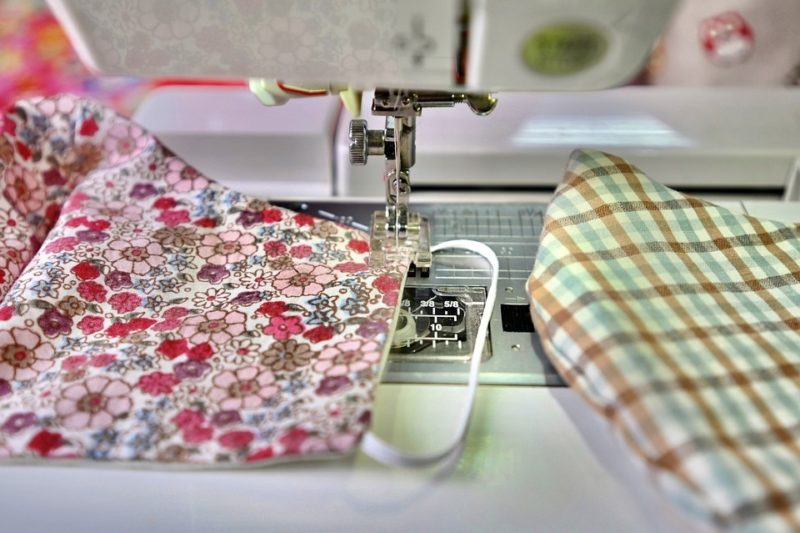
We simplified how to topstitch with a sewing machine into two steps. You’ll learn about the proper way to set up the sewing machine and sewing itself. We’ll also include tips about topstitching to do it perfectly each time.
Other than topstitching, do you know how to stitch in the ditch with a sewing machine? You can learn various sewing techniques, and we have multiple tutorials as such.

How To Topstitch With A Sewing Machine Easily
Step 1. Set the machine
- Set the sewing machine to straight stitch or even decorative ones like the zigzag stitch
- Use a long stitch setting such as 3 for added decorative interest
- Reduce the sewing machine tension to 4
Step 2. Start sewing
- Prepare the seam and fold it under if you need to topstitch along the edge
- Put the fabric under the sewing machine right side up
- Lower the presser foot and keep it level by putting a scrap fabric as thick as the garment behind the needle when doing the beginning of the seam
- Gently press on the pedal to sew slowly and prevent puckering
- Keep the fabric smooth as you sew, and when sewing a bulky intersection, put the scrap fabric behind the needle again or under the back of the presser foot like you did at the beginning of the seam
- Do not backstitch at the end or beginning of the stitches; instead, make three stitches in the same place on the row end to keep the stitching from unraveling
- Since you don’t backstitch, knot the thread tails or bury them between the fabric layers to secure your stitches
- To bury the thread ends, leave about 6 inches of thread tail and thread each tail for hand sewing
- Insert the threaded needle through the layer facing you and exit an inch away
- Cut the thread close to the material and repeat on the other tail
- To knot the thread ends, pull the bobbin thread tail and bring the upper thread loop to the back
- Tie the two thread ends as close as possible to the fabric and trim the excess
- Press the topstitching to finish
How Do You Topstitch Accurately?
- Draw a pattern to plan where you want to topstitch
- Mark the areas where intersections will happen to know when pivot or start each line
- Use a topstitching needle on the sewing machine
- Use a seam guide with the sewing machine to ensure straight stitching lines
- Use the proper walking foot to keep fabric layers from shifting when sewing
- Use water-soluble fabric glue to close a seam before sewing
How Do You Topstitch A Curve?
- Make cuts along the curved seam allowance to prevent the fabric from puckering
- Cut triangular notches into the seam allowance of curves that go out to reduce bulk
- Cut towards the stitching on the curves that go in to allow a stretch
- Plan how you will work through the turns and curves of the fabric edge so you’ll know when to pivot or start each line of stitches
Read about what causes fabric puckering when sewing for more tips.
What Thread Should I Use For Topstitching?
Choosing the proper thread when topstitching is crucial for contrast, blending, or added texture. A regular weight sewing thread is applicable for those who want the stitches to blend into the project or when working on lightweight materials. You can also add interest by using two strands of this thread with an additional spool pin and threading them together in the needle eye.
However, if you’re sewing heavyweight fabrics, you want a topstitching thread for stability that won’t break as quickly.
What Is The Difference Between A Topstitch And A Straight Stitch?
A topstitch can be a straight stitch, but it is also a decorative stitch that you put around the edge of the project. It can also close the seams, gaps, and hold facings other than adding decorative interest to the fabric. On the contrary, the straight stitch is a basic stitch made in a straight line.
Why Does My Topstitch Look Wrong?
Wrong needle or thread
Familiarize yourself with different sewing needles and threads. The needle must be sharp enough for your material as it might leave a hole or snag the fabric and affect the stitches. A blunt needle should also be replaced, or you might see skipped stitches.
As for the thread, its color and weight will affect what the stitches will look like. If you want visible topstitching, select a heavier thread but still compatible with your fabric. You can also opt for a color contrast with your material.
Wrong presser feet
The type of presser feet can affect the appearance of your top stitches. You can get more accurate results with a presser foot with vertical guides. You can also use a straight stitch foot because it can produce better stitches if you’re sewing in the center needle position.
Incorrect tension
Make sure to set your sewing machine tension correctly. It should be compatible with your fabric type. You can always practice sewing on scrap fabric to know what tension adjustments are necessary.
Conclusion
And that’s it! You just learned how to topstitch with a sewing machine, where it’s essentially setting the machine to straight or other decorative stitch and then sewing slowly without backstitching. We hope you also remembered our tips to get the perfect top stitches for your project.
If you have more questions about this guide, leave us a comment below.
