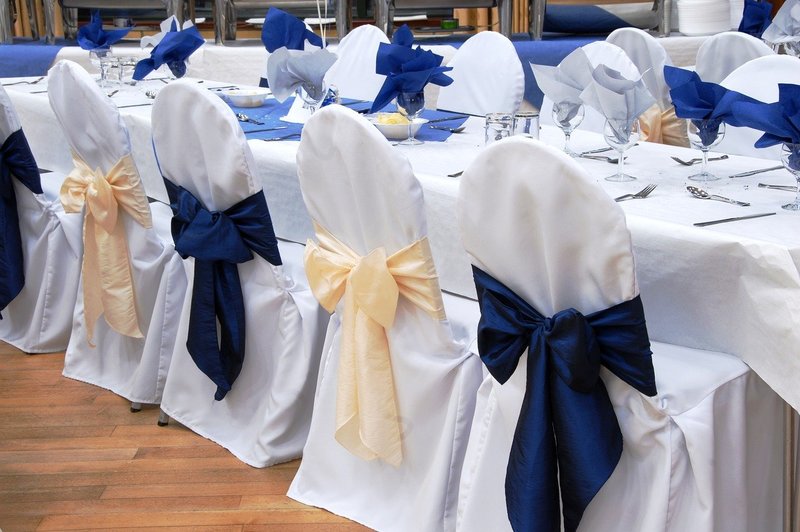
In this article, you’ll be able to learn how to tie a bow on a chair. Tying bows on a chair is a great way to level up the ambiance of your event.
There are countless ways and some complicated ones, but this article will provide the easiest ways for you to do it, even when you have to host a last-minute event!

What Are The Materials Needed?
Before you make your creative bows on your chair, you’ll need the following materials. If you have these materials set, then you’re good to go!
- Lace ribbon (4 inches)
- Hot glue gun with glue sticks
- Wired Burlap in any color that you prefer (4 inches)
How to Make A Simple Chair Bow
Step #1. Cut the burlap and lace to length
Common burlaps come in 10-yard rolls. It would be better if you cut about 3 yards for each bow that you will make. To match the length of the Burlap, you need to cut the lace ribbon with the same length as the Burlap.
Note: The length can also vary depending on the chair’s back width that you have right now.
Step #2. Glue the burlap and lace together
Set the ribbon on a flat surface. When you start from one end, apply hot glue on the lace ribbon to the burlap ribbon.
Be careful not to let the lace clamp up too much hot glue — it should be flat against the Burlap. We suggest that you spot the glue for every 6 inches or so.
Step #3. Tie the bow around the chair
When you’re done setting the glue to set the Burlap and lace together, you can start tying your bow to the chair. If you’re about to tie a bow to your chair, you need to hold the ribbon securely whenever you tie the bow.
Wrap the ribbon around the chair with the height you prefer and how you want it to be placed. The next thing that you will be doing is to tie a single knot and make two loops with the ribbon holding one loop in each hand.
Then you’ll have to take the loop in the right hand, cross it around the left hand clockwise, and then bring it to the back part to create your bow.
Note: You can size up the bow depending on your preference.
Step #4. Trim the ends to length
When you accomplish the first three steps, you need to trim the ribbon hanging down to your preferred length.
How can I give my bow a nice classy look for my chair?
If you want a nice upgrade, we have provided you with a list that you might want to try to your bow.
Turn a standard bow into a double-loop bow for a fancy twist
Create a customary-looking bow, then try to adjust the tails and loops so that the tails are long and the loops are small. Next, you’ll need to fold each tail into a loop.
Then, tie them so that you can make a second bow. Remember the size of the new loops so that they have the same size as the first set of bows.
Create a single-loop bow for a unique look
Start to tie a bare bow. Instead of folding both of the tail loops, but just one of the tails. The next thing you’ll do is cross the looped tail over the straight tail, and then you have to pull the loop upward through the hole.
Next, tighten the knot. Then, you’ll need to adjust the size of the loop so that it is a little taller than it is wide.
Note: Make sure that the loop is oriented vertically, and it should be pointed straight up.
Dress up your bow with a brooch, flower, or ornament
It would be best if you chose a medium-sized brooch or ornament that is the same as the knot on your bow or tie. Pin the material through the knot, then adjust the loops or tails of the bow.
Note: Make sure that the brooch, flower, or ornament you’re using fits well with the bow as well as the rest of the decor. Be sure of your materials by hot-gluing silk flowers or fancy accessories to flat-back safety pins.
Add a sash slider buckle before you tie the last knot for a classy look
If you want to have another way of looking fancy, you can wrap a sash around the chair and tie a single knot. You have to weave one of the tails through a fancy buckle.
Then, slide the buckle to the knot, next, tie the tails into a double knot or a bow. You have to be sure that the buckle is in front of the knot.
Conclusion
You’ve reached the end of the article on how to tie a bow on a chair. We are delighted that we helped you upgrade your bow by switching out the materials for something more unique. We hope that your chairs look amazing!
