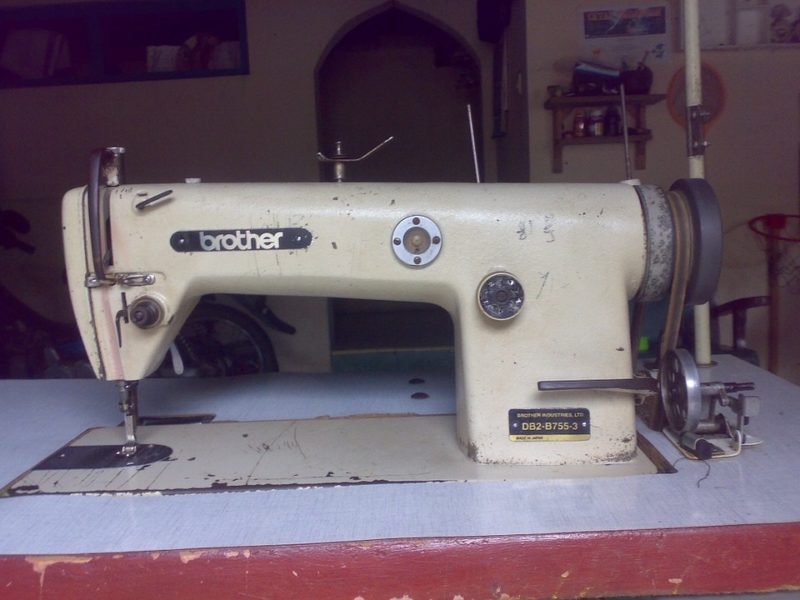
Those who want to know how to thread a bobbin on a Brother sewing machine can do so in four steps. This article will discuss the process according to Brother’s manual. You’ll also learn basic setup instructions of bobbins in Brother sewing machines.
For additional information, read our tutorial on how to thread a Brother sewing machine. It would help you to know how to thread your unit to ensure that it will perform well without issues.

How To Thread A Bobbin On A Brother Sewing Machine Correctly
Step 1. Place the thread spool on the machine
- Read and study the manual of the specific Brother sewing machine model you have
- Prepare the bobbin that is included with your sewing machine to avoid issues
- Place the thread spool on the spool pin
Step 2. Thread the guide and pre-tension disk
- Have the thread through the guide and under the pre-tension disk
- Pull the thread completely
- Pass the thread in the designated groove toward you and through the bobbin hole
Step 3. Install the bobbin
- Place the bobbin in the winder shaft and secure it in place by turning the bobbin clockwise
- To ensure the correct bobbin installation, the bobbin notch and shaft projection must be aligned with each other
- Pull at least three inches of thread from the bobbin hole
- To ensure smooth winding, it’s crucial that you pull enough thread and you’re holding it taut
Step 4. Wind the bobbin
- Turn on the Brother sewing machine
- Press the foot controller gently to wind the bobbin
- Stop the sewing machine and trim the excess thread on the bobbin
- Leave at least half an inch of thread from the bobbin hole
- If you notice the thread tangling around the bobbin, it must be from not cutting the excess thread before you wind it
- When the bobbin spins slowly, it indicates that it is full, and you can remove your foot from the controller
- Cut the thread and remove the bobbin
How Do You Load A Bobbin On A Brother Sewing Machine?
- Refer to the manual of the specific Brother sewing machine you have
- Switch the unit off and raise the presser foot lever and needle
- Slide and lift the bobbin cover towards you to remove it and place the bobbin in
- Check if the thread comes out according to the arrow direction to avoid breaking the needle or getting the wrong thread tension
- Hold the bobbin down gently and guide the thread to the designated slit shown in the manual’s diagram
- Pull the thread with your other hand and cut the thread with the machine’s cutter
- Return the bobbin cover and secure it in place by putting the projection into the retainer groove of the bobbin race
- If you notice incorrect thread tension with your Brother sewing machine, check if you correctly inserted the thread through the bobbin case
Read these general instructions on how to put a bobbin in a sewing machine for more helpful tips.
How To Wind A Bobbin On A Brother Sewing Machine
- Place the bobbin on its winder shaft and slide the parts to the right
- Turn the bobbin clockwise, so the projection lands in the bobbin notch
- Pull out four inches of thread taut from the bobbin hole to prevent incorrect winding
- Turn the Brother sewing machine on but make sure your foot is not on the controller
- Hold the thread end and press the foot controller with slight pressure to wind the bobbin
- Wind the bobbin a couple of times before stopping the sewing machine
- Trim and leave around half an inch of thread from the bobbin hole
- To remove the bobbin, slide the winder shaft to the left
- Turn on the sewing machine and expect a clicking noise after you wound the bobbin
- If the needle bar doesn’t move, check because the winder shaft might be on the right
Why Is My Brother Sewing Machine Not Picking Up Bobbin Thread?
- Upper thread tension is too tight
- Incorrect or damaged needle
- Improperly installed needle
- Thread and needle are incompatible with your fabric
- Damaged needle plate or presser foot
- Incorrect bobbin
- Bobbin is not wound properly
- Dirty needle plate or bobbin case
How Do I Get My Sewing Machine To Pick Up The Bobbin Thread?
- Turn off the Brother sewing machine
- Reset the upper thread tension to the standard-setting to ensure that it’s not too tight
- Rethread the sewing machine in case it’s not threaded properly
- Use the correct and damage-free needle
- Reinstall the needle securely and ensure that you thread it front to back
- Check if your thread and needle are suitable for the fabric
- Replace the needle plate or presser foot if it has scratches around the hole
- Wound and install the bobbin properly
- Check if the bobbin case has scratches or if you’re using the correct bobbin
- Clean the bobbin case and needle plate of lint or learn how to clean a sewing machine
Conclusion
Was this article helpful? We just discussed how to thread a bobbin on a Brother sewing machine, and it starts by placing the thread spool and threading the guide. Winding and installing the bobbin afterward is also quite straightforward.
Overall, setting the bobbin on your Brother unit is a quick and easy task. Just check the manual of the specific model you have for more helpful illustrations.
