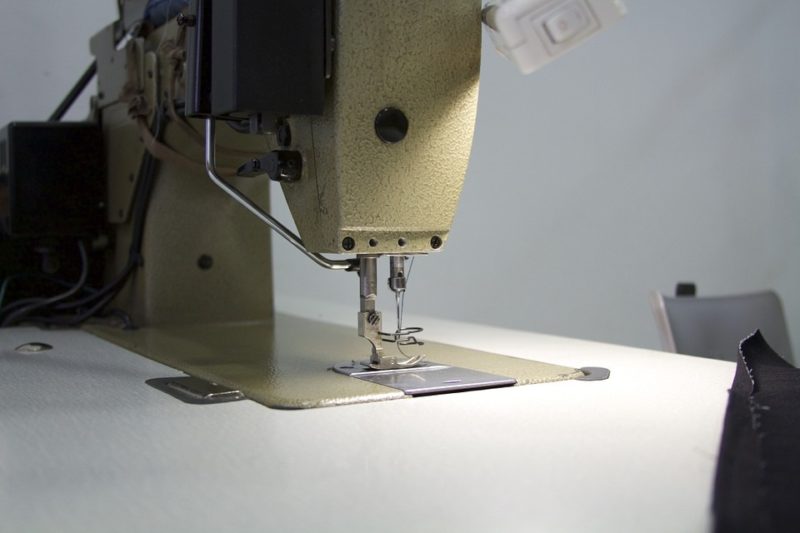
It’s easy to learn how to take apart a Husqvarna sewing machine because it’s only two steps. However, what’s fantastic with this guide is we’ll even share troubleshooting techniques for your unit. In addition, you’ll also know basic maintenance practices for this brand.
We also recommend that you read about how a sewing machine works. Understanding the mechanism of this invention will help you get familiar with its parts and the overall function of the unit. Feel free also to browse our blog for everything sewing machine-related.

How To Take Apart A Husqvarna Sewing Machine Yourself
Step 1. Remove the Husqvarna sewing machine covers
- Make sure that the Husqvarna sewing machine is off and unplugged from the power source
- Study the manual of the specific unit you have
- Press the hinges at the top to detach the visor
- Some models have covers that you’ll need to unscrew
- Loosen the screw on the back panel and lift it out
- Unscrew the bottom of the sewing machine
- Remove the stitch selector
Step 2. Dismantle the sewing machine one area at a time
- After removing the top visor, remove the needle plate via the pressure foot
- Keep the small pieces and hardware organized
- After removing the stitch selector, unscrew the front panel
- Unscrew the handle to finish removing the front part of the sewing machine
- Refer to the manual to know what parts you can remove and how to remove them
- Be sure to mark or group the parts of the Husqvarna sewing machine in an organized matter to make the installment easy later
How Do You Service A Husqvarna Sewing Machine?
You can service your Husqvarna sewing machine yourself if you are familiar and confident with the model. However, some repairs are better handled by professionals to avoid worsening the issue accidentally. Consider finding a trained technician, especially if your Viking sewing machine has electrical problems that you can’t solve with a simple reset and adjustments.
Another instance where it would be better to contact a certified service center is when your Husqvarna sewing machine has a part that needs a replacement. Some mechanisms are too complicated, and you might not be experienced enough for the precision the repair demands. You can also check our guide on how to service a sewing machine for some procedures that you can do at home.
How to service a Husqvarna sewing machine at home
- Read the Husqvarna sewing machine manual and prepare the necessary tools
- Study the recommended maintenance practices
- Servicing a sewing machine yourself typically consists of oiling, cleaning, and adjusting the machine
- To replace the needle on the Husqvarna Viking sewing machine, loosen the set screw and slide down the needle from the bar
- Insert the replacement needle all the way gently
- Tighten the set screw
- Replacing the needle is the most common service for the sewing machine as part of maintenance, but for other practices such as adjustments, refer to the manual
Does My Husqvarna Sewing Machine Need Oil?
Read the manual of your Husqvarna sewing machine if it needs an oil, what type of oil, how often to oil, and where to lubricate. Never oil a Husqvarna sewing machine that doesn’t require it because it can damage the mechanism. You also want to only oil the machine when needed and never use too much product.
How to oil a Husqvarna sewing machine
- Check if the Husqvarna sewing machine is turned off and unplugged
- Remove the bobbin and its case, presser foot, and needle plate
- Dust the removed parts with a paintbrush gently
- Take off the race and remember how it attaches for easier reinstallation later
- Clean off the lint underneath the feed dogs
- Oil the moving parts but never the gears or any plastic part
- Lubricate the race area
- Return the race and needle plate and run the sewing machine to work in the oil
- Assemble the sewing machine all together
For more detailed tips, we wrote a tutorial on how to oil a sewing machine.
How Do I Fix The Tension On My Husqvarna Sewing Machine?
- Refer to the manual of the specific Husqvarna sewing machine you have
- Adjust the tension of the machine via the dial or touch screen display where low numbers mean less tension and high numbers means more tension
- Test the new tension setting by sewing on a scrap fabric
- Loosen the top tension if the thread is too tight and vice versa
- Check if you threaded the Husqvarna sewing machine correctly
- Wind the bobbin correctly to avoid inconsistent tension and rewind if necessary
- Clean your Husqvarna sewing machine regularly because debris on the tension spring can affect the unit’s tension
How Do I Change The Bulb In My Husqvarna Viking Sewing Machine?
- Place the light bulb remover with the deep hole marked “out” around the current bulb and pull to remove it
- Place the light bulb remover with the shallow hole marked “in” around the replacement bulb
- Push up the new bulb
Conclusion
And that’s it! To recap how to take apart a Husqvarna sewing machine, you only need to start with the covers then the rest is basically loosening screws. First, however, it’s crucial that you still read your manual.
Here is a guide on how to clean a sewing machine as well. Proper maintenance is vital to keep your Husqvarna sewing machine working without issues.
