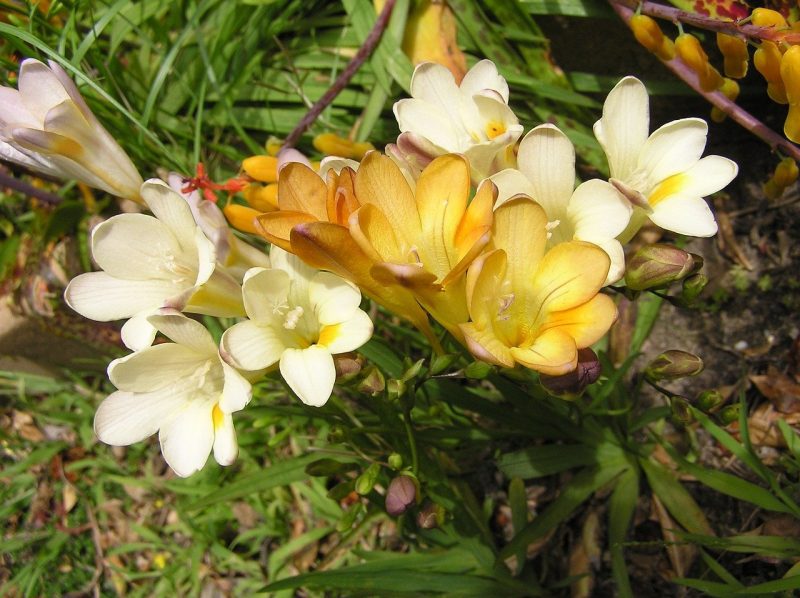
If you want to know how to store freesia bulbs, you’ll be pleased to know that it only takes three steps. Freesia is a beautiful perennial herb, so it’s useful to understand its storage in winter for spring replanting. However, it’s worth noting that freesia bulbs are not bulbs per se, but instead, are the plant’s corms.
The confusion between bulbs and corms are typical to plants like peacock orchids and freesias because gardeners often consider all underground root structures as bulbs. However, it would help you to know their differences in the plants’ overall care and growth. Therefore, the correct term should be the storage of freesia corms instead of freesia bulbs.

How To Store Freesia Bulbs: Step By Step
Step #1. Gathering bulbs
One of the practices when growing freesias is storing them in winter for replanting in spring. This is especially crucial in areas that experience harsh winter, but even those that grow in the greenhouse can benefit from it. However, the greenhouse can also work as a storage area for the corms because you can control the indoor conditions much more comfortably.
When gathering freesia bulbs or corms, you want to dig at a depth of 8 inches around the plant. Careful not to damage the plant’s base, you want to lift up the soil in the perimeter to make the removal of corm easier. Be mindful not to use the shovel against the roots and corm as you dig.
Step #2. Preparing the bulbs
Before you store the bulbs, gardeners must do some steps to prepare it. For example, make sure that you clean the corm and remove all the loose dirt and foliage in it. You also want to take out both the old corm and cormels using your hands.
You’ll find the old corm at the bottom, while the tiny ones growing onto the main corm are the cormels. After the corm or “bulb” is clean and free from these parts and debris, you can consider dusting them with a mix of insecticide and fungicide for protection.
Step #3. Storing and curing
Storing freesia bulbs is relatively straightforward as you’ll just lay them out on a newspaper, making sure that they are not in contact with each other. For the curing location itself, you can use the attic or garage as long as its a cool, dark, and dry, but the greenhouse makes the control of other conditions more comfortable. You can let the corms dry indoors for three weeks to cure and then brush off any remaining dirt.
At this point, you might also need to remove damaged or diseased bulbs with soft spots. After curing, you can place the bulbs in a paper bag filled with dry peat moss until you use them. The emphasis is necessary on labeling the bags so that you can plant them at an ideal time.
Additionally, this will help you identify the colors and varieties for planting. The North Carolina State Univesity also recommends maintaining the storage conditions at 77 to 86°F for bulbs. Overwintering and curing freesia bulbs can cause rot on some of them, so it’s best not to use those with soft spots when you replant in spring.
How To Plant Freesia Bulbs
Prepare the corms by soaking them in water for half an hour. Be sure to check if the danger of frost has passed before planting, but you can also grow freesia in the greenhouse if you’re unsure of the conditions outdoors. You can always replant outdoors once the climate has settled.
The ideal location for freesia bulbs should receive full sun and has fertile and well-draining soil. Prepare the site by loosening the ground and dig a hole, thrice the width of the corm. You can also incorporate fertilizer in this hole before you plant the bulbs.
Remember that the bulbs should have their tips upwards when planting and allocate an inch of space among them. Like other plant bulbs, it’s crucial to maintain the soil moisture upon planting and during the growing season. You can only stop watering when the plants undergo dormancy.
How to fertilize freesia bulbs? A balanced fertilizer every two weeks throughout the growing season or when the corms sprout until before dormancy should be enough. You can also pinch the dead flower heads to help with foliage growth until your plant shows signs of undergoing dormancy.
Conclusion
The winter is generally a crucial time for plants, and gardeners need to do additional measures until spring comes for planting. Therefore, knowing how to store freesia bulbs or corms is a must-have skill if you want a productive freesia garden. To start, carefully gather the bulbs by digging around the perimeter of the plants.
Remove the old corm and cormels on your “bulb”, as well as the loose soil before curing them indoors. In a dark and dry room, lay the corms in a newspaper for three weeks. You can then place them in a paper bag with dry peat moss and store at 77 to 86°F.
The corms should be ready for replanting in spring, but make sure to discard those with soft spots as they are probably diseased and damaged from overwintering.
