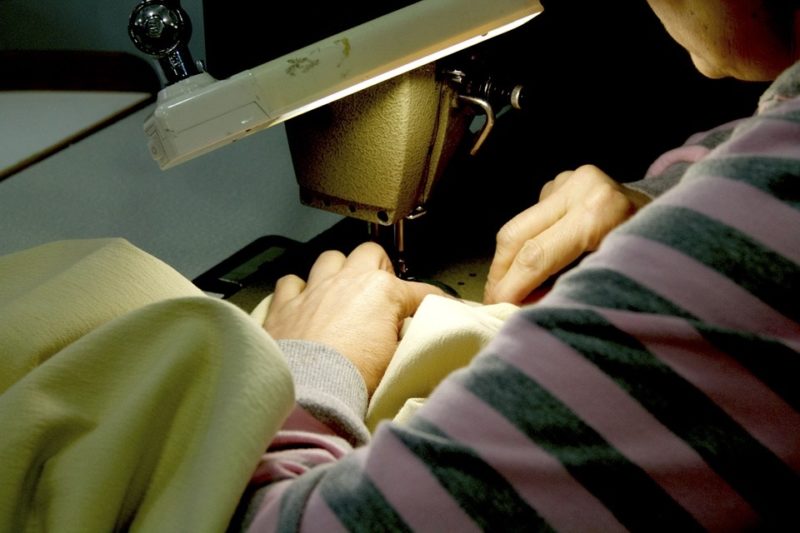
If you want to know how to stitch in the ditch with a sewing machine, here are three ways. You use the stitch in the ditch for binding, quilts, and waistbands of garments. We’ll also share tips when sewing this type of stitch with a regular foot if you don’t have a special stitch in the ditch foot.
Are you also curious about doing other types of stitches on a sewing machine? Feel free to browse our blog and find different tutorials, such as how to do a blanket stitch on a sewing machine.

How To Stitch In The Ditch With A Sewing Machine For Beginners
For binding
- Prepare the bias tape or make your own double-fold bias
- Determine where you’ll sew (e.g., curved sides such as those in necklines should have the bias short side up)
- Pin the bias tape to the raw edge of the fabric; pin for curved edges, while straight edges won’t need pinning
- Sew ¼ inch from the edge of the first crease and fold the bias to bring it to the back
- Press the bias over the sewn line on the wrong side and pin the binding
- Transfer the pins on the right side where you’ll stitch in the seam of the bias tape
- Press the bias tape to finish
For quilting
- Stitch the quilt pieces together and press the connected seams open
- Prepare the batting and lining for the quilt and pin them in place
- Install the walking foot on the sewing machine to target the center of the seams much easier
- Sew accordingly
- Use a quilting sewing needle for the batting, and remember to backstitch at the start and end of each stitch row
- Finish the quilt with the binding
For waistbands
- Sew the waistband to the garment, ensuring that you allocated seam allowance
- Press the seam allowance towards the waistband on the wrong side and press the top of the waistband by half an inch
- Fold the waistband down to cover the stitches and pin
- Transfer the pins so that you won’t hit them during sewing
- Sew the waistband seam on the right side of the project
What Is Stitch In The Ditch?
The stitch in the ditch is also called ditch stitch, and it simply pertains to when you sew directly in the seam line or the space between the fabrics in a seam. You use this technique when finishing bindings, but it’s also famous for quilting and attaching waistbands. The importance of sewing the stitch in the ditch is securing the fabric on the wrong side without leaving visible stitches on the right side.
An additional tip to remember when sewing the ditch stitch is to use a thread the same color as the fabric. This helps to hide it furthermore and get the perfect invisible finish. But of course, remember to thread your machine with the suitable material, or it can get frustrating not to know why the sewing machine thread keeps breaking.
What Foot Do You Use To Stitch In The Ditch?
There is a unique foot for sewing stitch in the ditch, called the stitch in the ditch foot. It is advantageous to get it, especially when you’re always doing the ditch stitch or edge stitch, because it is designed to keep your sewing perfectly in the ditch. You can also sew a stitch in the ditch with a walking foot because it gives you control without the risk of the fabric, especially thick layers, from bunching up.
But if you don’t have these special sewing machine feet, you can still stitch in the ditch with an all-purpose regular sewing foot.
Uses of stitch in the ditch foot
If you bought a stitch in the ditch foot, running it along the seam line will make it easier to get perfect topstitching. However, it also has other uses so that you can make the most of this sewing machine foot.
- Fast and perfect understitching
- For finishing seams with a double-needle
- For joining two fabric or lace pieces
- For making zigzag stitches and securing appliques
Can You Stitch In The Ditch Without A Walking Foot?
Even if you don’t have a special stitch in the ditch foot or a walking foot, you can still sew this stitch in the sewing machine. You only need to select the right foot for the seam of the project you’re doing. Here is how to stitch in the ditch on a quilt with a regular sewing machine foot, for example:
- Prepare and make the quilt with a standard foot
- Press the stitches of the patchwork with an iron to help you see the ditches
- Pin the batting at the back of the quilt
- Sew at the center of the quilt seams with a quilting sewing needle, ensuring that you are also backstitching at the beginning and end of each row to keep them durable
- Finish by binding the edge
Conclusion
And that’s it! To recap how to stitch in the ditch with a sewing machine, you only need to use the proper sewing foot and press your fabrics accordingly. This article taught you how to do the stitch in the ditch for binding, quilts, and waistbands, but remember that you can don’t necessarily need a special stitch in the ditch needle for most projects.
We hope this was a helpful read. Please leave us a question if you have any.
