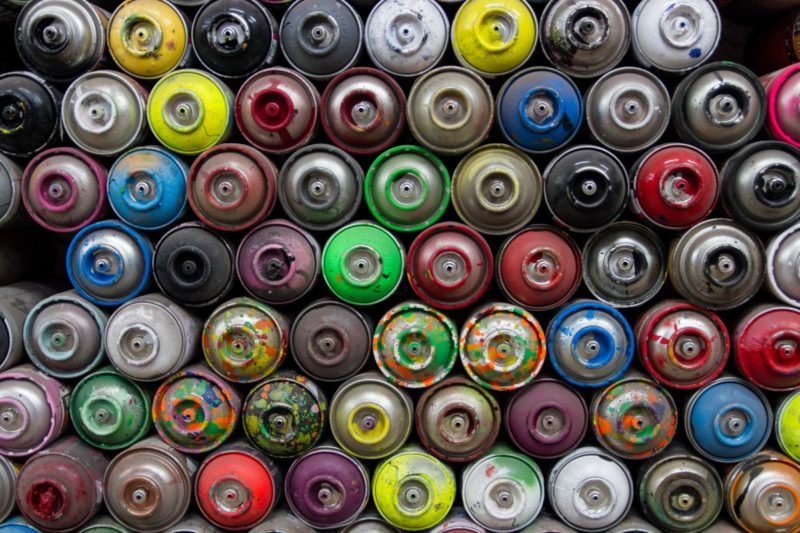
Avocado or almond-colored ovens from the 1970s and 1980s are no longer necessary in your kitchen, so you might want to know the steps on how to spray paint a stove. When painting, keep the can at least 300 mm away from the surface to prevent paint from pooling or drying up before it reaches the desired finish level. Also, instead of using a single thick layer of paint, use several thin ones to get a better finish.
Before starting, give the can a good shake for at least two minutes. This is especially important if you’re painting with a light hue. If it’s cold outside, the can have to be warmed up. Soaking the can in warm water for a few minutes can quickly warm it up.

Refinishing the appliance to match the rest of your kitchen may be accomplished with heat and food-safe spray paint. Achieving a stainless steel stove is also possible with the use of spray paints.
Again, a total beginner may perform this procedure, although relocating the appliance and some minor disassembling is necessary. So keep reading to find out how you are going to do this in the easiest way possible. Needless to wait any longer, you are about to know the steps you need to follow when repainting your stove using spray paint in this section. So keep scrolling down until the end.
Steps To Spray Paint A Stove
Tired of the color of your stove? Worry no more! You can change its color. You only need to know how to paint a stove. But then, in this article, let’s focus how using a spray paint. Here are the steps on how to spray paint a stove:
Step #1. Removal of stove components
Pull the plug out of the outlet to remove it. Allow yourself access to all four sides of the oven by removing it from the wall as far as possible. Next, open the oven door and insert pins into the hinge hangers afterward. Make sure that the oven door is completely closed before attempting to raise it. As soon as the door won’t lift any further, remove the hinges from the slots. To use a second oven door, use the same procedure as described above.
With a flathead screwdriver, remove the plastic plugs attached to the railing of the door. Next, disconnect the oven’s power cord and remove the oven door handle to enter the oven. Next, remove the side trim by unscrewing the bottom screws. When you’re ready to remove the trim piece, pull it out to the side and slide it down.
Remove the oven control panel by unscrewing the screws holding it in place. The panel’s bottom may be yanked out and lifted by tugging it out. You can remove the top-back supports of the panel by tugging them apart.
Step #2. Disconnect the electrical cords
Use a soft surface to place the control panel so that it’s protected. To remove the side panels, use a screwdriver to unscrew the screws holding them in place. The panels are held together by four screws, one on each side. To remove the panel, pull it off the wall with one hand.
Step #3. Remove the oven’s range top and burners
Set the burners aside when they have been disconnected. To remove the oven lid’s hinges, unscrew the screws from the rear of the oven. Before removing the top of an electric range, make sure all wire harnesses are disconnected. Then, it’s time to refinish the stove.
Step #4. Clean the surface
Use a mild soapy solution and a scouring pad to clean all surfaces before painting thoroughly. Using an orbital sander and 400-grit sandpaper, remove any remaining shine from the previous enamel coating on your vehicle. Only the surface should be roughened, not the metal itself.
Use a microfiber cloth to remove any dust. Repeat the cleaning process with denatured alcohol. Arrange all of the pieces so that the painted side is facing outward on a canvas drop cloth.
Cover the door’s windowpane with masking tape and paper. Before applying the paint, please give it a good shake to remove any air bubbles. After hearing the ball bearing move freely, the standard guideline is to shake violently for one minute. Know how to clean a cast iron stove.
Step #5. Spraying the paint
Hold the can 12 to 15 inches away from the device and move it side-to-side as if swiping it when spraying. Once you’ve painted over everything, let it dry completely before applying a second layer. After you completed the cure, reassemble the oven the other way around. I guess you should understand how to repair an oven.
What Paint To Use?
When it comes to heat-resistant spray paint, matt black is by far the most popular color option. Many people spray-paint their flue pipe matt black to match their stove. This makes it heat resistant and looks great. Using our heat-resistant spray paint, we were able to achieve temperatures of 600 degrees Celsius without deteriorating.
It’s A Wrap!
When applying the steps on how to spray paint a stove, remember not to paint before installation. This is because the paint begins to dry entirely as soon as it is heated. Therefore, painting it before installation will cause scuffs and other damage till then. You should clean the surfaces thoroughly before you start painting to ensure there isn’t anything on them that might cause a reaction to the paint, such as grease or rust. Also, make sure the stove or flue pipe isn’t hot before spraying. You may want to know how hot a stove get.
