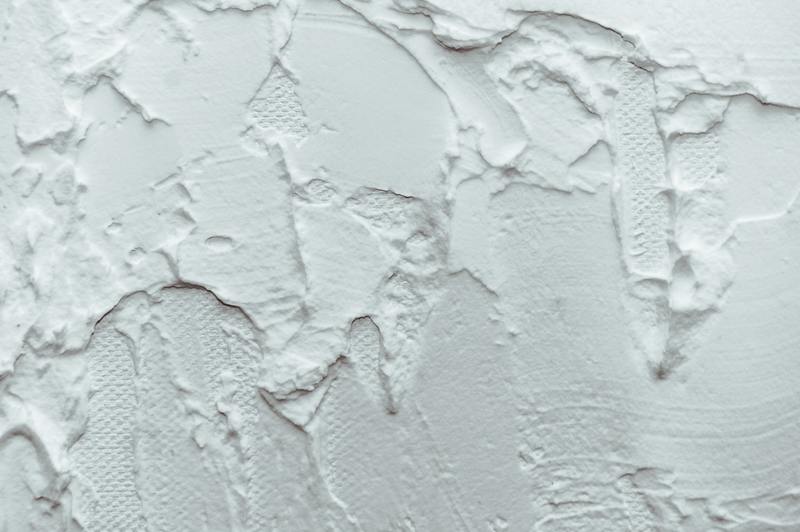
Learning how to spackle water damaged ceiling may seem straightforward. You will pretty much just scrape and apply the paste to the damaged area. However, it would be best if you took notes because it’s not as easy as it may seem.
It’s essential to fix your water damaged ceiling as soon as you notice some indication of weakening. Besides the fact that it’s displeasing to look at, it can also affect other furniture when the water reaches the drywall and onto your home furnishings. It can compromise the stability of your home as well.

Read along as we present you with a step-by-step tutorial on applying putty on your damaged ceiling and what you need to know about spackling.
Signs Of A Damaged Ceiling
The first indication that you’ll notice on a damaged ceiling is discoloration in some areas. These spots look wet and have a yellowish to brown color. You can lightly touch the affected area, but wear gloves to protect yourself from possible infection.
Another sign that you should watch for is when black spots are growing. This could be dangerous because there could be a mold infestation spreading across your ceiling. As said earlier, it would be best to avoid touching these areas with your bare hands as it can cause health issues.
How To Patch Up Your Water Damaged Ceiling
Step #1. Inspect the area
Before you start anything else, inspect your ceilings first. This is the time where you assess the problem and see how severe it is. Using a glove, touch the affected area.
When you feel like it’s wet, fix the source of the leak first. On the other hand, if the area is dry, you should still make sure that there are no water leaks before proceeding with the next step.
Step #2. Measure the perimeter
In this step, you’re going to measure the affected area. It will help you estimate the amount of spackling putty you’re going to use later. Measure and take note of the length and width of the damaged spot.
Then, carefully make a shallow cut on the affected area with a knife. You must use eyewear for this one as the debris from the ceiling can cause eye irritation and itchiness.
Step #3. Spread the spackling compound
Before applying your spackling compound, you should scrape the area and place a tape. This will help to keep your putty from cracking. Then, mix your chosen spackling paste and spread it across the taped area with a taping knife.
When you’re finished applying your first coat, wait for a few minutes for the paste to dry before applying the next coat. You need patience for this one because it will take time to smooth everything out as much as possible.
Step #4. Sand down the blemishes
Even though you tried to get the compound as even as you could, you should still sand it to make sure that everything is nice and smooth. Get your sanding sponge and remove any excess spackling paste. Again, make sure you’re wearing appropriate protective gear for this, such as an eyeshield and face mask.
Be careful not to overdone it. Avoid scratching too much as you may ruin your spackling compound and do it all over again.
Step #5. Prime and paint the affected spot
Hang in there, and you’re almost done! What you need to do next is to paint the area as close to the original color of your ceiling as you can. However, make sure that you wipe the area first from any debris or dust from sanding.
It would help if you also double-check for any rough areas and see whether you missed some spots. If there aren’t any, apply a water-based primer first before the paint. The primer will help the coat to stick better and last longer.
Types Of Spackling Compound
Lightweight
If you’re fixing small patches, it would be best to use a lightweight spackling putty. It dries pretty quickly and leaves with just a slight shrinkage. What’s great about this compound is you can proceed to paint as you won’t need to sand it down.
Standard
The standard spackling compound formula contains gypsum, which is thicker than lightweight. To give you an idea, the paste of this compound has the same consistency as toothpaste. Even though it’s not as fast drying as the previous one, the standard spackle is all about durability.
Acrylic
For more extensive water-damaged areas, it would be best to use an acrylic compound. It can handle damages as big as three-quarters of an inch. You can use it on a variety of materials like wood, brick, and even stone.
Conclusion
Now that you know how to spackle water damaged ceiling, you need to remember that you should also consider your safety while doing it! Since you’ll most likely use a ladder for this, make sure to have someone around to accompany you while you’re working. Just in case something went bad, you can ask for help quickly.
It would also be smart to wear protective clothing while you’re fixing your ceiling. As stated earlier, there’s a high chance that there’s mold growth up in there. Direct contact with mold can lead to dry skin, coughing, or cause an allergic reaction.
