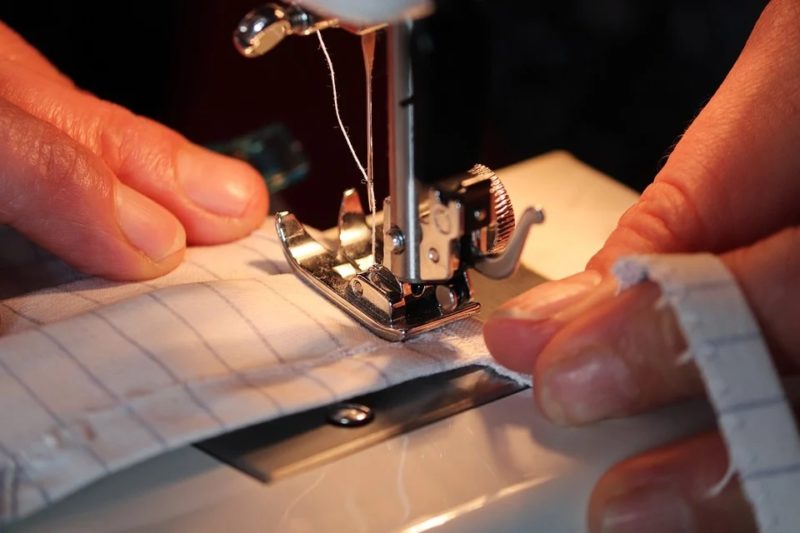
Those who don’t know how to sew satin blanket binding will be pleased with these four easy steps. In fairness, sewing a satin binding on a blanket is relatively easy, to begin with. Remember our guide on how to sew on blanket binding?
Satin binding comes pre-made, so you’re only positioning and sewing it in place. However, there are other techniques, such as mitered corners, that you must learn. But enough of this introduction, get your blanket and satin binding ready, and let’s get started!

How To Sew Satin Blanket Binding On A Fleece Blanket
1. Sandwich the blanket edge with the binding strip
Since satin blanket binding comes pre-made, you only need to position it onto your blanket. Two packs of binding should suffice for one and a half yards of fleece. Additionally, please remember to trim the selvages of your blanket before sewing in the satin binding.
Position the end of the binding along one edge of your blanket. You’ll notice a shorter edge on the strip, so make sure that this will be underneath the blanket face. Once you get a good position, sandwich the blanket between the strip and pin it in place.
2. Sew the binding in place with zigzag stitch
You can sew the binding by hand or with a sewing machine, whichever method you’re most comfortable with. A zigzag stitch would be ideal, but make sure that you’re also sewing the long edge of the strip underneath. It might be more efficient to use a sewing machine because of the thick material.
Once you reach a corner, you have to stop sewing. One of the main techniques to learn when adding satin binding to blankets is how to miter the corners. There are several ways to make mitered corners, but the most straightforward technique is leaving the needle in the blanket when you stopped around 3.5 inches from the edge.
3. Miter the corners and attach the second binding
Align the fleece edge with the fold of the binding strip by folding the latter at an adjacent angle. Pin the corner in place and line up the binding fold with the excess fold by pushing the extra binding into the corner. You can then remove the pin you placed and use it for the corner you just mitered.
Sew the corner without taking out the pin in the fold. Continue stitching until you reach the end of the binding to attach the second binding strip. Fold the corner into a triangle so that you can align the long edges.
4. Finish the binding by backstitching the joining seam
Sew the second binding strip in place and fold the end into a triangle. This way, you can sew the raw end for a neater finish. Secure the joining seam of the two strips by backstitching. Be extra careful when you’re sewing by hand because satin can fray when you poked it with a needle several times.
How Do You Make Satin Blanket Binding?
You can buy satin blanket strips pre-packed and press them before using. But if you have some satin fabric lying around, it’s also possible to make satin binding from them. This way, you can have the exact amount of binding for your specific blanket without needing to connect several strips.
- Cut a strip from your satin material according to the size of your blanket. The binding can have a similar length to the blanket, while the strip’s width can be the same as the seam allowance you’ll use to attach it
- Press the strip with an iron so that you can see any creases or uneven measurements
- Join several strips by placing them on right sides together, but pin them since satin is quite slippery
- Press the seams flat on one side and turn the edges under
Double Fold Blanket Binding Vs Single Fold Blanket Binding
When you’re learning how to sew satin blanket binding, you’ll come across double fold and single fold binding. It’s essential to know the difference between them, especially when buying pre-made binding. A quick comparison is that a double fold binding has both edges folded to the middle, while a single fold binding only has one side folded to the center.
Double fold binding
A double fold binding strip essentially means that the piece is folded in half equally at the middle. It’s the most common satin binding because you only need to sandwich the blanket so the edge meets the folded part of the strip. The longer edge will be underneath the blanket.
Single fold binding
Unlike a double fold binding strip, a single fold binding strip is unfolded because you’ll only fold one side to the middle. To use it, sew the strip to the blanket edge and wrap the raw edge to the back to tuck it. It can be confusing to some because folding it is pretty similar to how you’ll use a double fold binding strip.
Conclusion
Adding a satin binding to your blanket does not only improve its aesthetics, but the binding also ensures that the edges won’t fray. You can understand how to sew satin blanket binding in four easy steps, but the main gist is to sandwich the blanket with the premade strip and sew the latter in place.
You can reread each step to understand how to do them better. Overall, we hope you found this article helpful, including how to differentiate a double fold binding from a single fold binding.
