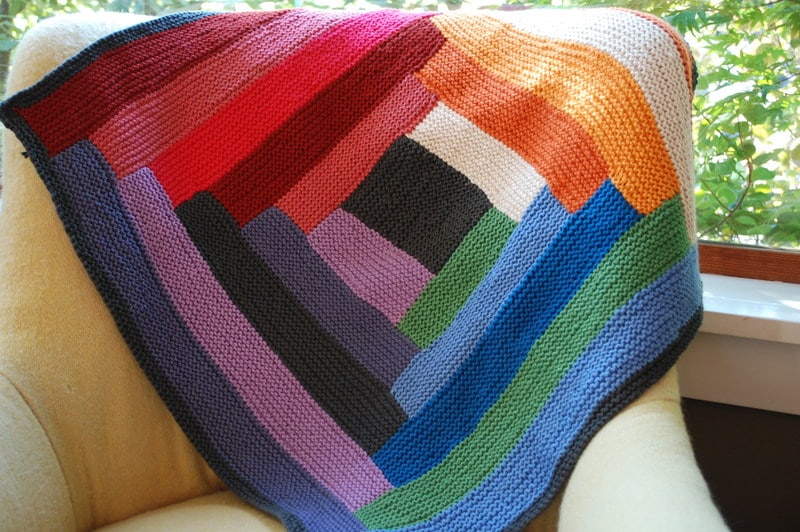
Creating your beddings includes learning how to sew corners on a blanket, and we’ll share with you a method with four easy steps.

There are many styles for corners, and each depends on the tailor’s experience and skill. Later on, you will see how properly doing this part will keep your blanket together.
If you’re looking for a peaceful way to spend your time or just trying to learn how to fix some damage on your favorite blanket, you’ve come to the right place.
We’ll focus on a straightforward method of remedying your problem while making sure that you can understand and retain our instructions easily.
Simple Steps On How To Sew Corners On A Blanket
With many ways to secure the corner of your blanket, we’ll try to focus on the ones on the beginner level. These methods are also for people who want to finish the job immediately.
Here we’ll enlist the most straightforward approach: stitching.
This method is done on your blanket directly and requires minimal to absolutely no experience in sewing. You will need just your blanket, a needle, a thread, and a pair of scissors.
Step #1. Gather a suitable needle and thread
The type of fabric of your blanket will dictate which needle and thread you will use.
If the material is made with fine lines, you can use a needle with a small diameter, and if the fabric is thick, you can opt for a larger needle.
The rule of thumb would be to avoid making large left-over holes on your garment or losing your needle whenever you stick it into the fabric.
Pick the size and color of your thread according to the blanket. There are no specific rules on which colors you should use.
If the blanket is for personal use, pick any color you feel will go along with your taste. Pick a thread size almost the same or slightly larger than the size of those on the blanket’s fabric.
Insert one end of the thread to the needle, then tie a knot on the other end. Ensure that the knot is large enough so it won’t pass through the other side of the blanket.
The thread attached should be almost three times the length of the blanket corner that you’re sewing.
Step #2. Sew around the corner
Even if you only intend to sew the corner, you must extend your aim at least one centimeter to one inch from the corner of the blanket.
This extension will act as an anchor to the corner, so it doesn’t get damaged and broken off easily.
Pick a blanket side that will face you, and we’ll call this the top layer while the opposite side is the back layer.
Push the needle to your estimated point at the top layer, at least a centimeter from the blanket’s edge, and pull it until the entire thread is through to the back layer.
Pass the needle from the back layer above the rim and insert it again on the first point you pushed it through on the top layer. This step should create a loop around the edge.
Insert the needle on the created loop towards the opposite side of the corner you’re sewing, then pull the needle towards the top of the edge until the thread tightens.
You can choose the direction you’re comfortable with to work. Keep creating loops until you reach the corner.
Note that each loop’s distance should be the same as the length of the loop from the insertion point to the edge.
Also, make sure that the thread from a previous loop should be below the needle when you’re piercing for a new coil. This positioning will allow the needle to pin the thread in place.
Step #3. Create a square stitch for the corner
When you reach the blanket’s corner, pull the needle through the same location from the previous loop, from the front to the back.
Place the thread from a prior loop below the needle, then pull it diagonally towards the corner’s tip to tighten.
Avoid drawing too much as it will squash the corner but adjust your thread, so the loop falls directly on top of the corner.
Again, push the needle at the same hole from the top, rotating the blanket into the other side of the corner.
Careful that your needle pins down the thread when you pull at the bottom. Keep creating loops until you cover the distance equal to the previous side.
Step #4. Tie the ending of your thread
After creating the last loop, you need to create a lock so your stitches won’t come off. Insert your needle through the same hole as the previous loop, then insert it through the created loop.
There should be a double loop on the point; insert the needle around those two, then push it through the newly created loop.
You can check if the stitch is secure if the knot no longer moves when you pull on the needle. If it still moves, insert the needle gain around the two ending loops, then push it through the newly created loop.
After locking the stitch, you can now cut the excess thread.
Conclusion
Some people think that learning how to sew corners on a blanket is unnecessary, but it is crucial because sewn blanket corners are pretty and durable.
They also spice up your blanket style as well as protect it from getting torn on the edges.
Corner stitch reinforces your blankets so that they can keep their integrity. It also prevents curling or rolling later on. It is a specific part that can help you maintain your item longer.
