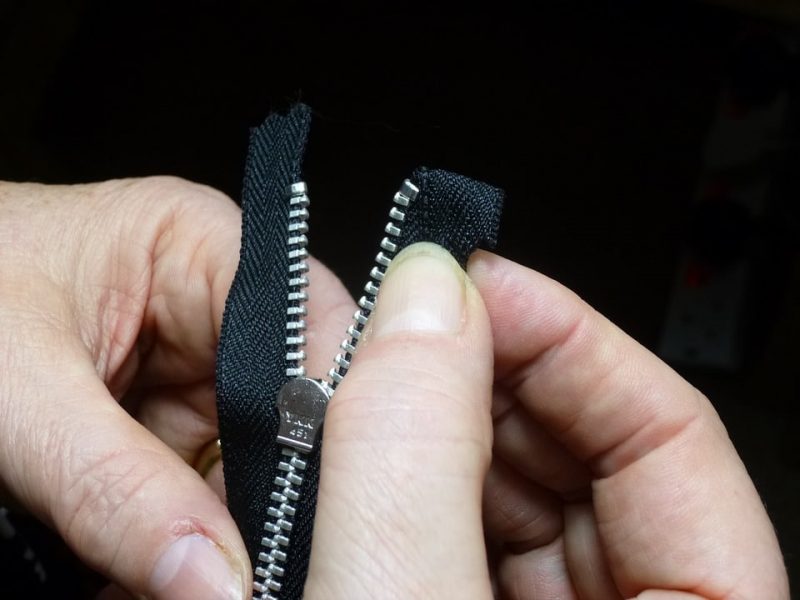
Knowing how to sew a zipper in a pillow only requires four steps. This is a useful skill because having a zippered pillow allows you to adjust the stuffing or replace the pillowcase. You’ll have more customization on your pillow, and you can use it for longer.
Do not be intimidated in sewing the pillow zipper yourself because it is relatively straightforward. More so, it’s a more secure way to enclose a pillow than leaving it open or using other closure styles. From such a simple technique, you’ll be improving your pillow’s quality.

How Do You Sew A Zipper On A Pillow?
Step #1. Preparation
Since there are different types of pillows, you want to plan where you want to place a zipper. You want the zipper not to affect the pillow’s overall look, and it should not be in a position that would be bothersome when you use the pillow. The best places for the zipper is either on the bottom or top seam.
Once you checked where to put the zipper, you must get a zipper that is as long as the seam. You can then mark and cut two fabric pieces of your choice. They should be the horizontal and vertical seams’ measurements, but add an inch to each of them.
Once you have the two fabric pieces, pin them with their right sides together and put the zipper on top. Use a vertical pin to mark inside both edges and sew with half an inch of seam allowance in mind. Start at the beginning of the seam to the first pin and then sew to the next alternating with a standard stitch length and backstitch.
Step #2. Sewing in the zipper
The second step is opening the seam you finished to place the zipper with its right side down into it. A useful tip is to sew the zipper ends using a regular presser foot. You can take your pillow and roll its edges up.
Sew one side until you’re close to the zipper pull and then backstitch at the start. Raise the presser foot and open the zipper past the foot before lowering the presser foot again. Sew until you reach the line you made at the end of the zipper before backstitching and closing the zipper.
Sew the other side until you can’t reach past the zipper pull and backstitch before taking the fabric from the sewing machine.
Step #3. Finishing
You then want to reap the seam between the two vertical rows at both ends of the zipper. At this point, you can check if the zipper moves smoothly. Open it before finishing the zipper with backstitching to ensure the zipper’s security over time.
Step #4. Sewing the cover
The final step is opening the zipper halfway and then sew around the cover’s edges with half an inch of allowance. You should be ready to turn the liner right side out and stuff it. Otherwise, you can skip this step if you used an existing pillow.
Other Ways To Close A Pillow
Besides using a zipper, you can also consider other designs and techniques to close a pillow. You can apply these closures on the pillow itself or the pillowcase, but some use a separate pillow protector.
Stitches
Perhaps the simplest way to finish a pillow is to stitch the opening. After you finished stuffing it, you can hand-stitch the unfinished seam to secure the pillow entirely. Stitches will also create a more uniform look in the pillow, but you cannot remove the contents later on.
Envelope
Over time, you may need to replace the pillow fill or the pillow itself. You can add an envelope style closure on the pillow liner or pillowcase instead of sewing all the sides completely. An envelope closure uses a flap, and you can add buttons to keep the pillow closed.
A somewhat similar technique from envelope closures is the use of the pocket. However, a pocket-style closure uses overlapping flaps at the back of the pillow. These pieces of fabric will prevent the inside from getting exposed.
Why Pillow Closures Matter
The quick answer to why you can’t overlook your pillow closure is to maintain clean pillows. Keeping our pillows cleans is non-negotiable because of its impact on our health. For example, if the pillow or pillowcase has an opening, it can encourage allergens and pathogens to accumulate inside.
They can range from dust, dust mites, bed bugs, bacteria, and even fungi. If your pillowcase is opened, you can also get the pillow inside dirty, so replacing the cover won’t be enough to protect you from the buildup of dust or bugs. Finally, if your pillow spills its stuffing, it will lose its structure and affect the quality of support and comfort you’ll get.
Conclusion
Making pillows at home is a useful and satisfying hobby. If you know how to sew a zipper in a pillow, you can improve either the liner or cover and secure its contents better. A zipper closure is a durable way to keep your pillow stuffing inside the pillow or pillow inside the pillowcase.
Start by preparing two fabric pieces and the zipper itself. Put the zipper on top of the pinned fabric pieces and sew before opening the seam and placing the zipper into it. Follow the easy guide above using a sewing machine, and you should quickly add a zipper to your pillow.
