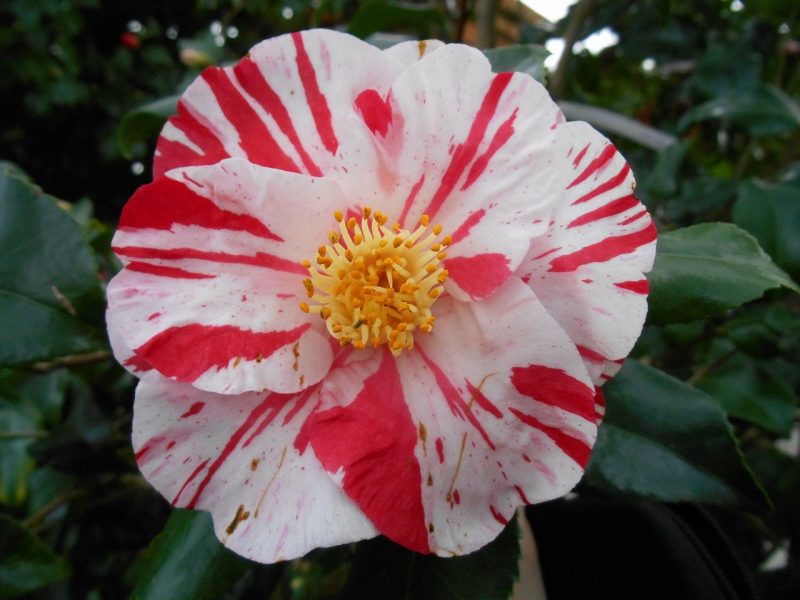
If you’ve always wanted to figure out how to root Camellias from cuttings, you’re reading the right page. Camellias are gorgeous plant species that only produce blooms during the colder months of the year. That is why gardeners are always looking for ways to grow them successfully. While Camellias can be grown from seeds, or through grafting, or layering, most green-thumbs are more interested in learning how to root camellias from cuttings because of its excellent outcome.
One of the major advantages of using cuttings to propagate plants, in this case, Camellias, is that it can produce flowers just like that of the parent plant. So, if you have a plant in your garden that you want to reproduce, you’d have better chances of ending up with an exact one if you propagate it through cuttings.

Propagating Camellias from Cuttings
Rooting your camellias from cuttings is the most inexpensive way to propagate your camellias and enjoy more blooms. Plus, this method of propagation doesn’t require complex tools. Under the right conditions, your Camellia cuttings will grow their roots and it will be ready for planting.
Here’s how you can root your Camellia plants from cuttings:
Step #1: Take cuttings
Ideally, you should take the cutting during the latter part of spring or at the beginning of the summer season. When taking your cuttings, choose a healthy stem to take your Camellia cuttings from. Then, make a slanted cut on the sixth leaf node of your stem then remove the leaves, but be sure to leave at least two to three leaves on top of the cuttings.
It’s also good to take as many cuttings as you can. This improves your chances of success when it comes to rooting or propagating Camellias.
Step #2: Place your cuttings on a pot
Put a mixture of coarse sand, potting soil, peat moss, and perlite on a pot and place your cuttings there. If you’re using a small pot, you can place your cuttings individually, but if you have a bigger planter, you can plant them 2 to 3 inches away from each other. Be sure that your cuttings are planted at least 2 inches deep into the soil.
Another great way to speed up the rooting process is to dip your cuttings in a rooting hormone. This will also increase your cutting’s chances of surviving.
Step #3: Water your cuttings
Once you’ve planted your Camellia cuttings on the pot, you’ll have to water them to prevent dehydration. However, be sure not to overwater them as it can cause root rot. Once the plants have established or have grown a considerable number of roots, the watering can be cut down to at least once a week.
It’s also helpful to cover your cuttings with transparent plastic to keep the plants’ moisture inside.
Step 4. Place in an area where it can receive sunlight
Camellias need sunlight for photosynthesis, but they don’t appreciate being exposed to direct sunlight. If you’re growing cuttings, make sure that you place your pots on an area where it can get adequate amounts of sunlight.
Within a month and a half to two months, your Camellia cultivars would be able to develop roots. By then you can start thinking about transplanting it to its permanent place.
Growing Camellias in Mini Greenhouses
Greenhouses are among the best places to grow plants, especially if you’re growing a Camellias which require specific needs for growth. Camellias are known to be difficult to grow. However, with greenhouses, the process can become easier for you.
Growing your camellia cultivars in a greenhouse is a great alternative to planting it directly in your garden. Here are the benefits of growing Camellias in your greenhouse:
You can extend its flowering period
If you want your Camellias to extend its flowering period, the best way to achieve it is to place the plant inside the greenhouse. There, you can control the temperature and humidity so it can provide an optimal environment for your cultivars to grow in. Since Camellias are known to grow best in colder weather, having a greenhouse will make it possible for your Camellias to produce flowers even in the summer.
Disease and pest prevention
Among the common problems in Camellia, plants are pest infestations like aphids, spider mites, or scale and diseases like algal leaf spot, canker, and flower blight. When these are not controlled, it could lead to the eventual death of the plant. With greenhouses, however, you can lessen the chances of these problems from happening and if these issues do occur, you can easily control it.
Better light distribution
Camellia plants do need sunlight but they do not like being directly exposed to it. One way of making sure that they get the right type of sunlight they need is to place them inside a greenhouse. The covering of the greenhouse can redirect the sun’s rays and evenly distribute it inside the greenhouse. This ensures that your plant won’t be hit with the direct rays.
Conclusion: How to Root Camellias from Cuttings
Learning how to root Camellias from cuttings is a great way to propagate your plant and end up with the same plant as the parent plant. When doing this, be sure to keep in mind that they need to have the right growth requirements to thrive. You can also improve your chances for success if you let your Camellia cuttings grow inside a greenhouse where you can control the environmental conditions to fit the requirements of your plant.
