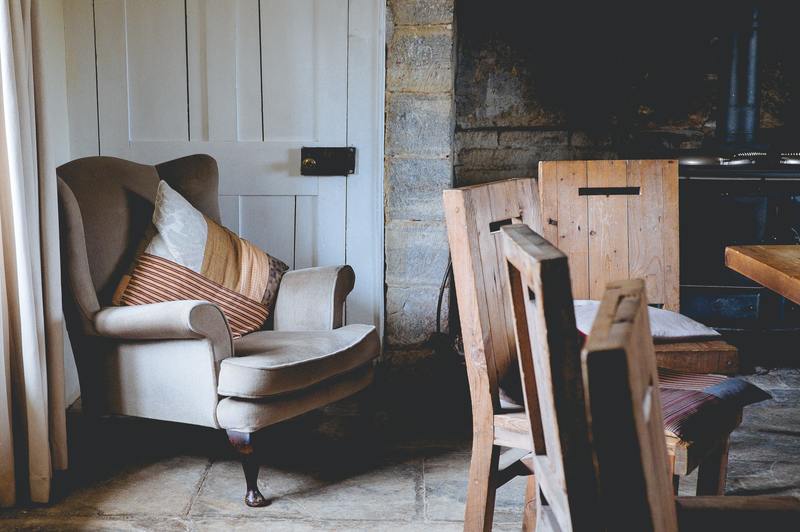
In this article, you will know know how to reupholster a wing chair with the most manageable steps. It may take longer during the process, but the result will last longer and look like a brand new wing chair purchase!

Materials Needed
Before you proceed to the steps, please do gather the following materials. When you are all set, you’re good to go!
- 9-10 yards of fabric
- Sewing machine
- Flex-grip (curve ease)
- Dust cover
- ⅜ Staples
- Scissors
- Burlap
- Dacron polyester batting
- Cotton batting
- Cotton
- Staple remover
- Pliers
- Staple gun
Steps To Reupholster A Wing Chair
Step #1. Remove the dust cover
Remove the dust cover of the chair, and this cover covers the bottom part of the chair to keep dust out.
Step #2. Remove bottom cord
Once you eradicate the cover, you’ll need to remove the bottom cording using a pair of pliers. It would help if you ripped it off with your tool to remove every single staple wire.
Step #3. Remove the back
You have to remove the fabric from the curve easily. If you do not know what curve ease is, this is a metal piece that gives a nice seam curve for your chair. While working on the back, you’ll need to remove the curve ease from the back, and yes, you’ll need your pliers again and grab them to rip out the metal piece.
Note: Once the metal piece is removed, you can rip off the excess cording all over your chair.
Step #4. Remove the lower side outer fabric
Remember that how you remove the fabric depends on how it’s layered. You need to find out which was the last thing that was layered and remove it. Once you remove that, you will notice what fabric you will remove next.
Do the same method on the other side. Don’t forget to remove all the lining fabric on the outer side to remove the lower side fabric.
You’ll see the outer sides also have curve ease. Go ahead and remove it along with the extra cordings.
Step #5. Remove upper outer sides
Remove all the lining, batting, curve ease, and cording from the upper outer sides.
Step #6. Remove staples from the back of the chair
Once you’re done removing everything, you have to remove the staples that you’ll see from the back of the chair. After that, pull out the fabric from the front.
Upon pulling it out, you’ll see a foam attached from the seat. If these foams have buttons on them, you can snip out the bottom free from the batting. Then, use cotton to stuff the holes in the front. (You’ll see huge chunks tied on the backside of the buttons.)
Note: After disassembling the chair, cover it with batting.
Step #7. Sew fabric
Before reattaching everything, you need to pick a new piece of fabric with the appropriate pattern for the chair. You can sew it using a sewing machine or the typical sewing kit, but this will take you longer if you do manual sewing.
Step #8. Reattaching everything
Read the first and second tips and follow the flow during disassembling, but the twist is that it should be “last part comes first when reassembling.” When you attach the fabric, use a staple gun to secure everything from the wing chair.
Tips you should remember while reupholstering a wing chair
Take pictures
You have to use your smartphone or camera, and it would be best to document each step you make for you to make it easier for the reassembling part during the process.
Number each panel
This method will make it easier to reattach all parts while doing this process of upholstering a wing chair. You can number each panel while it is being removed and notated, so you know which piece is which.
Always remember that you need to save the old panels to use them as templates. Do not throw them away.
Have the correct tools with you
The materials needed are stated above the step-by-step procedure. If you have the right tools, your upholstering will have a smoother and faster flow.
In addition, you will get tremendous and timeless results! If there are some tools like a staple gun that you do not have in your home, it would be best to consider investing by renting or borrowing since these tools will help during the process.
Patience
In this kind of self-project for your own house, you will need a vast amount of patience and eagerness to accomplish this task. This process will take you hours, days, a week, or two to reupholster your wing chair. So if you are short-tempered, you might want to consider going to an upholstery shop to fix your wing chair, but it’ll take longer days or weeks than you’ll be expecting.
Conclusion
You have reached the last part of this article on how to upholster a wing chair. The steps may be overwhelming, but the results are timeless and worth it in the end. Sit back and relax, and enjoy your seat!
