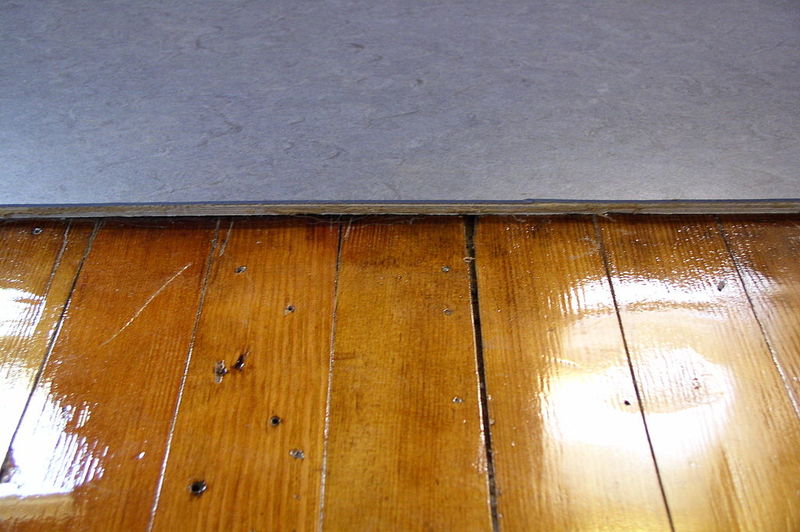
To know how to replace water damaged underlayment, you first have to understand the different flooring layers. This is because the first step to fix a water-damaged underlayment is to remove the damaged flooring.
The specific steps of fixing it are included in the article. We also included the definition of underlayment and its use. Lastly, we included the topic of insurance and whether water damage is included in the insurance coverage.

What Is Underlayment?
Underlayment is a ¼-inch to a ½-inch thick sheet of material in the middle of the subfloor and the finished floor. Its material can be felt, fiber, foam, or rubber. However, plywood is more commonly used as an underlayment, so people confuse it with the subfloor.
The subfloor is a continuous structural surface, a foundation. It is placed on the floor joist. The flooring underlayment, on the other hand, helps with sound absorption and insulation to your flooring.
Why is it essential to use underlayment?
The floor underlayment is essential for the following reasons:
1. Sound reduction
The material used for underlayment should be recycled fibers that absorb sound (not plywood). This is to keep the sound within the room and not have it transfer from room to room.
2. Moisture protection
Some underlayment also has moisture protection properties because of its built-in vapor barrier. This is recommended for concrete subfloors because they usually emit moisture, which may damage your flooring.
3. Resistance to compression
There are parts of your house where there is consistent traffic, leading to dented areas. However, if your flooring has underlayment, then it could serve as a support to prevent your flooring from being damaged from high traffic.
4. Smooths imperfections
Subfloors are not always smooth and level, and underlayment can even out the subfloor’s roughness. This helps in cutting down the subfloor surface’s prepping time.
5. Insulation
Lastly, underlayment helps in keeping your home comfortable during temperature changes.
Steps In Repairing Water-Damaged Underlayment
Step #1. Prepare materials
The materials you’ll need are sheets of underlayment, galvanized 3D ring-shank nails, dust mask, pliers, safety glasses, knee pad, utility knife, heavy work gloves, and a pry bar. You will also need a vacuum, a broom, a chalk line, a large trash can, a hammer, and a circular saw.
Step #2. Remove damaged flooring
Like with any water-damaged structure, you have to dry the flooring first before you proceed with anything. You also have to repair the leak or the root cause of the water damage so that this would not happen again.
To remove the damaged flooring, start in one corner and pull the flooring loose. Then use a pry bar to remove the nails and to separate the layers of the flooring.
Step #3. Assess the damage
You cannot assess the damage from the surface level, so it is more effective to remove parts of the flooring first. From there, evaluate the deterioration of the underlayment, especially around the areas where water is unavoidable. After that, you can proceed in determining which parts should be replaced.
Step #4. Cut into panels
After determining which parts are damaged, then cut the underlayment into sections. Mark the underlayment you want to remove with a chalk line. Then, use the circular saw to cut through the panel.
Do not cut through the subfloor when you cut the underlayment. Also, wear goggles and gloves while you cut the panels.
Step #5. Remove the underlayment
To remove the cut sections:
- Use a hammer or a pry bar.
- Pull up any nails or staples and separate the underlayment from the subfloor. If there is small debris, then throw them into the trash can.
- As for the larger pieces, stack them on the side.
Step #6. Scan the subfloor
Inspect the state of the subfloor, whether it was damaged by water too or if it was accidentally scarred. If the water damage has reached the subfloor, then it needs to be replaced. If not, then make sure to secure all the fasteners.
Then, clean the subfloor and remove any debris. Vacuum it as well to prepare it for underlayment installment.
Step #7. Underlayment installment
After cleaning the subfloor, you can now install the underlayment. You can either install the underlayment with a seam filler or without. The latter is much easier to do, though.
To install the underlayment, lay it down with the smooth side up. Place the underlayment panel’s long edges at least two inches from the subfloor’s long edges.
With the underlayment’s short edges, place it at least two inches away from the floor joists. Then, keep the panel about ¼-inch away from the walls for expansion purposes.
Then, fasten the panel with a 3D ring and do the same with the other boards. Inspect the panels, then install the new flooring material on top.
Is water damage included in your insurance coverage?
Your insurance company should clarify the specifics of the policy of your insurance coverage. They generally consider accidental leaks and water damage. However, it is still advised that you ask your lawyer for help with your insurance statement.
Conclusion
Knowing how to replace water damaged underlayment is one thing; maintaining it is also a part of your responsibility. We hope that you would never reencounter water damage on your floorings again, but if you do, you now know how to deal with it.
