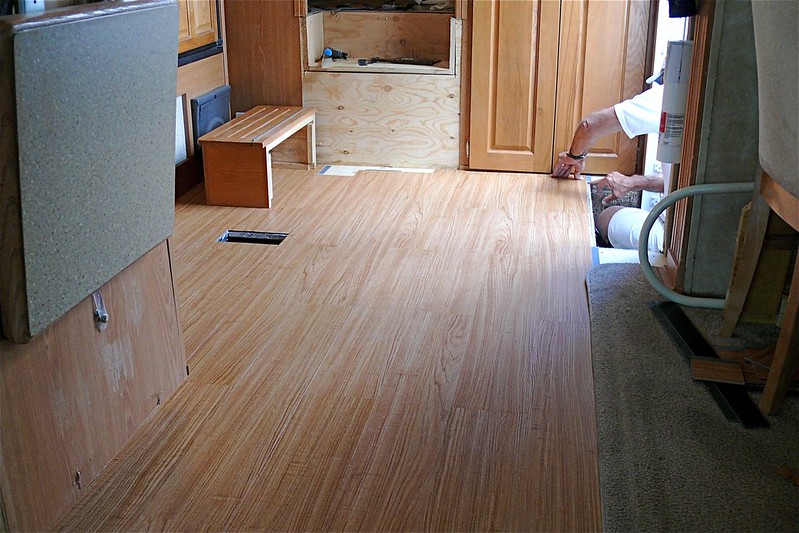
Replacing water damaged RV floors is easy when you know our five steps in how to replace water damaged RV floors. Water damaged RV floors can be really devastating when left unattended, and we can agree that we all want a worry-free place to rest, whether it’s for camping or for home use.
RVs or Camper vans are vehicles that provide both means of traveling and resting accommodation. Most of these vans have wood floorings that help in insulation. Having sturdy and reliable flooring is not a luxury for RVs but a necessity.

Water damage on an RV’s floor is something not to be taken lightly. With all the weights inside, the appliances and furniture, and you, a crumbling flooring can spell disaster. With that in mind, having the skills and the idea of properly maintaining your RV’s flooring will definitely be worthwhile.
Steps In Replacing Water Damaged RV Floors
Water damaged RV floors are not something you leave unattended. As the structure that supports the entire interior of the RV, it must always be sturdy and structurally sound. So here’s how you replace water damaged RV floors.
Step #1. Assess the damage
Before you start tearing up your RV’s floor, first, you must determine the scope of water damage the flooring has. It doesn’t mean that because a portion is water damaged, you’ll need to remove and replace the entirety of your van’s floor.
Determine how wide the damage has gotten to. Check the entirety of your RV’s floor and record which areas need replacements. Find traces of water damage such as molds, water stains, and softening or even rotting floorboards.
Step #2. Remove the damaged areas
After identifying places that need replacements, cut out the damaged portion in blocks. Trace out where the damaged areas are, which can be soft or has stains. Cut out an inch farther than the damaged part and give yourself room to work with.
The floorboards usually have screws in them so remember to unscrew them before you cut them out. Remove the portions altogether, both externally and internally.
Step #3. Prepare the area for replacement
After taking out the damaged portions, the next you will need to do is to dry and clean out the area thoroughly. Dry out the wood frames to know where the water seeps in so that you can do some preventive measures before you install the replacement flooring.
Step #4. Apply sealants and preventive measures
After drying and cleaning out the area for replacement, you must first take preventive measures for your frames. If you have done your replacement, but the underlying root cause of the problem is still there, then your work would be in vain.
Remove any traces of mold growth if there are some left and apply anti-mold growth solutions to the replacement area. Just follow the steps that are provided on your anti-mold solution and use it adequately.
After dealing with the mold growth, you must seal the wood frames to harden and waterproof the frames. Epoxy resin can be an excellent choice to apply in wood frames because it provides a waterproof bond and prevents mold growth. Let it sit depending on the instructions on your sealant application.
Step #5. Cut and install replacements
After doing the preventive measures, it’s time to cut and install the replacement floorboards. Measure and cut the area that needs to be replaced.
Use the same thickness as the previous floorboards. Cut the exact dimensions of the flooring that you removed.
Before you install the new floorboards, check and replace any damaged insulation in the area of replacement. After that, fit the new floorboards and fasten them up with screws. Now that the new floorboards are in place seal the seams with a sealant and fill the gaps.
Signs that your RV has water damage
There’s a couple of signs that you can observe in your RV if it has water damage. This includes staining, mold growth, damp or musty smell, and as well as rusting. As soon as you can see these signs, it would be best to do a thorough inspection of your RV.
How much does it cost to replace an RV floor?
Replacement costs of water damage in an RV would primarily depend on the extent of damage it sustained. Greater the area of damage, the higher the price. The additional cost would also come with every part that needs repair or replacement, such as the framing joints.
Hiring a professional will also be part of your budget if you have no idea how to do the replacement yourself. So it’s better to have the skills and knowledge on this kind of thing when you want to save money. There is also insurance coverage for RV’s regarding water damages for people living full time in their camper vans.
Conclusion
Water damaged floorboards in an RV might be a terrifying thing, but with the knowledge on how to replace water damaged RV floors, it won’t be as scary a situation to deal with. Having a structurally sound RV is reassuring, especially when you are fond of going on camping trips.
