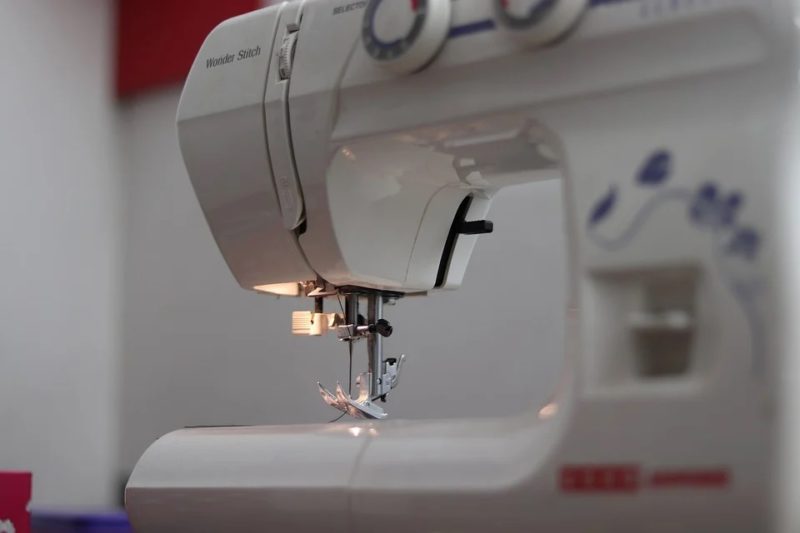
There are two steps, and you’ll learn how to replace tension assembly on sewing machine. First, we’ll teach you how to remove the thread tensioner and pull out the assembly. This article will also discuss adjustment tips.
Besides the tension, are you also having issues with your sewing machine timing? Consider our article on how to fix sewing machine timing to solve this problem and keep your unit working smoothly.

How To Replace Tension Assembly On Sewing Machine Yourself
Step 1. Remove the front part of the sewing machine
- Read and study the manual of the specific sewing machine you have
- Find the faceplate at the front of the sewing machine
- Remove the faceplate
Step 2. Pull out the tension assembly
- Rotate the tensioner dial and if the tension on the thread remains the same, pull out the tension assembly
- Loosen the set screw by rotating it to the left
- Hold the thread tension assembly with your fingers tightly
- Pull the thread tension assembly out and towards you
- Plug the replacement tension assembly into the sewing machine
- Secure it in place via the screw
How To Adjust The Tension On A Sewing Machine
Basic sewing machine tension adjustment
Basic sewing machine tension adjustment is what you’ll do to maintain your sewing machine. It’s also relatively easy to do, but you should still consult your sewing machine’s manual.
- Select one thread color to fill the bobbin
- Set the sewing machine on medium speed
- Thread the sewing machine with a new needle
- Set the stitch length you use often and the upper-tension regulator at the middle of its range
- Sew to check the stitches and adjust the tension via the bobbin spring
- Tighten the bobbin spring if the bobbin thread is visible on the upper layer of the fabric
- Loosen the bobbin spring if the needle thread is visible underneath the fabric
- Remember the tension setting for this thread to produce the stitch you want, so you’ll have a reference for the bobbin screw position in this instance
Temporary sewing machine tension adjustment
Besides the basic sewing machine tension adjustment, you might also need to adjust for some occasions temporarily. For example, you will make a temporary adjustment when you’re changing the fabric, stitches, or thread.
- Select the needle thread and bobbin thread
- Fill the bobbin and thread the sewing machine to test sewing
- Observe the adjustments needed for your stitches
- If your tension dial adjustment does not suffice, take off the second bobbin case
- Move the screw to tighten or loosen it until you get the perfect tension
- Light threads on the needle and bobbin will have balanced tensions
- Heavy threads on the needle and bobbin will require higher tensions
- Heavy materials will be better with light tension
What Tension Should My Sewing Machine Be On?
The tension that you must use for your sewing machine depends on the project. However, it should be easy to know the correct sewing machine tension since the stitch quality will be good on both sides of the fabric. You’ll also know that the tension is proper when the seam is elastic and durable.
Signs of balanced tension
- The knot between the top thread and bottom thread is hidden between the top fabric layers
- Strong and elastic seam
- Stitches are even and consistent on both sides of the material
Signs of unbalanced tension
- The knot between the top thread and bottom thread is visible on the left side when the lower tension is too loose
- The knot between the top thread and bottom thread is visible on the right side when the upper tension is too loose
- Puckering seam or gap in the seam
How To Adjust Tension On Sewing Machine Bobbin
- Find the screw on the bobbin case
- Turn the screw on either side to increase or decrease the tension
- Always make small adjustments and test each time
- Tighten the bobbin tension to fix backlash or when the bobbin thread keeps unwinding, but the machine stops sewing due to a very fine bobbin thread
- Loosen the bobbin tension to fix the bobbin thread that won’t unwind due to being too heavy or thick
You can also read this article on how to put a bobbin in a sewing machine for more tips regarding this part of the machine.
What Is A Tension Assembly On A Sewing Machine?
The sewing machine’s tension assembly is the part responsible for adding resistance to the top thread. This way, the stitches will look good and equal, and the seam will stay durable since the top and bottom thread will interlock successfully. Some sewing machines also use tension plates where the thread can go in between.
The top thread resistance is stronger than the bottom of the top thread when the machine pulls the bottom thread to the top. Therefore, you can’t also see the top thread underneath the material. On the other hand, you won’t see the bottom thread at the top of the fabric if the bottom thread resistance is stronger and the top thread is pulled underneath the material.
Conclusion
Was this article helpful? To recap how to replace tension assembly on sewing machine, you’ll remove the faceplate then pull out the tension assembly. You can also adjust the tension of the unit via the knob to ensure quality stitches and seam.
Furthermore, make sure to learn how to set up a sewing machine. You will benefit from this tutorial to ensure that you won’t have issues while sewing.
