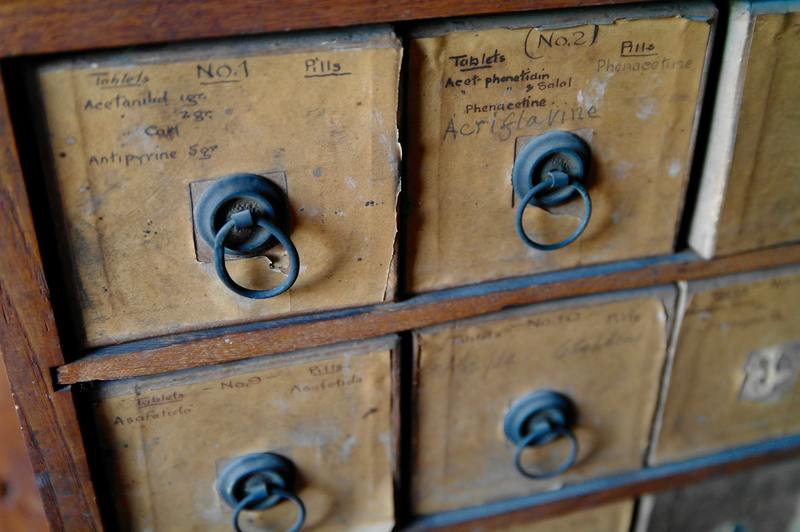
If your area is prone to harsh weather conditions and you want to preserve your cabinets, you need to learn how to repair water damaged wood cabinets. After all, those and almost every piece of wooden furniture in our homes these days are expensive and one-of-a-kind.
Water and moisture contact has been causing havoc to wooden structures and materials for a while. You’ve probably seen how these woods lose their form and strength over time and ultimately crumble in the end.

Steps In Repairing Water Damaged Wood Cabinets
Instead of throwing away your water-damaged wooden cabinet and buying a new one or hiring a professional to repair your cabinet, why not do it yourself? Learn how to do the repair, saving your money and providing you a self-accomplishment that you could be proud of.
Step #1. Preparation
Aside from preparing your tools, safety equipment, and workplace, you must also prepare your cabinet. Empty your cabinet of everything inside. After emptying out, also try to remove the cabinet door from its hinges.
When doing the entire procedure, try to work on a dry area. This would help you clearly identify the damaged parts clearly and make your work much more efficient. Remember to dry your cabinet as well.
Step #2. Damage assessment
Now that you have prepared what you need, the cabinet that needs repairing, and yourself, it’s time to identify where the damages are and where it came from. Determining where the source of the damage comes from will help you prevent future damages and preserve your cabinet even more.
Check the area where your wardrobe was previously located and see if there are leaks or some other source of the water causing damage. You can repair or apply some measures in that area to avoid damaging your cabinet in the future.
Now it’s time to look into your cabinet’s damage. Assess the level of damage, whether it is still repairable or it does need replacing.
Step #3. Repair and replace
After assessing the level of damage your cabinet has, it’s time to do your repair. For the delaminated cabinet, try to use a carpenter’s glue to the delaminated layers first and use a clamp to stick the layers together. For warped cabinets, you need to apply temporary braces for stability.
Use your glue and screws to fix the warped areas. Remove the braces after the restoration process is done.
If the problem lies with water stains due to prolonged exposure, you can remove these stains by applying oxalic acid. Before using, though, you must sand the finish if there was in the first place. Just follow the mixing and application procedure of the product.
After applying and the stains are gone, neutralize the acid by applying baking soda and water. Use a soft material like a sponge in the process to avoid damaging the cabinet’s surface.
For minor damages and blemishes, you can use a shellac-based wood primer to even out the surface, and it would also help you apply paint later in the process if you so desire. You can also use wood fillers for sealing and repairing damages.
As there are repairable parts, there are also those beyond redemption. For replacing irreparable parts, find suitable or identical material used for the cabinet and make a fit for the replacement in the wooden cabinet. You can seek a professional opinion if you ever decide whether this portion is necessary or not.
Step #4. Refinishing
This is the last part of the repair but also a significant part. To restore your cabinet to its former glory is quite a challenge worth taking on. The finishing process would determine if you did a good job and preserve the cabinet in the future.
After doing your repairs and applying some sealants, glue, and screws, it’s time to sand the surfaces to make them clean and even. Use a lighter sand finish to avoid scraping a large portion or causing deforms in the cabinet you just repaired.
When the sanding is done, wipe the excess dust particles, and you can now apply your finishing coats. Wood sealants that would extend the wood’s lifetime and prevent damages in the future due to water exposure. Waterproof varnish is highly suggested.
If you, however, want to repaint your cabinet, the shellac primer will help you a lot. After repainting the cabinet, sand the surface lightly to smoothen it and even the excess.
When all of the coatings are done, you can apply deodorizing agents that would prevent the growth of bacteria or molds in your cabinet to ensure clean and long-lasting storage.
How to protect wooden cabinets from moisture
Applying waterproof varnish and finishing coats in your cabinet is highly recommended to protect the cabinet from exposure to moisture. You can also place them far from a water source if you can. Proper placement of your wooden cabinets is vital if you want a long-lasting cabinet to use.
Common products to protect the wood from water
Some of the standard products would include wood stain sealants. A mixture of linseed oil or a tung oil hand rubbed into the surface for waterproofing purposes. You can also try wooden varnish or lacquer paint as water protection for your wooden cabinet.
Conclusion
Now that you know how to repair water damaged wood cabinets, why don’t you mend your wooden home cabinets from now on? Not only is it a great skill to have, but you can also save yourself some funds.
