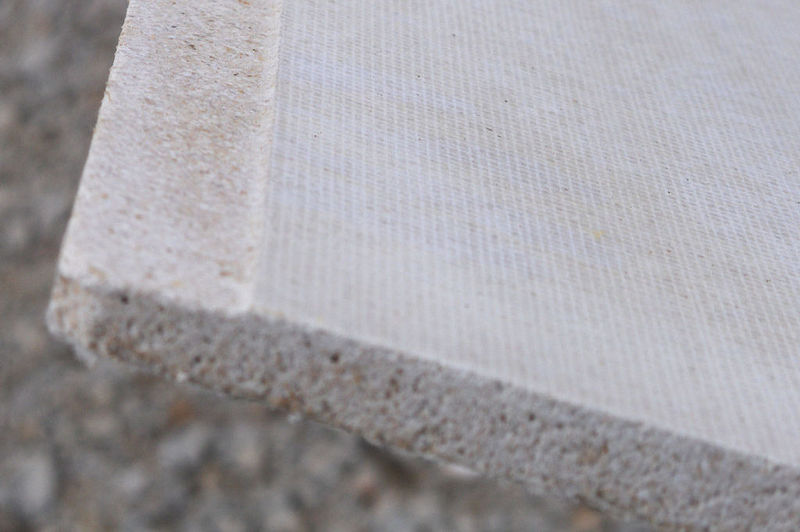
Water is no doubt a necessity but it turns into an enemy when we are faced with the question of how to repair water damaged wallboard. However, this is not the time to fret. This guide will help you return your interior walls and ceilings to its best condition with these easy to follow instructions.

Before You Start Repairing
The sight of the water damaged wallboard might have made you feel itchy to fix it in an instant. Although that is the main reason you went here, there are crucial steps you must take to ensure a repair that will definitely serve its purpose.
Step #1. Spot the leaks
To know how to address the problem, one must first find any signs of it and trace its source. It would be frustrating to repeatedly do the same steps and not recognize the root of the water damage. In this case, no matter how grand the repairs are, it will do no good.
Although some water leaks can hide from plain sight, there are ones which can be easily spotted with a single glance. You may have come home with dripping water on your ceiling or the glaring signs of failing structural integrity on your wall. Either way, take a mental note to locate the source of these as water may have already travelled far from the leak.
Step #2. Check mold infestation
If the leak has been around for quite some time, there is a high chance for mold growth in water damaged wallboards. Before you find any buildup, take precautions by wearing gloves, dust mask, and safety glasses. Through this, you will avoid inhaling some of the mold.
If what you caught in your little exploration is a black mold, leave it to the hands of the professionals particularly if it comes in large amounts. This type of mold is said to be hazardous to one’s health. However, if it is present with only a small amount, you can safely do the task of removing the moldy area yourself.
Step #3. Put away water damaged wallboard
Water-infiltrated wallboards will easily crumble with a slight touch especially if it had been sagging with large amounts of water. To carefully remove the compromised wallboard, utilize tools such as the claw end of the hammer or a wrecking bar.
If they have not been destroyed to this extent, try cutting out the ruined area to a square or rectangular shape by using a keyhole saw. Just like dealing with mold buildup, clad yourself in safety gears like goggles and dust masks. There’s no need to risk health while doing a little fixing around the house.
During The Repair
Now that the small preparations are done, it is time to perform the repair itself. Before anything else, this process will require slightly different steps for varying sizes of holes. This is the reason for the need to take the previous step.
For holes smaller than 6”
Measure the square or rectangular portion of the wall that you cut up earlier. Use these dimension details to cut a piece of wallboard that is 2” longer and 2” wider than the size of the hole. Lay this piece with the backside facing up and measure 1” on all edges.
After which, draw a line to clearly see the dimensions and cut through the layers of backside paper and drywall gypsum only. Lastly, peel away these layers while avoiding tearing the front-facing paper.
For holes bigger than 6”
Get a drill and make two small holes on the replacement piece of wallboard. Insert a string through it and tie both ends to the center of the stick.
The string should be as long as 8” between the board and the stick. The side with the stick will serve as the front face.
To apply pressure to the rear of the board, twist the stick. Afterwards, smoothly put a cement adhesive around the edges. Feed the patch through the hole and place it in a way that the cement adhesive can firmly hold the solid portion around the rear of the hole.
Lastly, turn the stick clockwise in order to twist the string and eventually elevate the pressure against the patch board. This will serve as the firm holder of the board while waiting for the cement adhesive to dry up.
After The Repair
For the finishing touch, apply a smooth coat of paint with a basis on the board’s width by using a zigzag movement. To achieve an even coverage, paint from the bottom to the top of each wall by employing light strokes. In areas that the roller can’t reach such as corners and spaces next to doors, it is best to use a small and angular paint brush to create a wall brushwork.
Conclusion
Water may prove to be an enemy in our household embellishment sometimes. However, there is nothing that a helpful guide from the web cannot fix. If things happen to go wrong again on your interior walls, review these steps on how to repair water damaged wallboard.
