Learning how to repair water damaged wall studs on your own allows you to save the strength of your home’s wall. It will also save you money, including the amount you can get from your insurance claim. The process of repairing water damaged wall studs simply includes the removal of the wall and decayed wood stud, applying an epoxy wood filler, priming the wood, and returning the wall.
Fixing damaged wall studs on your own is easy and simple, but is it necessary to do so? What do you need to fix the damage caused by moisture completely? Continue reading to know all of this and more about repairing your wall studs!

Why Is It Important To Fix Damaged Wall Stud?
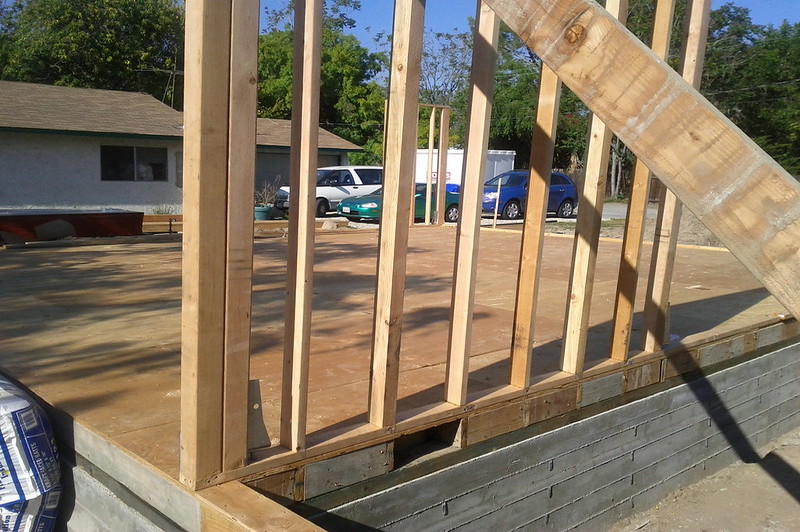
Wall studs are vertical frames in a building’s structure. They may carry a structural load or bear no load at all. Wall studs are usually where the walls of your home are attached.
Wall studs are a necessary part of the building’s integrity. Allowing it to rot completely or snap in half could potentially destabilize the whole wall and compromise the safety of your home. In addition, replacing the wall stud would be more costly than repairing it using wood filler.
How To Fix Wall Studs Damaged By Water
To fix the water damage in your wall stud, you will need epoxy consolidant, epoxy wood filler, a putty knife or screwdriver, and wood primer. You will also need protective equipment such as rubber gloves.
Step #1. Shut off the power
Before anything else, you should turn off the power in your home. Locate your circuit breaker and shut off the electricity.
Since you are exposing yourself to moisture and the wires inside the wall, turning off the power is a crucial step for you and your family’s safety.
Step #2. Expose the rot
Now, you can begin to expose the damaged wall stud by removing the wall. It is best if you expose as much of the wall stud as possible to show the extent of the damages. Usually, that means cutting out a significant section of drywall or plaster wall.
If your walls are made of different materials, you might need to remove the entire wall itself, including the baseboard. Examine the wall stud to see if it is still structurally sound and does not separate. If it almost separates or it already broke in half, you may need professional help to replace the wall stud.
It is crucial to expose all of the damage, so you should not hesitate to take out as much of the wall as possible. Let the wet wall stud dry out by giving it time.
Step #3. Fix the cause of moisture
Before fixing the wall stud, you should determine the cause of the damage. Finding and correcting the cause of the water damage will prevent the repair from happening again. Usually, this includes wall and plumbing repairs since a leaky or burst pipe is a likely cause.
Step #4. Dig out the rot
When the cause of the water damage has been repaired, and the wall stud has dried, the repair of the wall stud can begin. Using a screwdriver or a putty knife, dig out all the rotten wood. You should poke the good wood around the decayed area to remove all hidden rot.
Step #5. Applying epoxy filler
When all of the decay has been removed, you can now proceed to adding epoxy wood filler. First, coat the entire base with an epoxy consolidant.
Epoxy consolidants help the filler adhere better to the wood. Let the consolidant dry and cure for a few hours.
Once the consolidant is cured, you can apply the epoxy wood filler. Begin by pressing the putty into the exposed area, making sure to push hard to fill all the small gaps and holes. While wearing your gloves, you can shape the putty to match the surrounding area.
Usually, wood fillers will dry in a few hours, depending on the temperature. However, it would be best if you allow it to harden overnight.
Once it has hardened completely, you can sand the wood filler. To protect it from future water damage, you should coat the epoxy filler and the surrounding wood with a wood primer.
Step #6. Closing up
Once the wall stud is completely repaired, you can now return the wall. If you removed the whole plywood wall, you can screw or nail it back into place then return the baseboard. If you cut out a section of your wall, replacing drywall should be easy, too.
After you close up the wall, you can proceed to smooth and paint it to your liking.
Conclusion
Wall studs are essential parts of your home. When it gets damaged or rotten, the wall stud could break and compromise the stability of your walls and the safety of your home.
Knowing how to repair water damaged wall studs is a great way to save money on labor by fixing them yourself. By following six simple steps, you can potentially protect the integrity of your home without the help of professionals.
