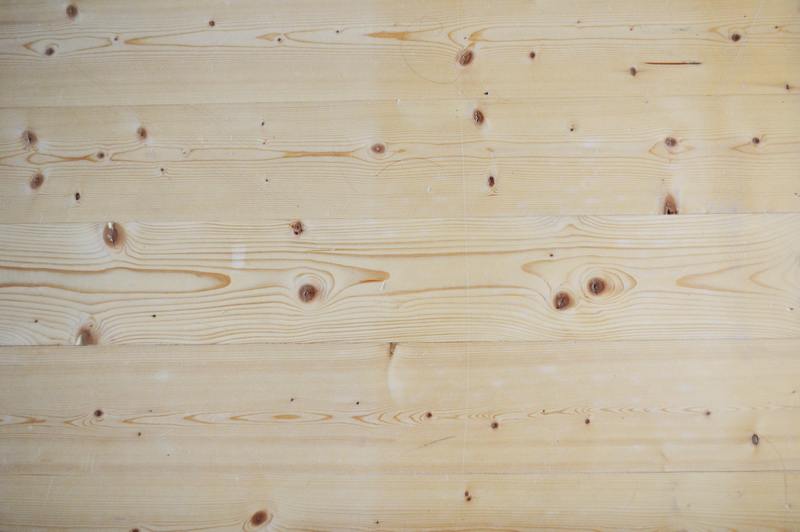
Replacing the damaged planks is the best way on how to repair water damaged plywood. You must prevent the rot from spreading to your other pieces of wood to keep them in good condition.
For lighter damage, epoxy penetrants and fillers can do an excellent job. Apply the epoxy to the edges of your board.

What Is Plywood?
You can make plywood by stacking several layers of wood together with high-quality adhesive. The glue makes a “cross graining” pattern which is excellent for a strong material that won’t change shape.
Plywood is a popular choice in construction; look around your home, and you may spot some parts made of this material. This wood is affordable and durable, so it’s an excellent choice for floor and ceiling material.
Particular plywood classes work with specific weather conditions, like dry, humid, or exterior. So, try to determine which you should choose for your structure to withstand water damage.
Causes Of Water Damage In Plywood
Be careful with your plywood, though. It isn’t indestructible; this material can suffer water damage just like any type of wood.
Several factors can cause water damage in plywood. Maybe you left the planks outside, and they got wet in the rain, or there is a leak at home, and the boards were submerged for an extended time.
Floods can also bring water damage to your material; your plywood will swell, and the layers will break apart. Mold may also thrive from the moisture in the wood.
If you’re lucky, you can salvage your boards by leaving them to dry. However, some water damage is too severe for a simple day under the sun.
Repairing Your Water Damaged Plywood
There are varying degrees of water damage, so you will have to follow different procedures to fix your wood. Act as soon as you spot signs of water damage to make your work simpler.
Method #1. Small area damage
Sometimes, a small area of your plywood will be exposed to moisture. If this happens at the edges, then it’s an easy fix. All you need is a little epoxy.
Step #1. Remove wood paint or sealer
Your wood should be bare, so remove anything that could hinder your epoxy.
Step #2. Apply epoxy penetrants
Use a roller brush to apply a generous amount on your board. Leave it to cure so it can seep into all the crevices of your wood.
Step #3. Apply epoxy filler
Sometimes, water damage can cause rot that eats away at your plank. An epoxy filler can restore these areas and make your wood look good as new!
Step #4. Paint over the area
Now you can paint over the area to match the rest of the wood. Once you’re finished, your plywood will be even stronger than before!
Method #2. Large area damage
Sometimes, epoxy isn’t enough to repair the damage. If you see a large affected area on your plywood, then it’s better to replace the whole board. You will prevent any dirt or damage from spreading.
Step #1. Check for mold and mildew
Mold can develop from the moisture in your wood. Exercise caution and wear a mask, as some mold species are toxic.
Step #2. Dry out the area
If you spot moisture, dry the wood as soon as possible to prevent damage spread.
Step #3. Remove damaged carpet
Some homes place carpet or insulation above plywood, so moss may grow on these materials as well. Remove the heavily damaged parts and disinfect the remaining material.
Step #4. Remove the damaged wood
Take out the damaged board and clean it under the area. Be careful if you do this on the structural part of your house, and make sure you have sufficient support.
Step #5. Replace with new wood
Now, the area is clean, so you can apply the new wood. Make sure the size and class match your current boards.
Other Special Repairs For Plywood
Sometimes, water damage isn’t your only concern. You may need other special repairs for your plywood, so keep your eyes open!
Bubbles
Sometimes, the adhesive on your wood fails, and moisture enters the spaces. This moisture causes bubbles, and it can make your board expand.
Don’t stress, though; it’s a simple fix. Just cut the veneer edges around the bubble with a chisel or utility knife, and allow the area to dry before removing the rest of the outer layer. Be careful not to damage the boards under, as they are still in good condition.
Dents and cracks
Plywood can develop battle scars from constant use, so you may see some dents and cracks on the surface. All you need is a little epoxy putty to fill in those areas. Just remember to sand over the epoxy once it dries to even out the wood plank.
Conduct a maintenance check on your plywood to see if it’s still in good condition, and fix the problems that develop. Regular checking will prevent you from having to do a major repair job.
Will Your Insurance Cover Water Damage For Plywood?
Several possibilities cause water damage, and your home insurance can cover those expenses! However, you need to be careful; some companies only include leaks in their insurance coverage.
For floods, you will need to get a separate policy to protect your expenses. Just remember to always consult with your lawyer for a clearer picture of your policy.
Conclusion
Plywood is the foundation of your home, so you need to take proper care of it. When you know how to repair water damaged plywood, you can keep your living space safe and beautiful.
