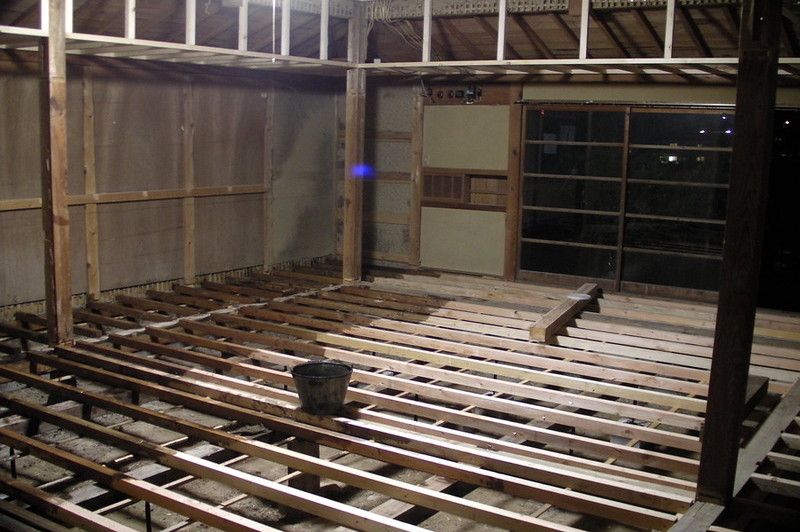
Water damage is a problem residential owners experience every year. This is why one should know how to repair water damaged floor joist. After all, these serve as a support to the floor area and provide stability to the whole structure.
Before we tackle fixing your damaged floors, let’s first understand the possible causes of this problem.

Causes Of Disrupted Floor Joist
Minor incidents like spills and occasional rain are not enough to damage the floor joists. It doesn’t work like that.
However, if the water somehow made its way to penetrate the subfloor and drenched the wood structure, it could be the start of a way more significant problem. Some of the water-related happenings that may contribute to the trouble are:
Water leaks
Water leaks have many causes, and it’s hard to distinguish at first where it comes from. The primary sources of water leaks are as follows:
Broken seals
Seals have the essential job of keeping water connections in place. They are also present in other areas like the washer and dishwasher doors to ensure that the water won’t spill on the surface.
You will know that these seals are broken if there is water splashing whenever you use these appliances. Puddles can creep into the gaps on the floor and eventually reach the joists.
Pipe bursting
The pipes can burst due to several reasons, such as excessive water pressure, weak points, and broken seals. This is a serious problem for a homeowner. They are not always the easiest to fix because they are mostly hidden behind walls and floors.
The water from a burst pipe can soak the wood floorings, subfloor, and joist and cause sagging and rotting if left untreated.
Flood
Flooding due to thunderstorms, water problems, and leakage has a high possibility of damaging the joists. Unfortunately, flood-related destructions are not usually covered by insurance unless it’s a result of an accident. If a large area of the floor joist is affected, it might cost you a substantial amount of repairing it.
Plumbing problems
There are many situations where floor problems are related to plumbing. They are often located underneath the floor, so the moisture can be soaked up by the wood when a pipe leaks.
Fixing Damaged Floor Joist
Not every damaged floor joist suffers from the same effects. Before fixing the affected area, it’s necessary to assess the situation first and understand what needs repair and what requires total replacement.
Method #1. Joist sistering
Sistering includes a fastening of an identical wood to the existing floor joist to provide stronger support.
Method #2. Beam replacement
If the case is severe and the majority of the structure is affected, then beam replacement would be the best option in the situation.
Today, we’ll focus more on sistering because it is the easiest thing to do without calling for help from professionals. It is also the most used method because it doesn’t require a complete replacement and only focuses on the affected joists that need repair.
Here are the needed tools to prepare:
- Level
- Hammer
- Reciprocating saw
- Power saw
- Structural screws
- Tape measure
- Hydraulic jack/metal jack posts
- Wood shims
- Framing lumber
- Impact driver
If the case is not too severe and the joist only needs some repairing but is still in good condition, you can fix this using sistering. You can always ask your lawyer if this damage is included in your insurance coverage, but if not, you always do it yourself as long as you have the required materials and tools.
This is not an easy task to do so make sure that you understand fully the process to avoid mistakes that may be a bigger problem in the future. Here are the steps that you can follow.
Step #1. Secure the area by removing electrical wires, cables, and pipes that might interfere with the process. Also, remove all of the screws and hardware in the place you’re going to work in.
Step #2. Install a new piece beside the existing joist. This will strengthen the structure by doubling the thickness of the frame. Bolt the two components using structural screws.
Step #3. Prepare a support beam. Place it under the affected joist and put the jack hydraulic press against it on the floor.
You can start jacking until the beam is secured but make sure to do it slowly. Too much pressure can trigger cracks which can worsen the status of the joist. Jacking for 1/8 of an inch a day is enough to improve the level.
Step #4. Make a jack post by fastening two boards. This will hold the position of the joists and prevent bending through the process. Make sure to always level the pieces to ensure that they are aligned.
Step #5. Once the joists are now in place, screw the piece and the sister together. Check for notches and make sure to fill them in for a more solid installation. Secure the parts using a joist hanger, and you’re done!
Conclusion
Upon owning a house, there are several things that you should learn how to do yourself. Calling someone for help at all times will only be costly and inconvenient.
Among the skills you must acquire is how to repair water damaged floor joist because water-related incidents are more common than you think. Feel free to use the guides listed in case something similar happens right now or in the future.
