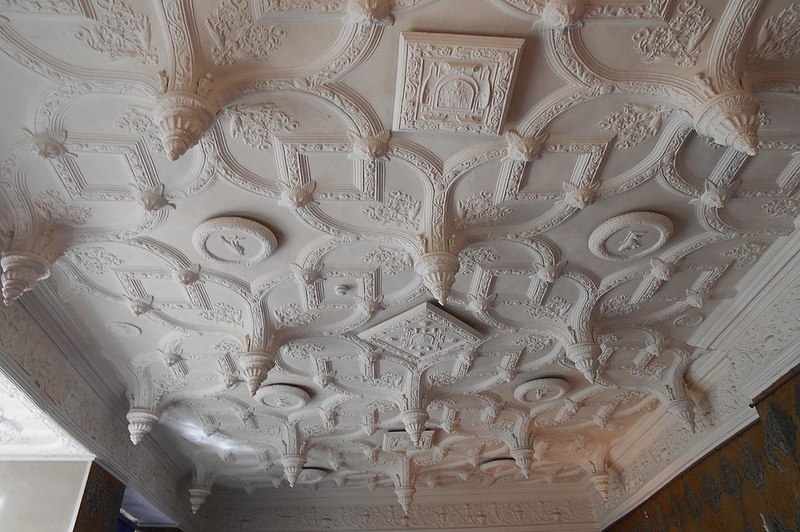
Water damage is a menace, and even the ceiling plaster is not safe from it. If you want to know how to repair water damaged ceiling plaster, this is the perfect how-to article for you.
To repair water-damaged ceiling plaster, you have to first assess the damage and then prepare the area and yourself for the repair process. This how-to article includes steps in repairing a water-damaged plaster ceiling, the duration of its drying process, and the costs to fix it with and without insurance.

Steps In Repairing A Water-Damaged Plaster Ceiling
Before the ceiling repair, the things you need to do are the following:
Move your furniture
Remove your belongings and your furniture from under the wet areas. Moreover, try to absorb the water from the ceiling without it reaching the flooring to prevent damage to the latter. You can use buckets or towels to collect or take in the water from the plaster.
Gauge the damage
Survey the area and determine where the water is coming from. Plaster tends to hold the water until it is soaked up, then releases it.
If your plaster ceiling is sagging, poke a hole to remove the water. Always make sure you have a bucket to collect the water from the plaster.
Prepare for repair
Cover the floors with plastic to protect them from water damage. Ensure that you remove all the water from the ceiling and its affected areas, as well as excessive moisture to prevent mold growth. Lastly, open the windows for ventilation.
Step #1. Remove the damaged pieces
Before the ceiling repair, it is imperative that you dry out your ceiling first. If it’s already dry, get your putty knife and remove the cracked paint and plaster. Make sure that the area is smooth before patching.
Step #2. Fill the cracks and holes
After removing the damaged paint and plaster, fill the holes and cracks with a mixture of joint compounds. Let the compound dry before proceeding to the next step.
Step #3. Cover the surface
After filling up the cracks and holes on the plaster ceiling, add a coat of primer on it. Afterward, use a putty knife to apply the joint compound.
Ensure that the layers are thin so that it does not take long to dry. Add another coat after the layers have dried out.
Step #4. Sand the ceiling
After the compound has dried, sand the ceiling to rid its surface or imperfections. Put on your safety goggles for this step. After sanding, remove the dust with a damp cloth.
Step #5. Retouch the ceiling
Coat the ceiling with primer again after sanding. Wait until the primer dries.
Then paint the area in the same color as the rest of your plaster. Let the paint completely dry before you put your furniture back.
How many days does it take a plaster ceiling to dry out?
The short answer is it depends. However, on average, it takes about five days to dry. Areas of the water-damaged ceiling that are not saturated with dry air tend to take fewer days to dry, while humid regions of the plaster take longer to dry.
Water damage professionals are the ones experienced in dealing with these cases. They help in drying out the ceiling, removing the furniture and the excess water, and doing the repairs. You can seek them out in case you cannot deal with your water-damaged ceiling.
How much does it cost to repair a plaster ceiling?
Cost with insurance
Among the common claims for insurance by homeowners, water damage is the third most common concern. It is a severe concern for homeowners since every year, one in 50 insured homes claims property damage due to water damage.
Although, insurance companies only give out under $7000 for an average insurance claim. However, it still depends on your situation, so it is best to consult your lawyer first to ensure that your insurance company covers what they should cover.
It is good to note, however, that insurance companies do not cover gradual damage, damage caused by neglect, and mold (except for a few states). It is imperative to care for your home. Otherwise, you will have to spend so much to repair it.
When you’re doubtful of how to make your insurance claim, especially with the above conditions, it is best to contact your lawyer.
Cost without insurance
Typically, the range for plaster ceiling repairs ranges from $65 to $80 per square foot. This includes materials, labor, and preparation and protection costs. Naturally, the more extensive the ceiling damage is, the more expensive it will be.
Usually, the added rate of repair is $60 to $90 per hour. On average, homeowners spend $790 for plaster ceiling repairs. Although some just spend $125, extensive damage can reach up to $2,700.
Conclusion
You have learned how to repair water damaged ceiling plaster. However, if you ever struggle with fixing it, you can opt to have professionals look at it. Either way, we hope we were able to help you out with your problem!

It is important that your furniture should be away with water to avoid further damage. Sanding is helpful to get rid of stains. Thank you for this article.