You may be wondering how to repair water damaged beadboard paneling now that you are here. If that is so, you are in the right place to find assistance.
Continue reading and explore what beadboard paneling is, how to repair a water damaged one, and how to take care of it.

Beadboard Paneling
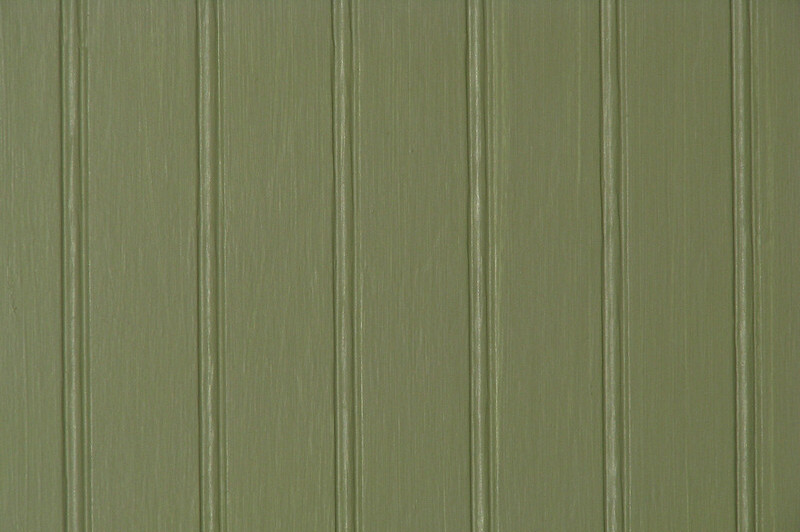
Beadboard panel is named such based on the slightly rounded indentations that separate the vertical strip which makes up the paneling. This paneling is mainly used on lower walls inside your home but can also be applied to your bathrooms, dining rooms, living rooms, laundry rooms, and doorway.
Beadboard is a retro design that can give your home an elegant and warm sensation. One can make it with wood (oak, pine, fir, cedar), PVC, plywood, or fiberboard.
Beadboard paneling is an excellent way to add an aesthetic feel to your home quickly and inexpensively.
Here are a few aspects of why you should pick a beadboard paneling:
- It is durable
- Adds texture to your home’s interior design
- It is easy to install
- It is way cheaper than tiles
- You can apply beadboard panels in various places. You can use it on ceilings, backsplash on your kitchen, or exterior/semi-exterior areas
- It is customizable; you can choose which material it is made from or what color and style would suit your home
You may view these two articles concerning what is beadboard paneling and the nine most useful beadboard paneling facts you must know.
Repairing Water Damaged Beadboard Paneling
If you use beadboard paneling for your bathrooms or exterior areas, it is highly likely to get water damaged through accumulation. In cases with water damaged panels, it’s better to replace them.
Step #1. Assess the damage
Firstly, you’ll have to assess how far and how much the damage is. It’s also so you’ll know how much of the beadboard paneling you have to replace.
Step #2. Extract the damaged panels
To remove the water-damaged parts, you can use crowbars. Then gently pry damaged panels until there’s only a bare wall.
No need to remove all boards; you can remove those damaged ones.
Step #3. Identify the source of damage
Identifying the source of water or liquid that causes damage to the panels would also help prevent it in the future. Before replacing the beadboard panels, fixing the origin of deterioration would help avoid the same damages from occurring again.
You can choose from several ways to dry the moisture from the wall, like using room fans, dehumidifiers, or desiccants. Ensuring that the area has proper ventilation or good airflow can also aid in drying out the dampness.
It’s best to let the wall be arid before installing your replacement beadboard panels.
Step #4. Measure the needed panels
See how much of the beadboard panel you need to replace using a tape measure, then mark it on your newly bought boards.
Then, cut the material following the marks you made to ensure that you won’t exceed or lack a few inches. You can utilize a miter saw or hand saw for cutting beadboard panels.
Step #5. Installation of the beadboard panels
You’ll need another helping hand for this segment, so be sure to talk to a friend or a family member before proceeding. Then you’ll need an epoxy resin, a hammer, and nails.
Apply epoxy resin on the panel’s backside, and press it firmly to the wall. Let it dry for a while.
Using a hammer and nails, lodge the panel firmly in place. To ensure that the nail is firmly installed and wouldn’t loosen up in the future, use a nail set to do the final blow.
Step #6. Finishing touches
Use sandpaper for sanding the beadboard panel before brushing the remaining debris off. Then apply your primer first, and let it dry.
Follow the primer with your chosen paint color. Let the first coat dry before following another and leave it to dry again.
Lastly, coat the already dry paint with a water-resistant sealant for further protection against water damage.
You may also want to see this article about how to fix water damaged paneling for other related content.
Tips on how to take care of beadboard paneling
Here are a few tips to help you prolong the life of your beadboard panel in manageable and straightforward ways:
- When choosing your beadboard, you shouldn’t only focus on the style but also on how thick the board is. Thickness can add to the durability of the panel.
- Choose the most suitable material to place in a specific area. If you want it in your bathroom, it’s best to choose a material that can withstand coming into contact with water.
- Be sure to apply a water-resistant sealant for additional protection against moisture.
- Regularly clean the dust, especially on the indentations.
- You can clean beadboards made from PVC or fiberboard with a mixture of water, soap, and vinegar.
- Commercial cleaners with citrus components are great for removing bubbled gums, crayons, and stickers’ adhesive.
- If your beadboard paneling is wood, avoid cleaning solutions with harsh components. Natural cleaners with water or vinegar as a base are your best option.
- Having proper ventilation or good airflow inside your home would help.
Another helpful piece of content you can visit is this article titled why does wood get damaged by water.
Conclusion
Within six steps, you’ll know how to repair water damaged beadboard paneling based on what is written above. Hopefully, the content was able to enlighten and assist you in this piece of a hurdle.
