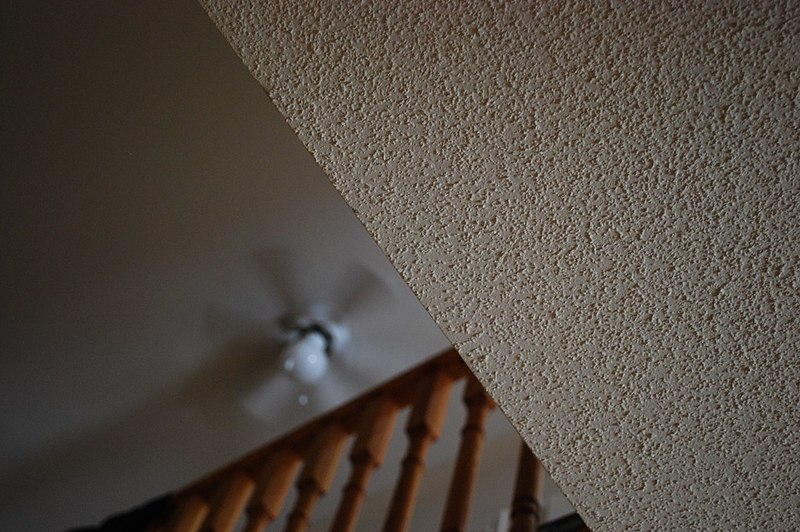
Ceilings may even be homely to remark, but water damage is not. Here we’ll tackle the same problem: how to repair water damaged acoustic spray ceiling.
During the 1970s and 1980s, acoustic ceilings, sometimes known as popcorn ceilings, were immensely popular in new construction. Originally, acoustic material frequently contained asbestos. Today, acoustic material commonly comprises small Styrofoam or synthetic balls the size of bee-bees, which produce the same effect on the ceiling.

Acoustic comes in powdered form in 50-pound bags that need to be blended with water or paint. Some professionals mix the acoustic material directly with the ceiling’s interior paint. However, this method can result in hairline fractures in the final product.
The preferred way is to mix the texture with water, spray it on the ceiling, and then paint at least two thin coats of paint over the dry surface with a paint sprayer once it has dried thoroughly.
Fixing Water-Damaged Ceiling With Acoustic Texture
Do you have textured ceilings that have been damaged by water or a hole that needs to be repaired? Almost every wall develops defects over time, but you can restore a textured ceiling flawlessly with this advice and step-by-step instructions.
Step #1. Preparing the room
The process of preparing for new construction is relatively simple. To protect the walls and windows from overspray, use plastic sheeting and masking tape.
You don’t have to be concerned about overspray on the sub-floor. The room preparation is more thorough if you’re remodeling.
As much as possible, you should remove furniture and other things from the room. Drop cloths are suggested to be used to protect the remaining furniture and the room’s floors. Protect all vertical surfaces with masking tape and plastic sheeting.
Remember that the spraying process will splatter on all exposed locations. To prevent overspray from affecting open doors or hallways, cover them with a vertical sheet of plastic.
Step #2. Preparing the ceiling
Always clean the ceiling surface with a damp clean cloth and prime the ceiling with drywall primer for the best possible texture adherence. Cleaning the top removes dust particles that could hinder the new texture from adhering well to the ceiling surface.
Preventing discoloration, providing a clean uniform surface, and preventing potential loss of adhesion on sanded, taped joints can all be accomplished by painting the ceiling with a priming layer. Before applying the acoustic texture, let the primer coat dry completely.
Step #3. Mixing acoustic texture
Powdered acoustic texture comes in 50-pound sacks. Using an electric paint mixer, combine the surface with either water or paint. Whatever method you use, the textured liquid should have the consistency of lumpy pancake batter after mixing.
To avoid spraying lumps of dry material onto the ceiling, thoroughly mix the acoustic powder. Dry material lumps will ruin the finish and, once dry, may result in a loose acoustic texture.
Step #4. Application of acoustic texture
Using a texture hopper and an air compressor spray setup, apply the acoustic texture to the ceiling. For those first-timers, try using the equipment on scrap plywood or drywall before starting on the top.
To get the right pressure setting, adjust the air pressure through the spray gun. Instead of one heavy texture application, you should apply two or three light coatings equally throughout the entire ceiling. Because of the coat’s weight, it’s more likely to cause clumping or spots where material slips off the top before it dries.
Acoustic Ceiling Painting Techniques
If you didn’t add paint to the acoustic mixture, you’d need to apply an interior finish coat to the ceiling. Before you paint the new hearing, make sure it’s scorched.
Do not use a paint roller to apply the paint unless you have prior expertise in painting acoustic texture. Instead, softly apply the surface using an airless paint sprayer.
Paint the new texture with at least two thin coats of paint, allowing each coat to dry completely before applying the next. Never back roll a freshly sprayed ceiling with a paint roller or apply heavy pigment coats to the new texture.
How to hide the stains in your ceiling?
To begin with, not all water damage necessitates the removal or fixing of the ceiling. If the ceiling texture isn’t crumbling, falling, or molding, it may limit some damage to water stains.
Use an aerosol sealer in certain situations. Discoloration and stains such as smoke, water stains, and cooking oils are hidden with this sealant.
After the sealant has dried, apply ceiling paint to the area. Because it’s impossible to replicate the original color, you’ll probably have to repaint the entire ceiling.
Conclusion
It’s enjoyable to let your inner DIY-er loose by attempting to repair household issues such as ceiling damage, but keep in mind that if you need help, you may get professional assistance and contact your insurance provider to have the damage expenses covered.
Also, consult with your attorney for insurance coverage guidance. Hopefully, we covered everything you needed to know about how to repair water damaged acoustic spray ceiling.
