Those who want to know how to remove Singer sewing machine cover can do so in just two steps. This article will talk about the proper removal of the top and bottom covers. We’ll also teach you how to take apart a Singer machine.
Since you’re deconstructing your unit, here is how to service a sewing machine. You can give that tutorial a quick read, and it might help you maintain your machine as well.

How Do I Get The Cover Off My Singer Sewing Machine?
Step 1. Remove the screw of the top cover
- Study the manual of the specific Singer sewing machine you have
- Lower the take-up lever and presser foot
- Loosen the screw and lift the right corner of the top cover
- Slide the top cover to the left to take it off the machine
Step 2. Remove the screw of the bottom cover
- Check if you disconnected the machine plug from the receptacle
- Tilt the Singer sewing machine backward to access the bottom cover
- Remove the screws and the rubber cushion
- Pull the bottom cover towards you, and it should be removed
How To Remove The Bobbin Case From The Singer Sewing Machine
- Refer to the manual of the specific Singer sewing machine you have
- Raise the needle to the highest position
- Open the slide plate
- Remove the needle plate and bobbin
- Have the push button of the bobbin in sewing position
- Find the latch of the position bracket and swing it towards you
- Lift and slide the bracket to the right to remove the bobbin case
- Twist and lift it off
How Do You Remove The Base From A Singer Sewing Machine?
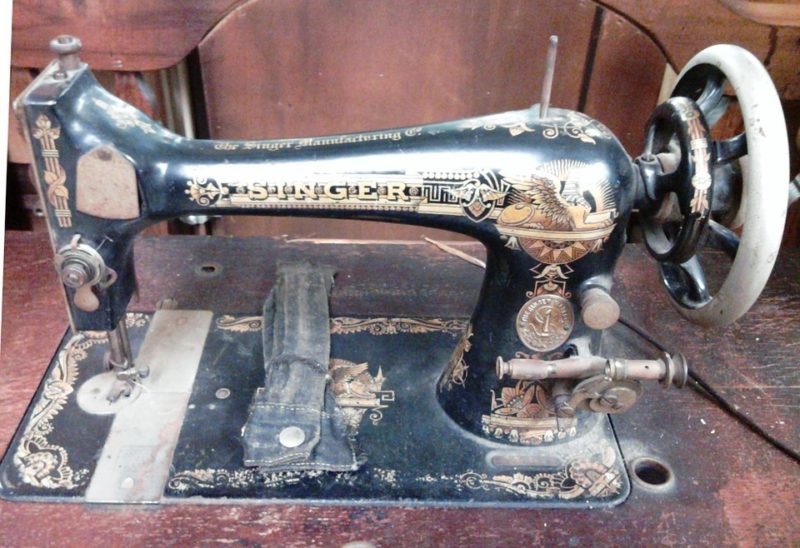
This quick tutorial is for removing a vintage Singer sewing machine from its wooden base. You may need to do other practices if you own a different model. Nonetheless, taking off the base is always as simple as finding and removing the screws.
- Swing the sewing machine head back on its hinges by loosening the screw on the base
- Find the screws that secure the head from the hinge pins and unscrew them to slide the head off
- Lift the sewing machine head of the hinges to remove it
How Do You Take Apart A Singer Sewing Machine?
- Refer to the manual of the specific Singer sewing machine you have
- Study the diagrams in the manual to know which screws and parts you can remove safely
- Turn off the Singer sewing machine and disconnect it from the power source
- Loosen the screws one section at a time
- Pry the screw hole plugs off
- Remember where and how you removed each part for easier reinstallation later
- Take pictures throughout the process and group the parts in the same section with each other
- You can also use this opportunity to maintain your sewing machine, such as cleaning and lubricating
Here is a tutorial on how to oil a Singer sewing machine.
Common Singer Sewing Machine Problems
Singer is a reliable sewing machine brand, and their sewing machines are commended for durability. But like any sewing machine, you might encounter some common problems that fortunately are also easy to fix.
Sewing machine won’t sew
If your sewing machine won’t sew, you need to ensure that you’re using the proper thread, needle, or presser foot. Different materials demand specific accessories for the machine to work well. You also want to check if your settings are correct for the project you’re doing.
Noisy sewing machine
Keeping your sewing machine clean and lubricated should prevent noises. You may also need to check if the needle has to be replaced. Otherwise, the issue might be in the internal mechanism and needs servicing.
Sewing machine jamming
Check if the thread didn’t get caught in the hook if your sewing machined jammed. A dirty machine or inappropriate settings can also cause this problem. Read more on why is my sewing machine jamming.
Machine skipping stitches
There are many potential reasons why a sewing machine skips stitches. Commonly, it’s from a damaged needle, poorly installed needle, or even the wrong needle. Check the bobbin and needle when your machine skips stitches.
Fabric puckering
If you’re wondering what causes fabric puckering when sewing, you may need to check your settings. The wrong tension or stitch length can cause this problem. You also want to ensure that you’re using the correct thread and needle for the project.
Thread bunching up or breaking
It can be frustrating to not know why my sewing machine thread keeps bunching up. You may need to check your needle, bobbin, or throat plate. But on the contrary, when the thread keeps breaking, you may need to check and adjust your tension.
Sewing machine needle breaks
You want to use the correct needle and install it correctly to keep it from breaking. It would be best to familiarize yourself with different sewing machine needles. The needle should be compatible with your fabric.
Loose or uneven stitches
Always thread the machine correctly to prevent loose stitches. The tension might also be to blame with stitch issues. As for uneven stitches, your thread might be wrong for the project, or you may be pulling the fabric while sewing.
Conclusion
And that’s it! To recap how to remove Singer sewing machine cover, it’s generally removing the screws on the top and bottom covers. However, always consult your model’s manual.
We hope you learned a lot from this article. Let us know any questions if you have any.
