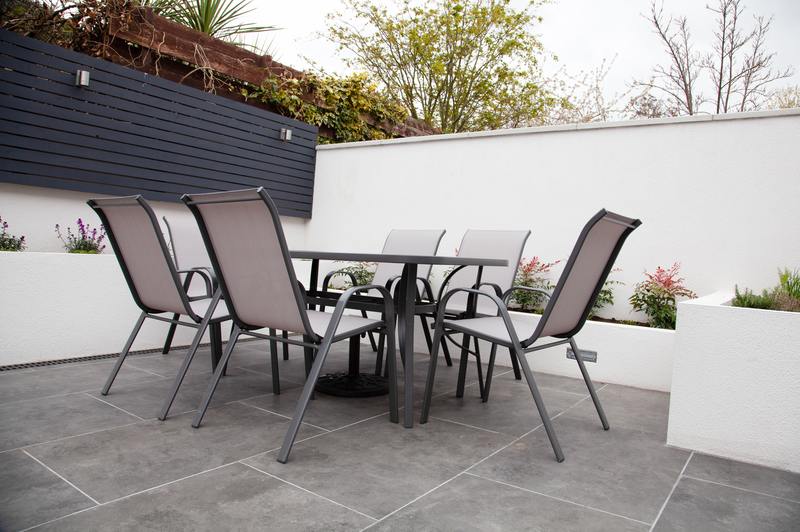
If you recently noticed a greenish-black stuff sticking on your patio, now may be the best time to learn how to remove mold from concrete patio. This guide will help you to enjoy the gentle breeze of the wind from a mold-free outdoor area.

Signs Of Mold
It is no secret that molds only need moisture and humidity to thrive in places. Patios are not an exception to this. When the environment provides its requirements to grow, you can not only spot its slightly furry appearance but also smell its musty odor.
In terms of appearance, you can easily distinguish it by its circular shape. It also comes in different colors but the black ones are often associated with toxicity. To know more about how to identify black mold, you can read further information in this article.
If you are new to this home improvement scenario, you can also try learning about the different kinds of mold. Through this, you are certain that you are not wasting your time, effort, and cleaning agents on a simple stain.
Removing Mold From Concrete Patio
One thing you should do before heading into the actual cleanup process is following the safety precautions. The mere inhalation of mold spores or being in contact with any amount of it could cause respiratory issues and trigger allergic reactions.
Make sure to clad yourself in goggles, gloves, N-95 masks or P-100 respirators. This is especially important for people who have compromised immune systems in order to avoid the worst case scenario from happening.
Step #1. Prepare the patio
Clean the patio using a vacuum cleaner to get rid of any caked on dust or dirt. For areas that are hard to reach, utilize a mini vacuum or feather duster. Since you are dealing with a concrete surface, you can also opt to use an effective wet/dry vac as an alternative choice for vacuum cleaner.
This is essential in the sense that it would make the rest of the cleaning process easier. It would help you clean the affected area in a smoother way without getting interrupted by other forms of stain.
Step #2. Create a solution
You can easily grab the ingredients of this solution inside your kitchen cupboards and laundry cabinets. In an empty bottle, mix a part of liquid soap and an adequate amount of warm water. Give a few drops or sprays of it in the affected area and let it penetrate for several minutes.
Afterwards, you can now grab your hard-bristled brush and begin scrubbing the stretches of molds away. However, if this type of scrub brush does not work with stubborn stains, use a wire brush instead to make your work a little less heavy.
When rinsing, use a garden hose to get rid of the potentially lingering traces of the homemade cleaning solution. Make sure that there is no residue left as the moisture it has will eventually become an opportunity for molds to thrive.
Step #3. Apply bleach
The previous step was only a lighter solution. Now, you are off to using a tougher one. In an empty and clean bucket, mix a cup of bleach and a warm gallon of water.
Since this is a strong solution, it is highly advisable that you wear safety gears such as a paper breathing mask and a pair of rubber gloves. Through this, you can protect yourself from any possible skin irritation as you come in contact with bleach.
If you suddenly feel dizzy due to the fumes, make sure that you take a break from your cleaning area. Go to a place in your house with direct access to fresh air.
Now, apply your bleach solution to the infested area and leave it for 10 to 15 minutes. Like the previous step, use a scrub brush that corresponds to the toughness of the mold deposits. Use a garden hose to rinse off the solution.
Step #4. Dry the surface
Of course, it is no-brainer that you need to dry the surface. However, this should be done completely as any sign of moisture as this can be one of the causes of potential mold infestation.
Use a clean cloth or paper towel as you thoroughly dry the area. You can also use a wet dry/vac as an alternative option to immediately suck up the remaining moisture.
Apparently, you cannot just leave this task to sunlight exposure although the area itself is placed outdoors. Walking away from the cleaning area while it is still wet does not make the place vulnerable to grimy stuff, but could also lead to a slippery surface and eventually unexpected accidents.
Conclusion
If you want a real breath of fresh air outdoors, learning how to remove mold from concrete patio will definitely come in handy. You just have to couple it with patience and effort so you can soon have a mold-free stay on your patios. Enjoy the fresh air with your new achievement!
