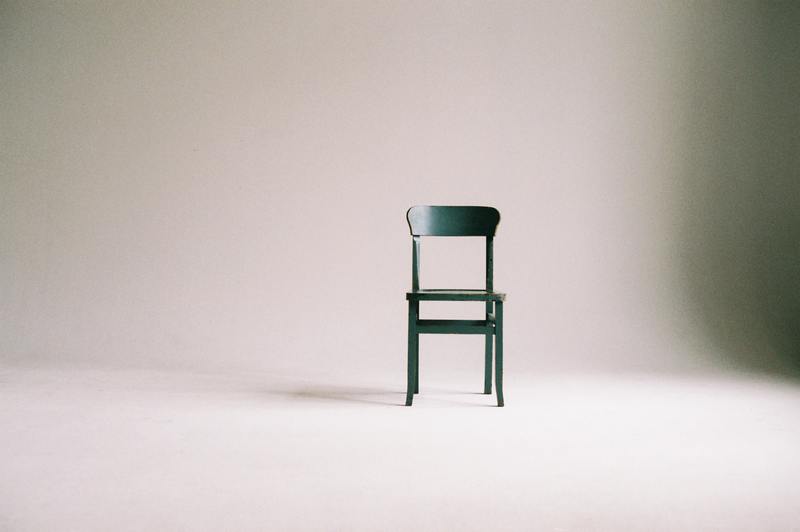
If your chair legs are loose, you should know how to reglue a chair to fix it. You just have to remove your chair’s legs from the seat first, remove the old glue and replace it with a new one. The steps in re-gluing a chair will be explained in more detail below.
Aside from regluing a chair, we included how to remove wood glue from your chair. After that, we included the best kinds of wood glue for you, so you won’t have any trouble when it comes to your glue’s quality.

Finally, we have the common mistakes people make when they glue or reglue a chair so that you can avoid them!
Steps In Re-Gluing A Chair
Step #1. Take the chair apart
To reglue a chair, you have to remove its legs. Inspect your chair for loose or wobbly legs, and remove those. If you have more than one chair leg removed, it is advised that you label them to avoid mishaps.
You can use a simple system in labeling them by using numbers or letters. After marking the chair’s legs, inspect the chair if it has screws or nails. Then, remove those.
After removing nails or screws, use a dead blow hammer for a more efficient chair disassembly. A dead blow hammer is more recommended than a rubber and wooden mallet because the former is more stable and does not mar the chair’s surface.
Hammer on the chair lightly, but you can increase the force as you see fit. As you hammer the chair, you will notice when the joint moves.
Step #2. Re-glue the chair’s legs
Before re-gluing, you have to remove the old glue from the joints of the chair. Scrape off the old paste and sand it down to create a better environment for your new adhesive to bond with. Re-assemble the chair quickly because most wood or carpenter’s glue is quick to dry.
You can use bar clamps to pull the joints together, or you can put a heavy object on the chair’s seat to help the glue seal properly in the chair’s joints.
How to remove wood glue?
You can remove old glue from joints using a chisel. With this method, you scrape off the old adhesive.
However, if you want to dissolve the carpenter’s glue instead, you can use water or vinegar. Water dissolves white carpenter’s glue, while vinegar can dissolve older furniture’s animal-based hide glue.
If the joint has urethane or epoxy, use acetone or denatured alcohol. After scraping off or dissolving old glue, be sure to sand the joints to secure the new bond in the joints.
Best kinds of wood glue for chairs
Wooden chairs are better fixed with glue rather than with nails or screws, and you will know more about this later. Therefore, here are the different kinds of glue for chairs:
- Polyvinyl acetate glue (PVA Glue) is standard in woodworking and is also known as carpenter’s glue. This glue is easy to clean up and is water-based.
- Polyurethane glue is mainly for outdoor furniture because it has waterproof qualities.
- Hide glue is mainly used for furniture restoration. Hide glue can either be mixed and heated in a pot of water or pre-made. It is applied to the furniture when it’s warm.
Common mistakes when regluing a chair
Missing a nail in disassembly
If you immediately go for the gold and miss removing a nail before hammering the legs out, then you will likely have a split rung. However, you can quickly repair this since the damage is just cosmetic, and the chair’s structure isn’t affected.
Remove the nail with pliers, then finish removing the legs. To reglue a split rung, you can use the same glue you used for the chair’s joints and legs. Apply the glue appropriately, then use padded clamps to give it pressure.
However, be sure not to clamp it tightly because it might squeeze the glue out of the split.
Using a nail in assembly
Wood and metal do not go well together because as time passes, metal will make the joints of the wooden furniture looser. This is why using nails or screws on your wooden furniture to stop them from wobbling is a no-no. It is always better to use glue instead.
Putting too little glue
Some use glue on their wooden furniture, which is good! However, if you just squirt glue there without spreading it evenly, you are just going to have deposits of glue in certain places. The whole thing will not be secure and will likely wobble or get loose after some time.
To fix this, use a painter’s brush to apply the glue to the joints. This way, you won’t have deposits, and the joints will be more secure.
Conclusion
Now you know how to reglue a chair as well as the types of glue you can use for your regluing project. Keep in mind the common mistakes as well, and be sure to avoid them!
