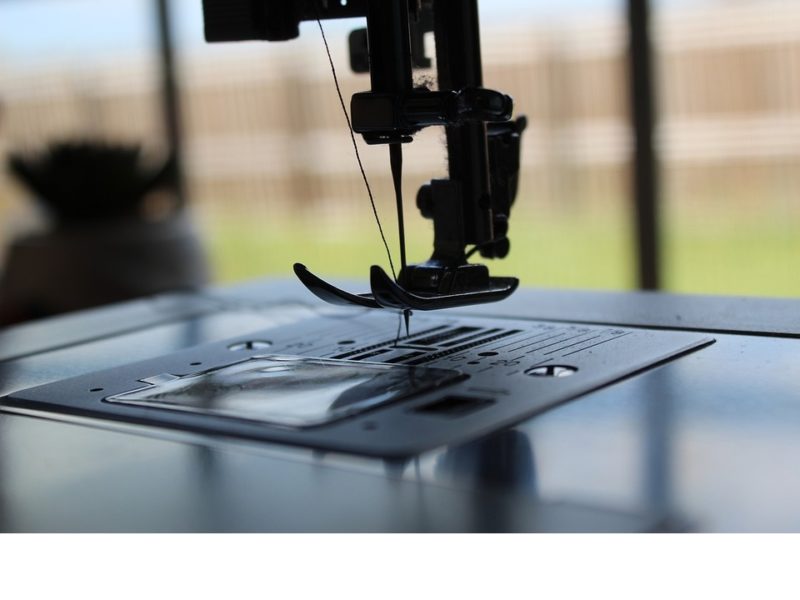
Do you want to know how to put a foot on a sewing machine in just two steps? This is a straightforward installation process because most sewing machine feet nowadays are snap-on type.
But even if you have an older machine, worry not, as we have also included a guide for putting a screw-on presser foot. Make sure that you’re familiar with how to use different sewing machine feet so that you can install the correct type for every project.

And while this process is applicable for most sewing machines in the market, please always read the manual of the specific model you have. Proper installation of the presser foot is crucial to get perfect and precise stitches since it holds the fabric in place.
How To Put A Foot On A Sewing Machine To Avoid Issues
Step 1. Position the new foot in place
- Locate the button behind the presser foot holder and press it to release the presser foot
- Prepare the correct foot for the project you’re doing and position it underneath the sewing machine shank
- Make sure that the attachment you’re installing is compatible with your sewing machine
- Align the small bar of the foot to the holder on the machine so it can snap securely
Step 2. Install the sewing machine foot securely
- Push or pull down the presser foot lever to lower the presser foot holder
- This will snap the presser foot onto the sewing machine shank automatically
- From the name itself, the snap-on presser foot will make a snapping sound once it attaches securely
- Raise the presser foot holder with the newly installed foot to check if it’s installed correctly
Read how to change the presser foot on a Singer sewing machine if you own this specific brand.
How Do You Put A Screw-on Foot On A Sewing Machine?
Older sewing machines don’t utilize a snap-on foot, but instead, they install with a screw-on foot. This type of sewing machine attachment takes more effort to install than the snap-on kind, but it’s still straightforward.
Locate the screw that secures the foot to the machine and turn it accordingly. This will remove the current foot but keep the screw away so it won’t be lost.
Then, position the new foot accordingly and screw it in place. Your sewing machine manual should have illustrations about turning this screw and what specific tool to use.
The process of replacing a screw-on presser foot is somewhat similar to removing and attaching a presser foot holder as seen in some Brother sewing machines.
Snap-On Vs Screw-On Presser Feet
Snap-on presser feet
The most common type of presser foot is the snap-on foot because it works both on the high shank and low shank sewing machines. This is also the easiest one to install because it has a bar at the back, and lowering the presser foot holder of the sewing machine will automatically snap onto it.
And as for removal, you only need to push a button, so the process is quick and easy. To know if this is the presser foot your unit uses, the manual should indicate if the machine uses a snap-on system.
Screw-on presser feet
Screw-on presser feet, on the other hand, take more effort to remove and attach because you will turn the screw that secures it in place. You will also need a screwdriver of the right size to work your unit’s screw.
Finally, remember that you can’t use a screw-on presser foot of a low shank sewing machine to a high shank sewing machine and vice versa. This limitation of the screw-on attachment adds another advantage to using a snap-on sewing machine foot.
Are you unfamiliar with the difference between a high shank sewing machine to a low shank sewing machine? Then, give this separate article a quick read.
Are presser feet universal?
Some sewing machines use a universal snap-on system. This means that if your snap-on presser foot is universal, you can use it interchangeably across all compatible sewing machines.
You can also check if you need an adapter to use presser feet from one brand to another. But if you’re unsure, save yourself the hassle by getting your machine’s presser foot from the same brand.
How Do You Put Your Presser Foot Down?
Refer to the sewing machine manual on putting the presser foot down, but for most models, this is easily done with the lever behind the presser bar. Simply lower this lever to adjust the height of the sewing machine.
However, it’s a different method if you need to lower the height of the presser foot as a whole. You will need to locate the clamp screw and remove the pressure on the foot to raise or lower it accordingly.
Conclusion
And that’s it! You just learned how to put a foot on a sewing machine, which is as easy as aligning its bar to the holder.
Then, lower the foot holder, and the attachment will be snapped securely. There are also foot types that you will need to screw in and out, but they are mostly seen in older sewing machines.
We hope this was easy to follow; leave us a question if you have any.
