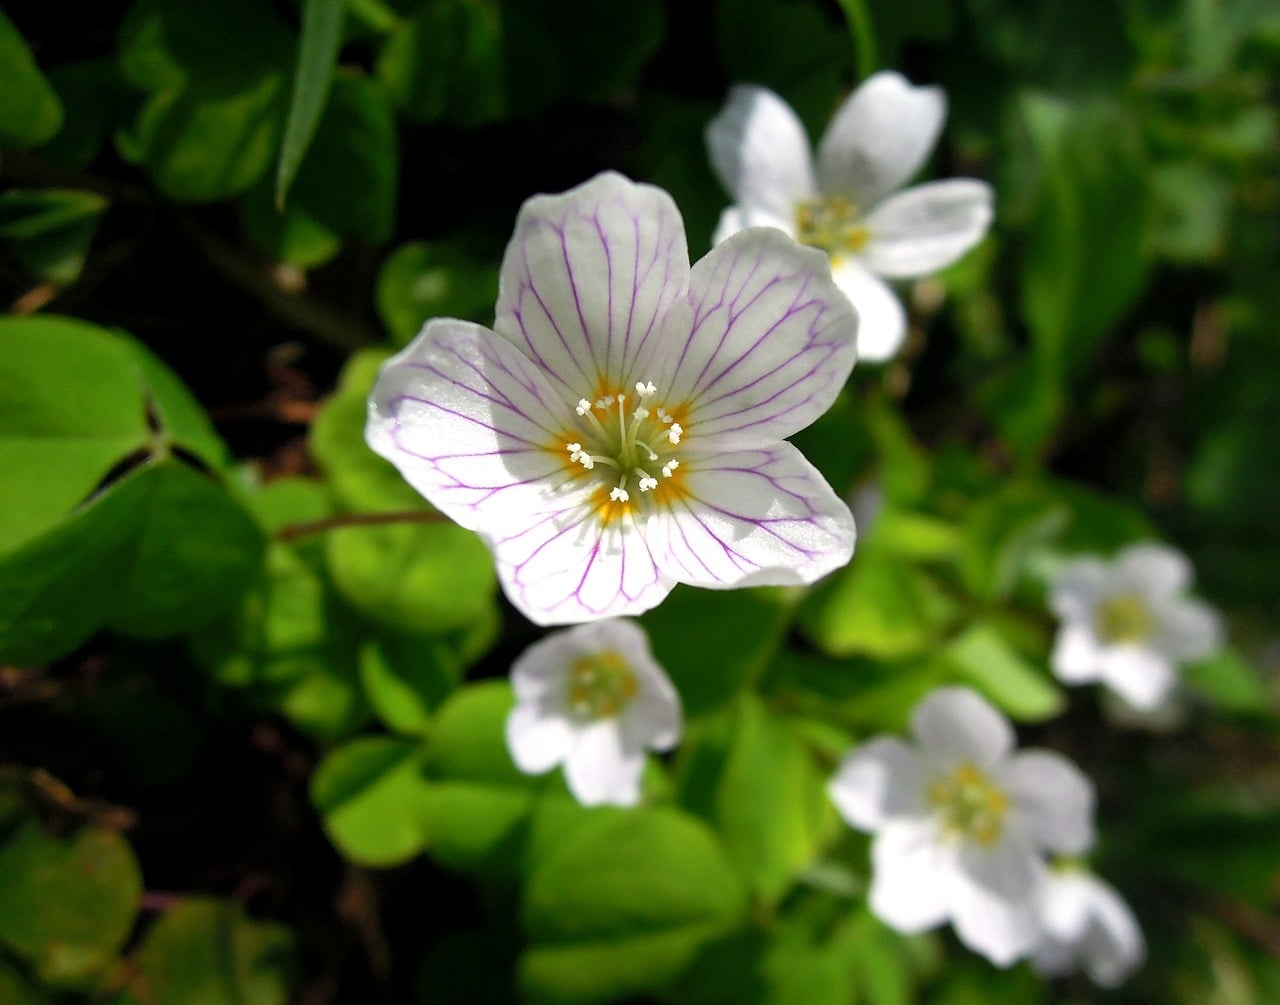
If you want to know how to propagate oxalis, there are two techniques suitable for this plant. You can start oxalis either from seeds or divisions. Gardeners often call oxalis as a shamrock imposter, but the truth is Oxalis is the species itself.
Therefore, it can be synonymous with wood sorrels, lucky clover, or good luck plant. With the term luck in its name, it’s no surprise that oxalis is an exciting plant to have. It comes in different blossom colors, and it is reasonably easy to grow.

However, you can avoid drawbacks by doing your greenhouse propagation to ensure that oxalis will thrive. Remember that propagations are more vulnerable to unpredictable conditions, so using a greenhouse to start them is optimal.
How To Propagate Oxalis For Beginners
Seeds
The first method for propagating oxalis is by using seeds. This way of propagation may not be as common compared to division, but it is still doable for beginners. However, you must know basic oxalis anatomy to determine the fruit.
The University of Florida Extension mentioned what oxalis fruits look like. If you’re familiar with okra pods, oxalis fruits are similar to them. They are around half an inch in length, and each contains five ridges.
You can expect oxalis to fruit from spring to fall, and these capsules quickly expel the seeds from touch. Collect the green pods yourself by checking under the leaves at separate stems. The seeds themselves are flat and teardrop-shaped, typically brown.
How to propagate oxalis from seeds?
The greenhouse is an excellent place to start oxalis from seeds. Regardless of the plant you’re sowing, you want to encourage germination, and this is easy if the environment presents the ideal requirements. Otherwise, check the soil at spring before sowing and ensure that it’s at 55°F for the oxalis seeds.
You don’t have to plant the seeds deeply in pots but aim to have ⅛ inches of soil covering them. Afterward, maintain soil moisture to encourage germination. At this point, you can cover the container with plastic to prevent the medium from drying.
Place the pots in the warm part of the greenhouse but without direct sunlight. You only need to check the medium every day if it is still moist until germination occurs at one to two weeks. Once the seeds sprout, remove the cover and place the pots under lights.
For maintenance, watering every two days through the growing season will help oxalis thrive. You can also start using a balanced fertilizer once a month when you notice three leaves.
Division
You can assume that propagating oxalis from division is similar to how you’ll divide a shamrock plant, but this method is popular for Oxalis triangularis. Nonetheless, your chances of getting a healthy parent plant for propagation is better in a greenhouse. Once you picked an oxalis, remove the bulbs at the end of its dormancy and remove the smaller side bulbs for planting.
These bulbs should be ready for planting, which is why gardeners typically prefer this propagation method than sowing seeds. This is also the point where using a greenhouse becomes advantageous since you can start oxalis any time as long as you maintain and check the indoor environment. What are the other considerations when dividing oxalis?
How to propagate oxalis from division?
Propagating oxalis from division quite similar to sowing oxalis seeds. Use a large container with drainage holes and full of potting soil with good drainage. You can start these bulbs in an orientation that exposes the green section while soil covers their stem’s white base onto the roots.
The best location for oxalis divisions should be away from direct sunlight, but you can move them when they start growing. You want the bulbs to establish themselves first before exposing them to light. Additionally, maintain the greenhouse conditions at 70 to 75°F at the day and 50 to 65°F at night to help them grow at about 14 days where sprouts appear.
Propagating from divisions also requires you to check and maintain the moisture of the medium. Then, you can fertilize the plants when you see new shoots. Do so every two to three weeks throughout their growth.
Common Problems In Propagating Oxalis
The great news with growing oxalis is that these plants are not prone to severe and challenging problems. For example, rot is easy to avoid as long as you are responsible not to overwater the plants. Fungal diseases like mildew and rusts are also preventable, especially in the greenhouse where you can control the conditions.
If you saw pests, you can quickly address them with insecticidal soap and isolate the infested plants.
Conclusion
Who wouldn’t want to have a plant that is synonymous with luck? Wood sorrels are an excellent addition to any garden, so learn how to propagate oxalis via seeds and divisions. Whichever method you choose, you can always benefit from using a greenhouse to start propagations.
You shouldn’t feel intimidated by starting oxalis from seeds. You can collect the pods yourself and sow them indoors to guarantee germination. On the other hand, you can propagate oxalis from divisions or bulbs.
Those who have Oxalis triangularis will use this method, but gathering the bulbs is as easy as collecting seeds. Plant with the green section up, then maintain the daytime and nighttime temperatures at 70 to 75°F and 50 to 65°F, respectively. Both propagation techniques recommend keeping the soil moist to help oxalis establish itself.
