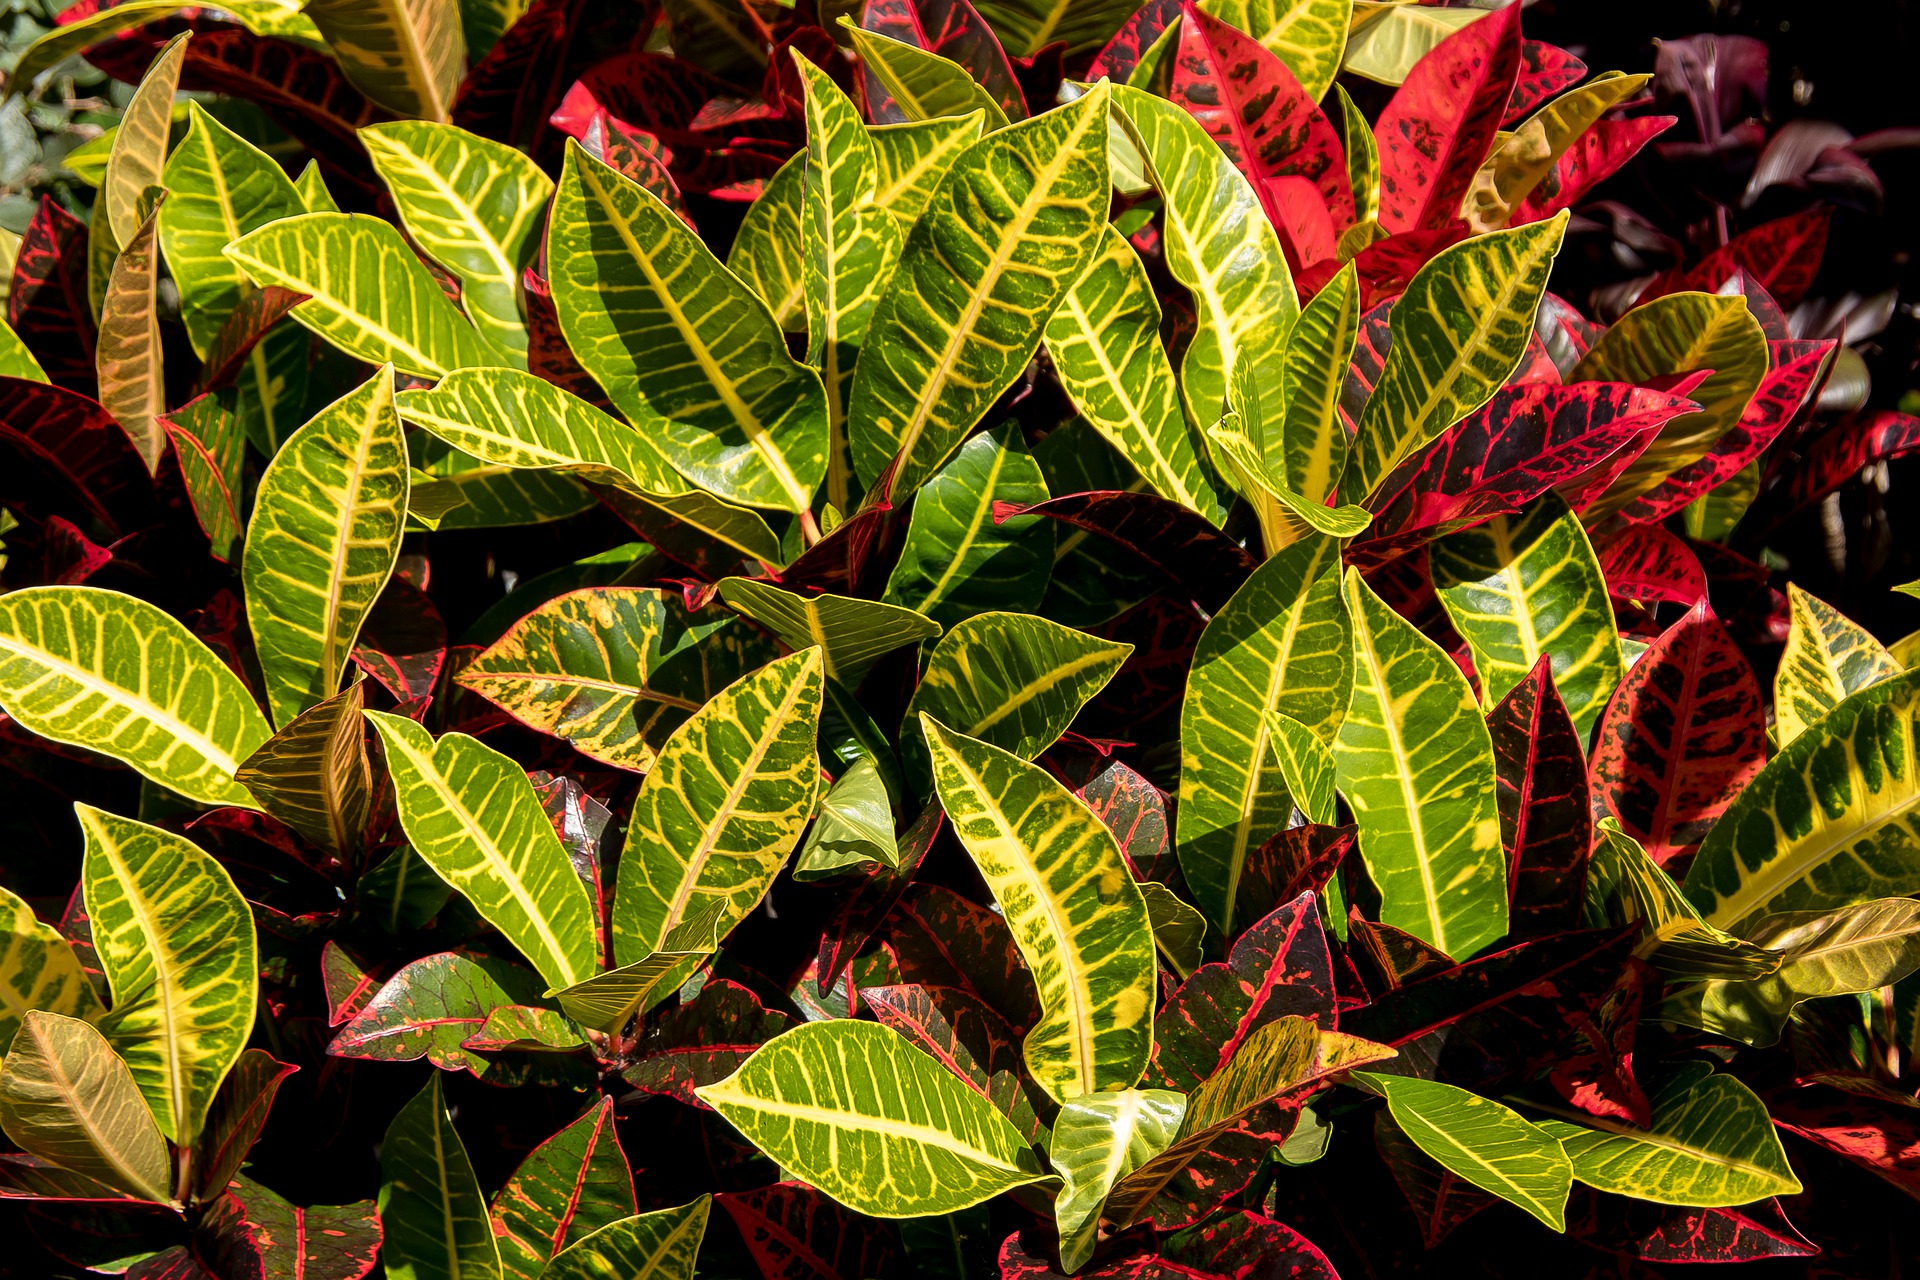
If you’re interested in knowing how to propagate croton, then you must be a lover of leaves that are splashed with vibrant shades of purple, orange, red, yellow, green. Croton or Codiaeum variegatum can easily add life to any space.
In most climates, this magnificent plant is grown indoors. However, in areas where the weather is frost-free, croton tends to thrive well in the outdoors. If there’s one thing you need to know about croton, it’s the fact that you can easily propagate it through the process of air layering or air layering.

A Few Basic Facts About Crotons
Since crotons are tropical plants, they require moist soil that easily drains and is rich in humus. Furthermore, these plants need extra moisture during the winter season that’s why it’s best to set their pots or containers on pebble trays. Although their growth rate slows during their winter resting period, they’re capable of adapting to lower levels of humidity.
If you want these plants to maintain their stunning colors, be sure to expose them to plenty of bright light all-year-round. However, be sure to avoid exposing them to too much sunlight unless you want to end up bleaching the colors of your croton leaves. Consider placing them in light shade outdoors or next to a picture window that faces south during the winter season.
How to Multiply Crotons Through Stem Cutting
With the right growing conditions, a croton plant can grow as tall as 12 feet with leaves that could spread up to 6 feet. Check out this step-by-step guide to multiplying crotons through stem cutting.
Step #1: Do the cutting below a growth nodule
In order to do this, you must take about 4 to 6 inches from the tips. However, you need to look for a growth nodule and do the cutting below it. When you’re stripping the stems off, be sure to leave about three to five top leaves.
Step #2: Dry out the sap
You can choose to lay the cutting on a newspaper to dry out the sap. Tapping the cutting in powdered charcoal is also acceptable.
Step #3: Plant it in the right kind of soil
It’s extremely important to use perlite and peat moss or river sand when you’re planting your cutting. In case you’re wondering, peat moss or sphagnum moss is a type of organic matter that’s partially decomposed and harvested from wetlands that are acidic. On the other hand, perlite refers to the processed volcanic material that’s mixed with soil to change the soil substructure, enhance aeration, and prevent compaction.
Step #4: Tie a plastic bag around the pot
Once your cutting is planted, grab a large plastic bag and tie it around your container or pot to maintain its warmth and moisture. You can expect your cutting to root within a month if the temperature is maintained above 70˚F.
How to Grow Crotons Through Air Layering
This technique involves taking a branch that’s exposed to indirect sunlight. Keep in mind that the stem would have to be rooted while it’s being attached to the plant. Check out this guide to propagating crotons through air layering.
Step #1: Cut a limb diagonally and hold it open
Again, be sure to make a diagonal cut through a limb below a growth node. You need to make a diagonal cut through the stem up to approximately one-half of its diameter. The cut has to be kept open with a wooden toothpick that’s inserted sideways in it.
Step #2: Apply some rooting hormone powder
Next, use a small brush to apply some rooting hormone powder on the wound of the stem.
Step #3: Use sphagnum moss to cover the cut
Once you’ve applied the rooting hormone, you’ll need to keep the cut area covered with damp sphagnum moss. You can keep the area moist if you wrap this with polythene and tape it to keep both sides of the wound closed.
Step #4: Cut the stems when roots begin to show
As soon as you notice the roots showing against the plastic cover, you need to cut the branch below the layering before you remove the plastic.
Step #5: Place your newly rooted branch in peaty loam
After cutting, you may plant your newly rooted branch in a container that’s filled with peaty loam. Expect your cuttings to root within a month if these are kept warm.
Can You Grow Crotons in a Hobby Greenhouse?
A hobby greenhouse is an ideal place to grow your gorgeous crotons and other types of tropical plants. Since this enclosed environment allows you to manipulate its internal temperature and humidity levels, your plants can enjoy a stable and consistent tropical weather all-year-round!
This is a perfect option for greens aficionados who live in areas where the climate is mostly cold. Think about having your own personal tropical oasis where you can de-stress, recharge, and rejuvenate – regardless of the weather outside!
Aside from protecting your plants from harsh weather conditions, a hobby greenhouse can also act as a protective barrier against seasonal pests and destructive animals that can potentially cause irreversible damage to your tender plants.
Learn How to Propagate Croton in a Hobby Greenhouse!
Now that you know how to propagate croton try doing it in your very own hobby greenhouse! Discover why setting up your own hobby greenhouse is worth the investment.

My croton is about 20” tall and doing well. There is a second croton growing in the same pot that is about 10” tall growing about 3-4” away from the main plant. Can I separate these two and grow them in separate pots? How do I do this?