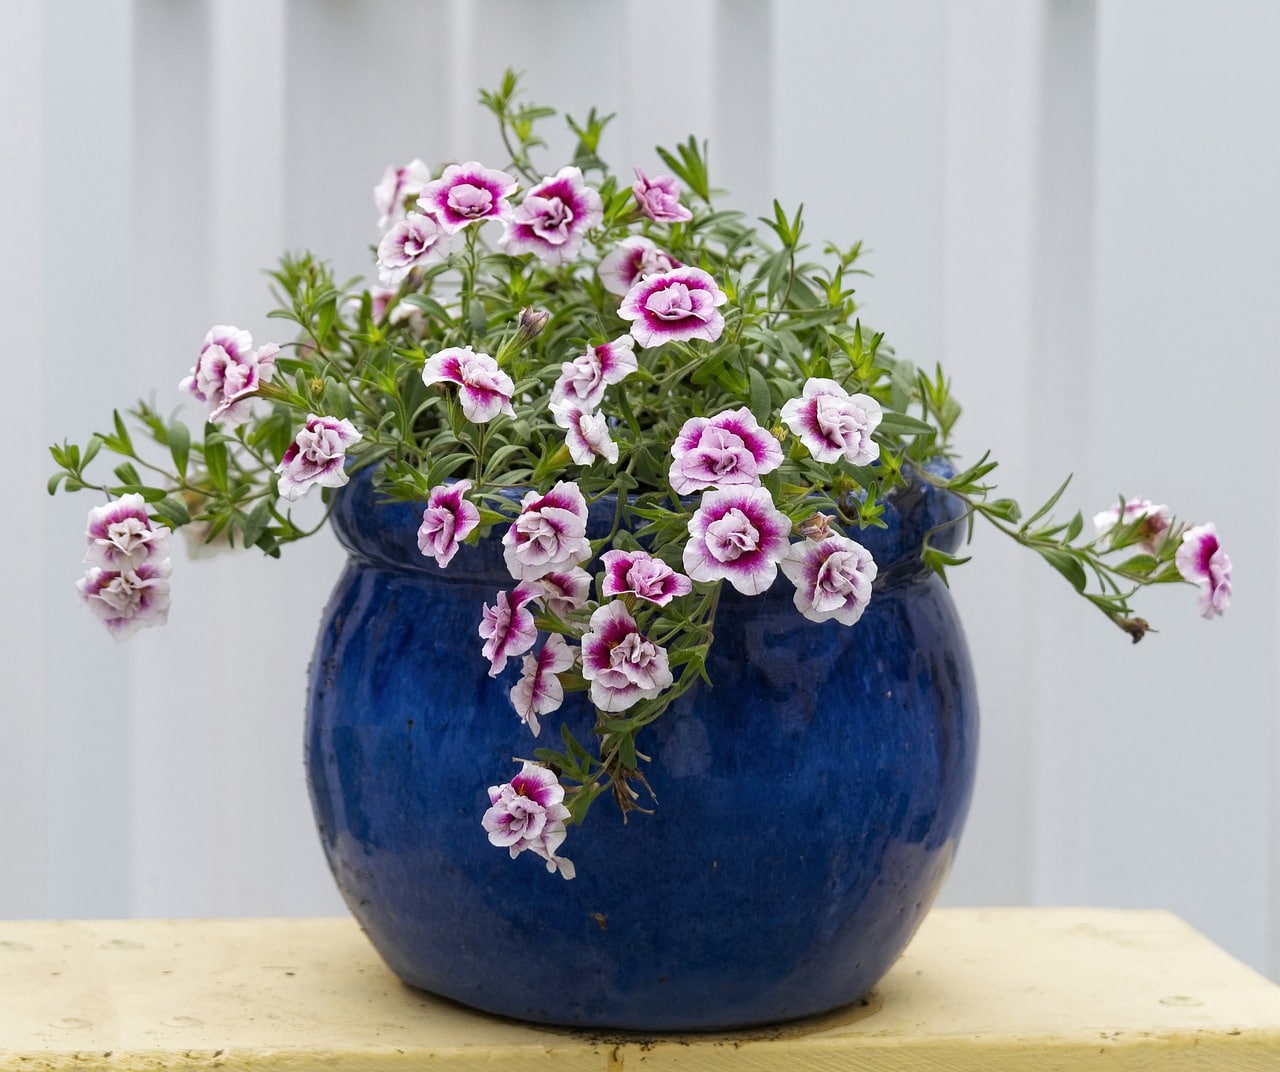
There are mainly two ways on how to propagate calibrachoa- cutting and planting seeds. This may sound simple, but it requires a lot of resources, time, and effort. So, if I were you, you should develop your patience, especially if you’re excited to propagate your own calibrachoa.
In this article, you’ll have a brief understanding of the plant and several tips on how to propagate calibrachoa. If you can do the processes right, you’ll surely end up having bigger flowers and more seeds.

Just read on and enjoy!
What Is Calibrachoa?
Calibrachoa is a type of plant with flowers that look like small petunias. It has several stems that spread out on the ground. Even though it usually grows in spring and winter, it can still live for an entire year.
This kind of flower is prominent in countries with cold climates. The average height of this plant is four inches. Indeed, a lot of gardeners are taking a fancy in growing this flower nowadays.
If you are one of them and are experiencing challenges in propagating it, don’t stop reading. The following steps are guaranteed effective and uncomplicated on how to propagate calibrachoa.
Propagating Calibrachoa Using The Cutting Method
Are you ready to grow your own calibrachoa? If so, let’s start with how to propagate calibrachoa using the cutting method:
#1 Use a utility knife to ensure a straight cut
Start with cutting 15 cm from the main stalk. As for the remaining part, you should cut all of the leaves from the stem. The cuttings are usually tipped in the morning. This process is done so that it will grow again with a more significant number of leaves and more appealing flowers.
#2 Prepare a soilless potting medium
You have to out organic materials in the pot instead of soil. Why? Because it is guaranteed to be healthier; it protects your plants from unwanted pests and prevents diseases. Not to mention that it drains well, and it doesn’t let the feet become moist. You put the cut ends in this put.
#3 Misting is the right way of watering your plants
The water should be controlled and regulated. So we advise that you use spray bottles.
In damping the soil, make sure that you use water that was not impregnated with minerals to avoid mineral salts. If the plant is over-moist, there is a tendency that the stem may rot, so it is better to use small containers to allow the excess water to evaporate.
#4 Always remember the factors that may cause the cuttings to wilt
Once you start seeing signs of wilting, immediately know the reason. It might be because of too much misting, too much heat, or malnutrition.
#5 Put the container in a cooler place
Knowing that this plant is usually grown during spring and winter, it is easily affected when the temperature increases. Therefore, you should make sure that you put the container in place with an average temperature of 21 degrees Celsius or 70 degrees Fahrenheit.
#6 Wait for days to finally see the delightful results
To sustain the growth of the plant, you can use fertilizers. Just make sure that you put the right and needed amount. Doing this will also increase the number of leaves.
#7 Observe your calibrachoa as the days pass by
Check if the leaves are turning yellow. It is a sign that your plant is malnourished, and it lacks iron. If this happens, immediately cure it so you can prevent it from being contagious. You can avoid the deficiency of iron by putting it in place with a balanced temperature.
#8 Sever and frequent cutting can help you achieve better results
We encourage you to do it more often for you to see bigger shrubs and plenty of flowers.
#9 Transfer to a permanent container once it matures
If its stem has already hardened, the flowers start blooming, and the leaves begin to grow, you may transfer it to a permanent container. Make sure that you consider that temperate and its access to sunlight.
Propagating Calibrachoa Using Seeds
On the other hand, growing it using seeds is much more complicated than propagating it through cutting. But this process is for gardeners who are just starting with their calibrachoas.
The propagation is also rapid, and the results are also amazing. Here are the steps that you should remember how to propagate calibrachoa using seeds.
#1 Sow the seeds thinly
Prepare a seating formula where you are going to press your seeds. Remember to place it where the sun directly strikes because the seed depends on natural light. Dissolve the coating by misting it regularly.
#2 Opt for a good and healthy soul
Again Calibrachoas are sensitive when it comes to temperature, so the soil must maintain 70-75 degrees Fahrenheit temperature.
#3 Ensure access to sunlight
After 10-14 days, your plant already starts flourishing. During this time, always make sure that your plant has access to sunlight. You should also do consistent misting and maintain right and balanced temperatures.
#4 Use artificial lights
At this stage, you can already use artificial lights. As it flourishes, it needs more energy to support its growth. You can use fluorescent lamps. It helps prevent freezing, especially on cold nights. Perhaps, eight to sixteen hours of exposure to artificial light are already enough, while 24 hours is too much and dangerous.
#5 Regulate the amount of fertilizer that you use
Only put the needed amount. If its stem is already hard, you can transfer it from the nursery to its permanent container. Ensure its safety in the new place.
Conclusion
That’s it; how to propagate calibrachoas is either through cutting or planting a seed. Always choose the process that you think you can do more efficiently. Don’t forget about the factors that affect its growth.
Giving knowledge is always our top priority. Hope you apply the steps and suggestion to your garden from this article. Thanks for reading!
