It’s surprisingly easy to learn how to print wedding invitations at home as we simplified it into two steps. First, you’ll design the wedding invitations and then use your home printer to start printing the invitations for the wedding.
And if you’re curious about the printer and papers for the print, we’ve also included tips for selecting them. But what about written invites?

Read how to handwrite wedding invitations if you prefer the charm of calligraphy for your wedding invitations at home.
DIY Invitation Printing: How To Print Wedding Invitations At Home
Step 1. Design your wedding invitations
- Before you begin printing invitations at home, you should start by designing the invites first
- Select from different design software, but MS Word should suffice for a basic wedding invitation
- Decide with your partner on what colors, font, and designs you want for your printed invites; consider checking different weddings and their invitations as inspiration
- The font for your wedding invitation should be easy to read; use a maximum of two types and select the correct sizes so the information is easy to understand
- Large fonts help highlight the invitation information, and fonts not going under size 9 should be appropriate for the other wordings
- The text alignment also affects the design and how easy it’ll be to read the invitation
- Be mindful of the line spacing, especially when the paper is not that big; however, avoid overcrowding your wedding invitation with words
- Borders and other designs will enhance your wedding invitations, but do not go overboard; if using graphics, use high-resolution copyright-free images
- Make sure the color contrast of the text to the paper and designs is ideal, so your guests can read what’s printed
Step 2. Print the invitations with your home printer
- After designing the home wedding invitations, take a step back and check if you’re satisfied
- You and your partner should both be happy with the contents
- Use your wedding website for the other information instead of overcrowding the invitations with words
- Begin printing your wedding invitations at the house with the appropriate printer
- Check if the cardstocks you’re using are compatible with your home printer
- Prepare the ink you’ll use for printing
- Do a test print and check the quality; if your printer can’t work with your cardstocks, consider a printing service or use the right type and size of paper
- Sit down by the printer to watch the invitations; this way, you can quickly stop the process if there is an issue, and you’ll avoid wasted paper
How To Print Wedding Envelopes
When making invitations at home, understand that you’ll also print on the wedding invitation envelopes. However, the addresses on the envelopes for the invites must be handwritten, or you should find a font that mimics calligraphy.
If you’re confident with your penmanship and doing home wedding invitations anyway, then you can do the wedding invitation printing yourself. Either purchase a font from a professional calligrapher or write the addresses yourself.
You can also order printed envelopes to save time. Overall, please understand that the envelope address should be easy to decipher by the scanner.
Read how to gather addresses for the wedding beforehand. This will help you get started on the wedding invitations as soon as possible.
How Do I Print Double-Sided Invitations At Home?
Do you know that printing double-sided wedding invitations at home is easy? It will depend on the software you used when designing the wedding invitation.
For example, consider the following steps if you used Microsoft Word 2010. If you used the latest software version, you could always familiarize yourself with the icons and menus as Microsoft Word is user-friendly anyway.
- After designing the wedding invitation, open the Print menu by selecting “Print”
- Choose settings and find the “Print One Sided” button; from here, you’ll see the various print modes
- It would be best if your printer at home allows automatic double-sided printing for convenience; if so, select the option “Print On Both Sides”
- If your printer does not support automatic double-sided printing, you can manually print on both sides instead
- Input the copies you want on the designated box
- Click the Print button and start printing
- Those who are printing double-sided wedding invitations manually will have to start with the front side of all copies; then, flip the paper and reinsert it into the feed to print the other side
- If you are using automatic double-sided printing, you don’t need to flip each invitation manually
What Kind Of Paper Do You Print DIY Wedding Invitations On?
Check the weight or paper thickness your printer can handle for home printing. Usually, the best option is an 80# cardstock to avoid jamming or smudging.
And, of course, consider the paper size to avoid additional postage costs.
What Kind Of Printer Do I Need For Wedding Invitations At Home?
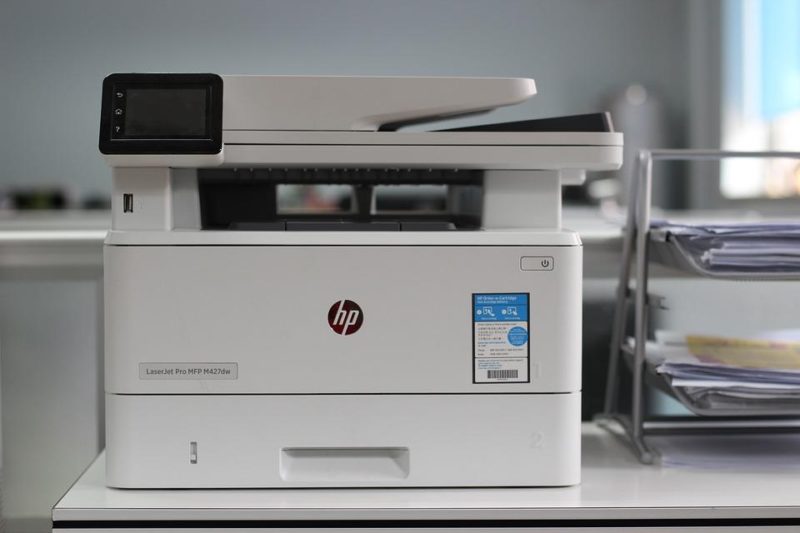
You can use a desktop printer for your DIY wedding invitations. Just make sure it can handle the cardstock weight you want and if you’re printing many invites, opt for those that can do automatic double-sided printing to save time and effort.
Conclusion
Was this tutorial easy? You just learned how to print wedding invitations at home using MS Word.
Start by designing and then use the proper paper and printer to avoid issues during printing. Then, remember to handwrite the addresses on the invitation envelopes or purchase a font that looks like calligraphy when you print the envelopes.
