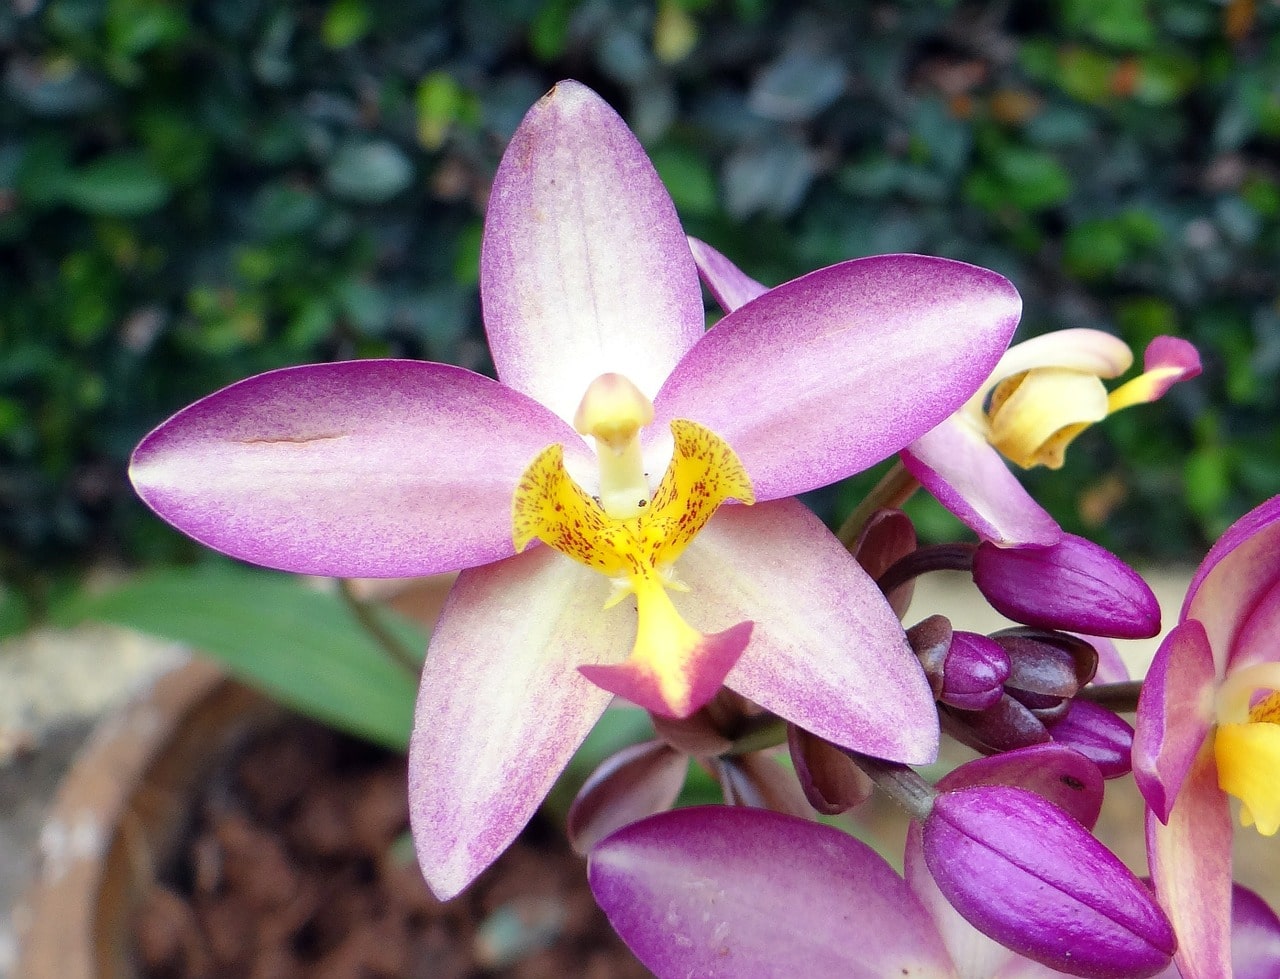
Did you know that you can learn how to plant ground orchids in just two steps? These orchids that are noticeable by their pink blotches on flowers and two-toned mottled leaves are an excellent addition to any garden. And best of all, they are relatively easy to plant and grow.
You can grow them in containers, but since you’ll have to move them indoors for winter protection, it’s best to start them in the greenhouse. Either way, you can check your frost date based on your area’s hardiness zone, and you can choose to use the greenhouse as protection or the growing environment of ground orchids. With more than 200 species available for zones 8 to 10, you’ll surely find the best ground orchid for your location.

Comprehensive Guide For How To Plant Ground Orchids
Step #1. Planting
Ideal location
The first step that you need to learn is the planting technique for ground orchids itself. To guarantee success, check the quality of your area beforehand. Like most plants, the ideal location for ground orchids is well-draining to prevent overwatering.
If your garden is dry and sandy, make sure that you amend the soil with organic peat humus first to improve its quality. You may also find various sources stating two kinds of ground orchids, which are Spathoglottis and Epidendrum. Check the plant you’re growing as you may have to do additional practices for planting it.
Growing conditions
You can plant ground orchids at six inches apart in the ground to anticipate their extensive root system. However, you can also have them in separate pots, especially in the greenhouse. Most of all, it’s worth noting that you must separate the plants from the main group since ground orchids will reproduce by division.
Ground orchids thrive well in low light conditions since too much will cause red leaves and no flowers. Therefore, you may need to add a trellis to shade them and also protect them from heavy rain if they’re outdoors. The greenhouse’s beauty is that these environmental conditions are more manageable, and you can provide a bright yet indirect light that Spathoglottis love.
Step #2. Maintenance
Fertilizing
After planting ground orchids, the next step is the maintenance to guarantee growth and blooms. As mentioned earlier, you want to amend the soil before planting. You can use compost and fertilizer, but some gardeners further loosen the soil with charcoal as well.
Afterward, you can feed the orchids with controlled-release fertilizer or liquid fertilizer in early spring or late summer. The ground orchid, Spathoglottis, tends to feed heavily, so a controlled-release fertilizer every four or six months should keep them healthy. Stick to a regular feeding schedule on your ground orchids, and they should bloom without problems.
Watering
What about the water needs of ground orchids? The frequency will vary depending on location, but a general rule is only water when needed. Gardeners usually water ground orchids every five or even twelve days.
The emphasis here is letting the roots dry out first between waterings, similar to how you would water other orchids. You can check the top layer of the medium and only water when it is dry. You should also check your plants’ leaves because of the rot risk, so always have a tissue at hand to dry them.
Deadheading
Lastly, another practice that one can expect when growing ground orchids is deadheading. By removing the stems with finished flowers, you will help the plant to bloom continuously. Once the orchids stop blooming, cut the stem at a node below the flower or close to young plants’ ground.
It’s also worth noting that the ground orchid, Epidendrum, benefits from the cutting back of flower stalks. On the other hand, you can trim the browned leaves of Spathoglottis orchids. There are many different kinds of ground orchids, so ensure that you know their specific maintenance requirements.
Common Orchid Problems
Besides pests like mites, it’s also common for orchids to develop fungal diseases like blights, rots, and spots. The good news is that you can prevent these conditions by continually checking your orchids to quickly address the disease. Additionally, your practices and the environment influence these diseases.
Gardeners know that excess moisture and poor draining medium make a good recipe for fungal diseases like rot. If you don’t practice sanitation procedures in the greenhouse or garden, these diseases will also quickly transfer among plants, making it hard for the orchids to recover soon. Therefore, maintain the ideal conditions for humidity, temperature, air circulation, moisture, and overall cleanliness.
Conclusion
You can always expand your knowledge in planting different flowers, such as orchids. For instance, wy not learn how to plant ground orchids to make your garden look livelier? To start, choose a location with well-draining soil and amend it with compost and fertilizer.
The area should receive low light, which is more manageable to control in the greenhouse. As the ground orchids grow, fertilize them in early spring or late summer to help them bloom. On the other hand, watering can be every five days depending on the medium to avoid rot.
Lastly, ensure continuous bloom by deadheading the orchids that have finished blooming. Cut close to the ground for younger plants or at a node below the flower for more mature ground orchids.
