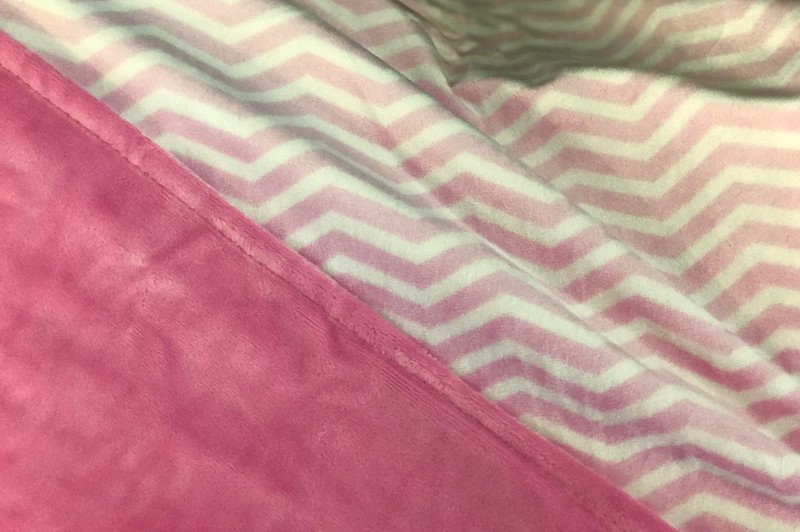
Blankets hold more importance for people than just being used for warmth, which is why it’s a good idea to know how to personalize a fleece blanket.
This is so you can personalize your or your child’s blanket to make it more sentimental for you both. You can do this in different ways, and you can read some of them below.

Personalizing A Fleece Blanket Without Sewing
Step #1. Prepare your materials
Ready your child’s fleece blanket, a permanent fabric glue, embroidered letters of your child’s initials, and some appliques.
Generally, blankets that are not overly thick work well with this method of personalized blankets. This is because if you use thick blankets, the embroidered letters may not lay evenly on the top of the fabric.
It may even get lost in the material. Avoid using plush blankets as well because the embroidered letters may not stick correctly.
Step #2. Directly glue your embroidered letters
Clear your table so you can work on your personalized blanket. Arrange your letters and mark where you are going to put them on your fabric.
Then, apply fabric glue at the back of the first embroidered letter. Remember not to put too much glue.
Press the letter firmly on the blanket to ensure that it’s appropriately glued. Repeat until you have put all the embroidered letters.
Step #3. Add the appliques
After gluing all the letters, you can add the applique near the name or initials you put on your blanket. This will give it a nice look and feel.
How To Monogram A Fleece Blanket
If you are not into gluing embroidered letters, then you can attempt to monogram your fleece blanket. This one takes more time than the no sewing method, but it is worth it!
Step #1. Prepare the materials
Wash and dry your blanket. Then, prepare your hoop, monogram design, and water-soluble and wash-away stabilizers. You will also use a disappearing ink pen for marking. Lastly, ready your embroidery machine.
Wash-away and water-soluble stabilizers dissolve when they are wet. They can either be plastic-like film or soluble paper, and they are hooped with the fabric to make the machine-embroidery smooth.
Before using any stabilizers, though, be sure that they match with the fabric of your blanket.
Step #2. Mark you blanket
Fold your blanket in half, then mark the corner fold. From about ten inches from the corner fold mark, stain a part of your blanket again.
Then, unfold it and connect the two spots. You will use this as placement in the hoop.
Step #3. Cut and place
Make sure to cut the stabilizer a few inches larger than the hoop. Next, lay the wash-away stabilizer over the outer ring.
Then, position the blanket over the stabilizer and hoop. There is an arrow in the top center of the hoop, which you have marked, and a gap at the center bottom to help you line it up.
Step #4. Water-soluble stabilizer
Layer the water-soluble stabilizer over the fabric. Then, insert the inner hoop. It should be snug. After this, your blanket is ready for sewing.
Step #5. Sew the monogram
Sew the monogram onto your fabric using an embroidery machine. This takes a long time to sew because you have to follow the design strictly.
Step #6. Remove the hoop and stabilizers
After sewing, remove the hoop from the machine. Unhook the blanket and tear off the water-soluble stabilizer.
Next, trim off the extra threads. On the back, cut off the remaining wash-away stabilizer that’s close to the monogram.
Wash the blanket to remove the remaining stabilizer and the pen marks. Dry the fabric, and then you’re done.
Is it possible to embroider a fleece blanket by hand?
Yes, it is possible to embroider a fleece blanket by hand. It is an alternative when you do not have an embroidery machine.
To do this, you will need to transfer the design to your blanket. You will need the same materials, except for the stabilizers and the embroidery machine.
After transferring your design to your fabric, work on sewing the monogram. You can sew the design by filling the letters with cross stitches, but in the end, it’s up to you. In addition to that, having the design in a hoop makes it easier for you to focus on your work, so it is a must.
After completing the design, make sure you close the stitches properly. They should be sturdy enough to not detangle even after washing.
Then, launder your fabric to wash away the remaining ink used for the design. Leave the blanket to dry; then you’re done!
Conclusion
Giving blankets a sentimental meaning can be done perfectly now that you know how to personalize a fleece blanket.
You’ve learned about sewing and non-sewing methods, as well as an alternative to machine-sewing. Now that it is done, you can start on your project. Have your child choose a fleece blanket that they want personalized and apply your learnings.
