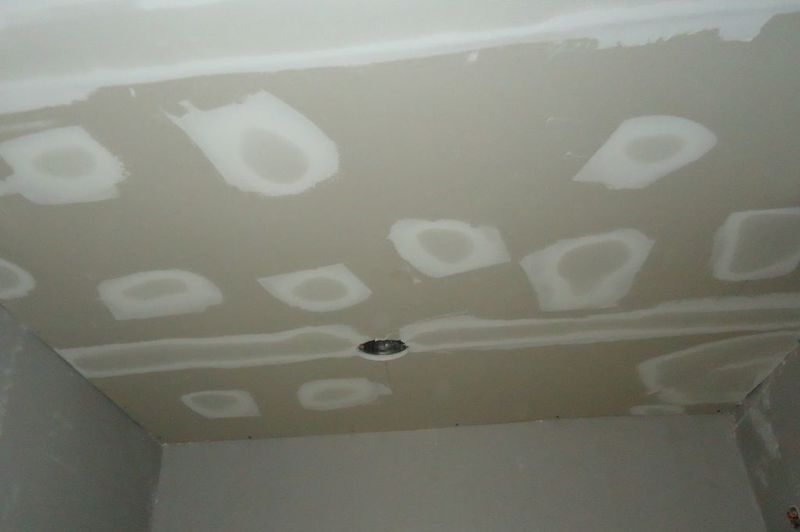
Learning how to patch water damaged ceiling tape joint can quickly alleviate safety concerns regarding your drywall. All you need to do to patch the area up is assess the damage, clean the area, repair the site using more mesh tape and joint compound, and then sand and paint the new ceiling.
Do you want to know how to fix your ceiling joint tape? Continue reading to learn the details on how to patch up your water-damaged ceiling tape joint quickly!

Why Should You Repair Water Damaged Ceiling Tape Joints?
Water damage is an issue that should be taken seriously and addressed as quickly as possible. If left unchecked, you may get exposed to hazardous situations such as collapsing ceilings. Water damage can also cause structural damage and the growth of mold and mildew.
If you expose your ceiling to water damage for an extended period of time, you may also need to replace the entire ceiling, which could be costly.
Repairing The Water Damaged Ceiling Tape Joint
Step #1. Assess the damage
The first thing you should do before performing any repair is to assess the damage. The extent of the water damage will determine the number of materials you need, how long it takes for the project to finish, and the steps you will follow. Check for the signs of water damage in your ceiling.
Most importantly, you should find the reason for the water damage. Consult with your insurance provider to see if the cost of repairing any leaky plumbing is included in your insurance coverage. Once you fix the leaky roof or plumbing issues, you can then proceed to the next step.
Step #2. Clean the area
You will need to clean the area before you can do any patching. For minor damages, you can simply use a piece of clean, dry cloth to scrape any debris off of the tape.
Remember to wear protective equipment such as goggles since the debris can go into your eyes. You can let the pieces of drywall fall directly to the ground, or you can place a piece of cloth to catch them.
If the drywall has huge bubbles and cracks, you might need to replace the length of the tape. Scrape the area using a scraper or a putty knife to expose the tape.
Using the putty knife, pry an edge of the tape and pull it out. It would be best if you only pulled out the length of tape that is weak enough to unstick on its own and remove the strip. Check the surrounding area for water damage or signs of mold.
For significant damages, it is best to let the area dry before proceeding so that you do not trap any of the moisture or the water damage. You should scrape any damaged plaster or drywall so that mold does not build up. You can speed up the process of drying by using fans or blowers.
Once the area is dry, you should sand the area behind the tape using 150-grit sandpaper and vacuum up all the debris afterward.
Step #3. Repair the damaged tape joint
Once the area is ready, you should prepare your joint compound. For significant damages, you should first replace the tape you removed. Put the tape end and pull it from one end to another, allowing for at least an inch of overlap.
Fill the mud pan with the joint compound using a putty knife. For minor damages, apply the joint compound to cover the small holes. Cover the hole with 4 to 5 inches of allowance in both directions to avoid future peeling.
For significant damages, apply joint compound in the direction of the tape. Completely cover the mesh tape and scrape all the excess. The more excessive your joint compound application is, the harder you will have to sand when it all dries up.
After applying the joint compound, let it dry. The drying process can take anywhere from 12 to 36 hours. You can hasten the process by turning on fans or blowers and pointing them in the direction of the repair.
Step #4. Finish up
Once the joint compound is hard and chalky, you can proceed to the finishing touches. Sand the area where you applied the joint compound using 150-grit sandpaper. Scrape in one direction, preferably the direction of the tape.
If big chunks of compound fall off, you might need to retouch the area. You can follow the same patching process as before.
Once the wall looks smooth enough, you should then clean up the area. It is best to use a vacuum to remove all the dust and debris that came from the sanding process.
After cleaning, you can then paint the area with the color of your choice. You can choose to paint only that specific section of the ceiling, or you can opt to repaint the entire ceiling to give it a new look.
Conclusion
Learning how to patch water damaged ceiling tape joint is necessary to ensure the structural integrity of your ceilings and prevent them from collapsing. By following a simple four-step process, you can do the repairs yourself and save a lot of money. Of course, if you believe that the damage is severe and extensive, you should call for the help of professionals.
