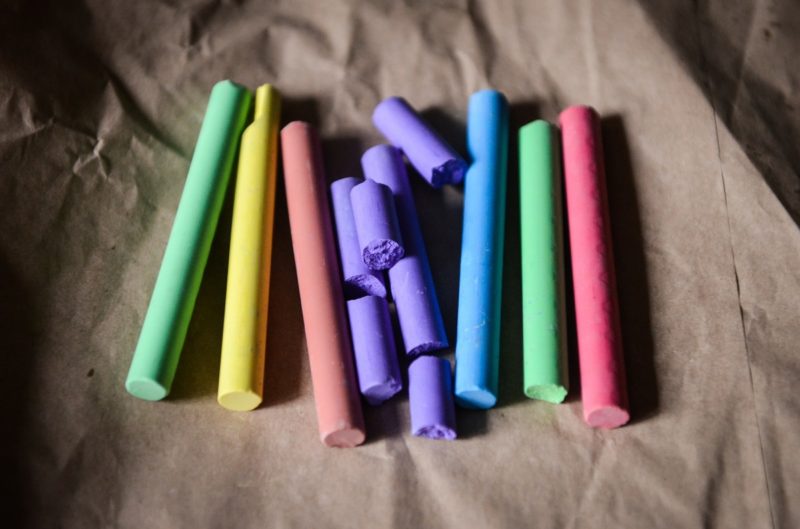
Have you ever thought, “How to paint a fridge with chalkboard paint?” Of course, when we hear the word “chalkboard,” the first thing that comes to our minds is classrooms or teachers who use one as a tool to teach. But who knew that you could transform your refrigerator into a chalkboard as well? This DIY project can be a bit challenging since you will be painting on a metal surface.
Although you will need quality chalk paint and brush, you might as well carry with you lots of patience because the drying process is a whole waiting game. However, transforming your old fridge with chalkboard paint will not only level up its appearance, but it will also be fun to write and draw on your refrigerator like what you do with a regular chalkboard.

If you have a child who would tend to draw on walls, this one will help you save your beautiful wallpapers while enhancing your child’s creativity. Now that you seem interested in the topic, let’s proceed to the steps and learn how to paint your fridge with chalk paint. Read on!
Steps On Painting A Fridge With Chalkboard Paint
How to paint a fridge with chalkboard paint? But, before discussing that, if you are still unsure whether to use chalkboard paint to your fridge, don’t be because even the surface is metal and glossy, the color will still stick on it and can result in a beautiful finish.
So, don’t worry because this project is plausible to almost any type of fridge. Now, I think you are ready to learn how to paint your fridge with chalkboard paint. Well, before you even start, of course, you will need some stuff to prepare, and these are:
- Cloth or rag
- Masking tape or painter’s tape
- Angled or fine brush
- Foam paint roller or if a painting kit
- Screwdriver in case you need to remove the fridge door
- Sandpaper
- And, of course, chalkboard paint
Now let’s proceed with the steps:
Step #1. Prepare the unit
The first thing you should do is to make sure that the unit is unplugged. Remember that you are handling an electronic appliance, so observe safety precautions. Now, to make the surface of your fridge easier to paint on, if possible, unscrew the unit’s door handle.
Step#2. Sand the surface of your fridge
If you are familiar with painting metallic surfaces, when prepping the surface, the one who will paint would make sure that the surface is smooth so that there will be no bumps appearing and ensure that the paint will stick on the metallic surface. Moreover, a metal surface is usually glossy and slippery, so it’s hard to paint on. That’s why you will need to use sandpaper to smoothen out the surface. However, you do not need to take out the paint on your fridge entirely.
As long as you feel that matte feeling after you sand the surface, then you’re all good.
Step #3. Wipe off excess paint to clean the surface
Now, please take out a piece of cloth or rag and wipe down the surface until it’s all clean. Make sure that no fragments of dry paint are left, or when you paint on the chalkboard paint, the surface will come out with a bumpy texture. After you wipe off everything, let the surface of the fridge dry.
Step #4. Paint the first coat
Now, this is the fun part, painting the fridge with chalkboard paint! But before that, make sure to place tape on exposed edges that you don’t want to paint on. After that, start painting on the surface. Don’t worry if it looks light. Just leave it to dry.
Do know that chalkboard paint has various colors to choose from, so feel free to be creative.
And once the first layer dries, paint over it again to make it look prominent. After that, you are done! I hope you enjoyed the process of painting chalkboard paint on your fridge. Regardless, here are some tips to take note of:
- To make things easier, use a sponge roller to paint on the refrigerator. It is also the best tool to use than paintbrushes because it does not leave brush marks
- To make the fridge’s surface magnetic, apply magnetic primer as it loses its magnetic property once chalkboard paint is placed
- It would be best to apply three layers of chalkboard paint for better results
That is all! There are more tricks and tips to make the outcome more polished, so read this article on how to paint a fridge with chalkboard paint to learn more information that will help you.
Conclusion
And that is all for this article “How to paint a fridge with chalkboard paint?” DIY projects are one way to save money because you have control over what materials to use, and you do it yourself, so you don’t have to pay someone for their work. Regardless, painting your fridge with chalkboard paint will make your kitchen look unique and fun.
Also, with all the handwritten notes and drawings, you can design anything you like and erase it afterward. Now, that’s a fun way to enjoy going to your kitchen aside from cooking or eating food! Do you want to read more articles? Then this one topic on how to lock fridge door.
