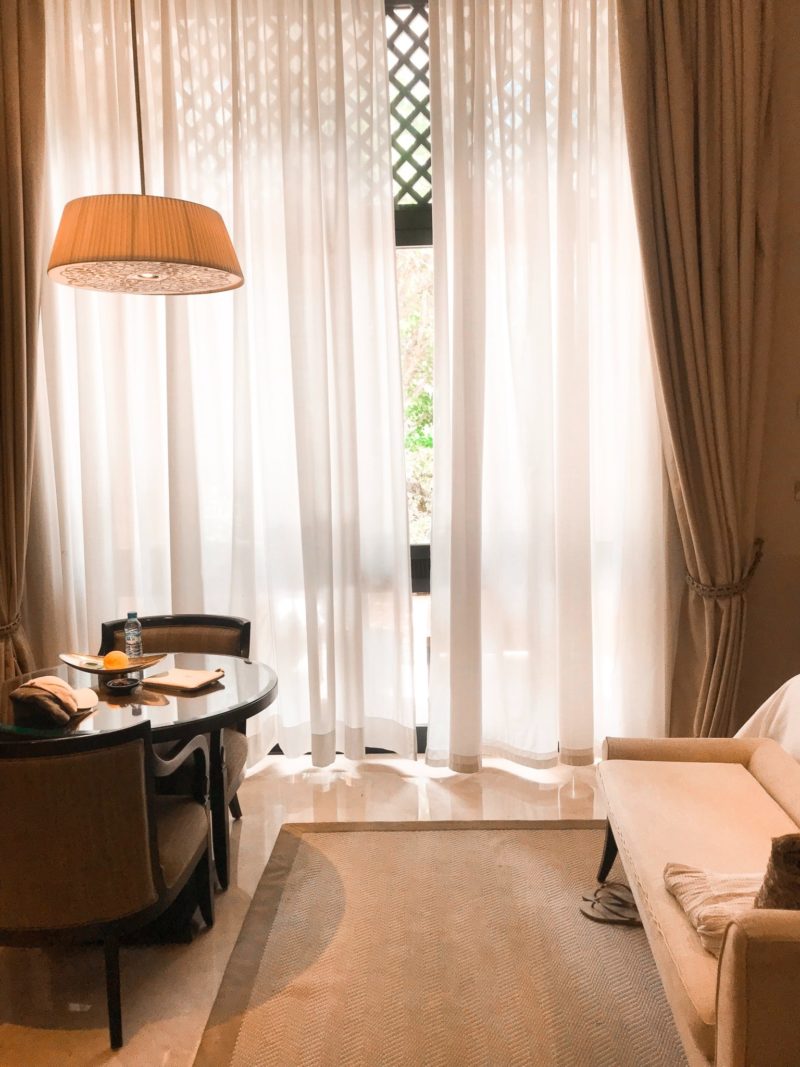
Use two different fabric pieces, some wooden battens, screw eyes, hooks, a cord, and basic sewing materials to piece together your own roll-up curtains. With just a few measuring and sewing skills, you can quickly learn how to make roll-up curtains to add to your home.

Roll-up curtains seem like complicated pieces of window treatment, especially when you consider all the cord and string attachments. However, no one can deny that they definitely add a little something to your windows.
Why Roll Up Curtains?
Well, for one, they are straightforward to make, and you can learn all about how to make roll-up curtains as we go along. You can try to make a pulley system so that it is easier to manipulate. But that is reserved for those who are more skilled in the area of curtain making.
Step 1: Gather your materials
Start making your roll-up curtains by gathering all the necessary materials. For this simply DIY project, you would need to prepare the following:
- two pieces of different fabric;
- ribbons
- a thread that matches its color;
- measuring tape or other fabric measuring tools;
- a wooden batten that is slightly shorter than your blind’s width;
- double-sided Velcro tape (the same length as your curtain’s width);
- a sewing machine;
- iron;
- sewing pins and needle;
- scissors;
Once your materials are ready, make sure that you can cut your batten and fabric to the exact dimensions to cover your window. It is best to buy a wooden batten that is already in the right size.
Step 2: Prepare the fabric.
Get your fabric and cut it into the exact dimensions that you will need. It would help to measure your window first and determine its length and width. You can decide how long you want your blinds to go. It can reach beyond or fall just below the window sill.
Use a straight edge to mark where you are going to cut your fabric. Make sure to leave a seam allowance of at least 1.5 cm. Do this for all sides on both materials. Use the sewing pin to attach the cut panels with the right or patterned sides facing one another.
Step 3: Piece the curtain together
Take your sewing machine and sew the two sides together, using the pins as your guide. Don’t forget to sew along the bottom as well. Leave the top open because you are going to turn the curtain inside out.
Once you have reversed the curtain fabric, the patterned side should become visible. Take your iron and lightly press the fabric to define the side crease. Press it flat and even give it a tailored look.
Now that we have a general shape for the curtain, we can start adding the wooden batten pockets. Let’s start at the bottom by first dropping the batten inside and pushing it towards the bottom part of the fabric. Secure the batten in place by sewing a straight line from both sides.
Step 4: Attach the ribbons.
Get your pre-cut string or cord ready and pin it along the top. It should be at around a quarter of the blind’s width from each side. Be sure to pin two on the front side and another two on the backside. This will help secure its placement.
Get your velcro tape (furry side) and place it along the top seam of the curtain’s front. Fold the fabric over so that it is transferred to the back part. Use your sewing pins to secure
the fabric before sewing along the edges.
Step 5: Finishing touches
Get the sticky side of the velcro tape and attach it along the top of your window frame. Stick it onto the blind using the furry side sewn at its back. Now you can hang the roll-up curtain and raise it by literally rolling or folding it upwards. Use the tied ribbons to hold it in place.
You can do this roll-up curtain with different types of materials and fabric and even experiment by adding a few details. Try painting or embroidering on the curtain itself.
Roll Up Pulley System
If you want a more advanced roll-up curtain that uses a complex pulley system, there is also a relatively easy way to achieve this using some screw eyes, two wooden battens, and a heavy-duty cord.
You will typically follow the same basic steps, such as measuring and cutting your fabric to the preferred dimensions. However, you might need a wooden batten that is the exact width of your roll-up curtain, instead of smaller ones like those we used in the above procedure.
Once you’ve stitched your curtain’s seams, fold the fabric to make a casing for the battens on the top and bottom part of the curtain. Insert two screw eyes at the top batten near its edge. Place another two directly below the blind and another at the top batten base, around 5 cm from the blind’s edge.
Get your cord and tie one end to one screw eye located at the top of the blind. You should connect the longer piece from the furthest screw eye. Thread the string across the screw eyes down the back part of the curtain and let it run to the front. Knot the lengths together and use the hooks to hang your finished curtain.
Now you’ve successfully learned how to make a roll-up curtain. Getting the hang of the pulley system might take more work and practice, but you will eventually get there soon enough.
