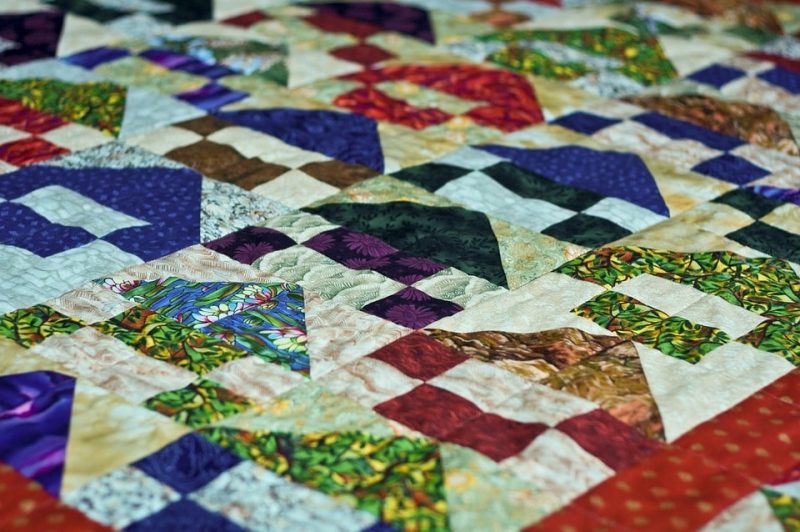
If you’re interested in learning how to make quilted pillow shams, you’ll be pleased that it only takes three steps. Pillow shams surely improve any pillow, but why not step them up and make quilted varieties? Do not be discouraged from trying this technique because it’s relatively easy!
Why make a quilted pillow sham? The quilted variety requires more techniques compared to making a regular sham. However, you have so much freedom in the fabric to use, and the result feels softer and cozier.

How To Make A Quilted Pillow Sham
Step #1. Prepare
As with doing any project, you want to prepare the materials beforehand. This means cutting multiple fabric pieces since you’re making a quilt. Prepare 48 pieces of 3.5 by 3.5 inches fabric squares of your choice color, as well as two 19 by 21.5-inch fabric rectangles to become your flap closure at the back. You also want three strips measuring two and 14-inches for binding and four rectangular fabric pieces.
Two of them should measure two by 18.5 inches while the remaining half is around two by 27.5 inches to make the pillow border. And finally, your batting and muslin will each measure 27 by 33 inches, respectively. Do note that you can always modify these measurements to achieve the pillow size you prefer.
Step #2. Arrange
Once you have the materials measured and cut, you should be ready to arrange your quilted sham. Start by organizing your squares to make six rows, with the pattern and colors in mind. Then, secure them into place and sew the rows together before adding the border fabric strips.
The larger of the two will be for the top and bottom, while the smaller strip will be for your sham’s left and right sides. You can then start layering your materials, starting with the muslin, followed by batting, sham top fabric, and quilt. Make the finish neater by trimming the edges of your sham and also stitching the long edges of the fabric rectangles that will become your flap at the back.
Step #3. Construct
The final step is constructing your quilted pillow sham with its front right side down on the surface. Put the unfinished side of one of the back pieces, and ensure that the sham’s flaps will be placed right side up. Add the other back part right side up on top of the first piece to create the sham’s overlapping flap back.
Since the flap back will become your opening, you don’t need to sew a zipper or leave an open-end on your quilted pillow sham. The flap will hide the pillow form inside, and removing the sham will be more convenient. At this point, you’ll just pin the edges of the sham and sew it with the front up, bind, add the pillow insert, and you’re done!
What Is Quilting?
Quilting is not only limited to bedsheets because the process is applicable even to pillow shams. It refers to layering a top, batting, and a bottom fabric piece together. Quilted shams are popular nowadays because you can combine multiple patterns and the inner batting adds to the pillow’s softness and coziness.
With the project above, you can let your creativity run wild by combining different fabric pieces. Some prefer monochromatic shades, but you can also combine patterns and colors. You can also select the fabric type according to what you think will look best for your room, couch, or bed.
Types Of Pillow Shams
You can always classify shams into their sizes to accommodate multiple types of pillows. However, another way to differentiate these covers is their overall design. They include the knife-edge, quilted, and flanged varieties.
Quilted pillow shams
The project you just learned is a quilted pillow sham, and its layers and stitching make it one of the best shams for decorative pillows. Furthermore, the layer adds softness and dimension to the pillow, so you’re getting a plush finish that is enticing to the eyes and feel. You can quilt the layers by hand or with a machine, and the pattern can be parallel and abstract or grid and repeating.
Standard pillow shams
Standard pillow shams are the traditional types, but you can always make them more decorative using a patterned fabric or something with a different texture. If the finish is too simple, you can always embroider the sham or add ribbons and laces. Standard shams are also known as knife-edge shams with openings ranging from a flap to the zipper.
Flanged pillow shams
Another typical pillow sham is the flanged variation. It looks like a standard sham, except it has a flange or extra material around the borders. You can also stuff the flange, ruffle it, or add decorative cording to enhance the finish further.
Conclusion
If you’re a fan of combining patterns and colors, quilting is the best project for you. You can even step up your pillows and learn how to make quilted pillow shams. As you have read, the process is relatively easy and only takes three steps to finish.
The key to a smooth, stress-free experience is to measure and cut your materials beforehand. Then, arrange them into place and sew the pieces together. With this guide, you’re doing a flap back closure, so the sham is even convenient to remove for cleaning or replacement of pillow form.
