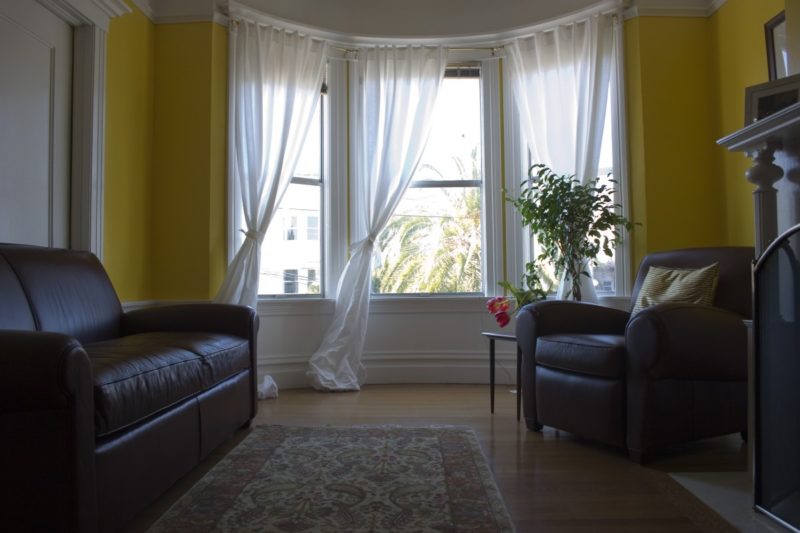
Are you wondering how to make lined tab top curtains? Then you have come to the right place!
Creating your curtains using any drapery fabric that you like is surprisingly easy.
It is also a great option in dressing your windows.
That is because you can surely make one that can complement the interior décor of your room.
What Are Lined Tab Top Curtains?
Before we start with the procedure in making lined tab top curtains, let us first know what type of window treatment is.
So, tab top curtains hang from the tab on top of the curtain panel. These curtains offer a seamless look from top to bottom.
Many people like to install these because they can fit all styles, from traditional to modern.
If you open them, their tabs produce pleats that drape nicely but are not too formal at the same time.
When we say lined tab top curtains, these are tab curtains with a drapery lining that helps in protecting the curtain from moisture and sun damage.
What Are The Things Needed?
The first thing you have to do in making lined tab top curtains is to gather all the material you need for the project.
This includes the following supplies and tools:
- Curtain fabric
- Lining fabric
- Thread
- Bias tape or ribbon
- Straight edge
- Ironing board
- Iron
- Rotary cutter
- Scissors
- Sewing gauge
- Cutting mat
- Fabric marker
- Ruler or measuring tape
- Pins
Steps To Make Lined Tab Top Curtains
After you have collected all the supplies and tools need for this project, you can now proceed to the procedure.
Ensure to follow the steps below and remember the tips provided so that the entire process will be a breeze for you.
So, here’s how to make lined tab top curtains:
Step #1. Measuring and cutting the fabric
Measure the length and width of your window and take note of the measurements on a piece of paper.
Now, in determining the length of the curtain fabric to cut, add inches to the measurement to get your desired length.
You may add another inch for the hem allowance at the bottom of the curtain. This can provide enough wiggle room for your curtain to drop where you like.
For my project, I used nine yards for the lining and 10 yards for the main fabric.
Each curtain panel measures 25 by 95 inches.
The dimensions of your curtain will be different, so ensure to get the measurement right and prepare enough fabric.
For the width, you can add three inches to the desired width when finished.
You may also use the selvage edge so that you will gain more extra width.
After you cut the main fabric, you can proceed to the lining.
Also, cut it with the same dimensions as the curtain panel.
Step #2. Making the tabs
Now you can proceed with the tabs.
First, cut the fabric into tiny pieces measuring about 4 inches by 6 inches. This will result in finished tabs measuring 2 inches wide.
In between those tabs, you need to allow a space of about 6 inches. So in every panel, you will need about four tabs.
Remember to turn the tube with the right side facing outwards. Then place the seam at the center and flatly iron it.
Do the same to all the tabs and then set those tabs aside after.
Step #3. Pinning fabric and lining
Position the main fabric facing downwards, then center the drapery lining with five inches on every end and 2 inches on every side.
Start pinning all around the sides.
Step #4. Sewing the bottom and sides
Fold the edges on the sides and iron them. Then, again, fold it over once more, iron, and pin.
For the hem at the bottom, fold the fabric at about an inch and iron.
Then, fold it again for about four inches and iron.
Step #5. Sewing the top and the tabs
Repeat the same steps you did above for the top and the bottom of the curtains but do not sew the bottoms first.
Fold the end of each tab at about an inch and iron.
Take the end you just folded and tucked it beneath the bottom edge of the fold on top.
Then, repeat the same process for the rest of the tabs, leaving even spaces in between.
Then, pin those tabs in place.
Now fold below the tab’s top end so that they will be even with the curtain top. Press and pin them in place.
Do the same for the remaining tabs.
Lastly, sew all around the sides of the tab top to secure those tabs in place.
Congratulations!
You have completed your lined tab top curtains.
It’s A Wrap!
By now, you might have realized that, indeed, it is not hard to make lined tab top curtains.
It will only take a few steps, and your project will be complete.
Even though your sewing skills are very low, you will still be able to make a beautiful window treatment that can complement your décor.
This is how to make lined tab top curtains!

