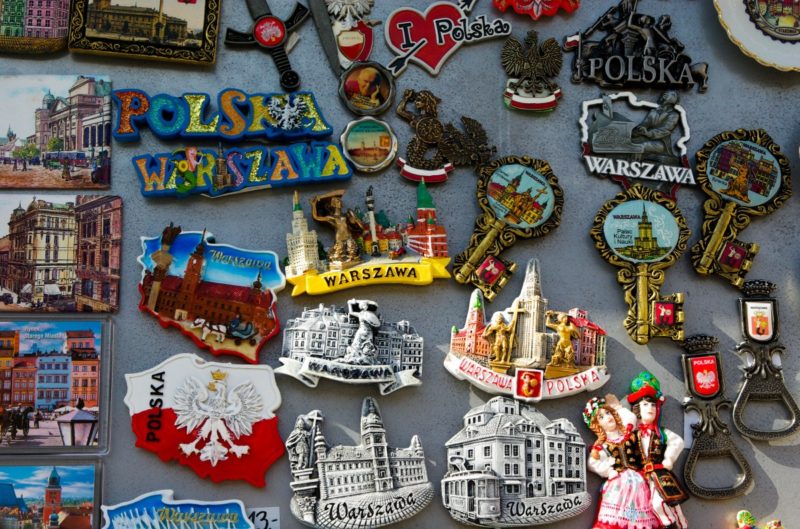
By any chance are you interested in how to make fridge magnets with photos? All you need to do is take your dusty art materials, some magnets and we can start the process! In no time, you will have beautiful, decorative pieces adorning your fridge. Who wouldn’t want to give their fridge a glow-up?
Fridges are one of the most used appliances in every household. It contains food that is essential for daily consumption. Since it is part of everyone’s daily routine, it would be nice to give it a bit of personalization and at the same time, magnets that can pin important reminders to everyone in the house. So, how to make fridge magnets with photos?

Steps To Make Fridge Magnets With Photos
This is a DIY tutorial on how to develop and assemble photo magnets. DIYs may take a bit more time but we can assure you that a little effort can go a long way. Not only will you spend less on labor fees, but you can also add a hint of personalization that no stranger can capture. A gift made personally will seem more meaningful and thought-out.
Step #1. Gather supplies
Before you start, it would be convenient to get your materials ready and determine if you have access to everything. If you lack some, you can look for alternatives or hit the department store so you won’t have to pause the entire process.
Adhesive magnet paper
An adhesive magnet paper is a magnet and a sticky paper in one. Though slightly more expensive, it is worth it since the adhesive is much firmer than glue. It is not in liquid form so it will be less messy and the sticking process will be much faster. Although it contains a magnet, it cuts as smooth as paper.
You can decide on your preferred size and what works best depending on your fridge’s surface. However, the standard photo magnet measures 8.5” x 11”. If it is not available, you are welcome to help yourself to a separate piece of magnet. It won’t affect making your fridge magnets, though a bit more tedious. Click here to make DIY photo magnets.
Photo paper
Of course, in a tutorial on how to make fridge magnets with photos, photo paper is essential. This special paper is equipped with a surface that provides vibrant color in printing. It is also denser than normal paper which makes it tougher to ruin. Trust us, despite being costlier than bond paper, this has better quality and longer shelf life.
Photo paper should also have the same measurement as the magnets. There are many available size options but if unavailable, you can use cutting materials to shape it.
Printing essentials
Since this is a DIY, you also need to do your own printing. However, if you resort to having printing shops do it for you, no judgement! An advice though, self printing can afford you the luxury of choosing any kind of photo, even ones not allowed for prying eyes. So, if you want to use an embarrassing picture as a joke or an important, private document to put in, you gotta get a printer. ASAP.
Scissors and glue
Scissors are always present when it comes to art crafts. Crafty or not, you gotta have some scissors in the house! This will be used to cut your product into your desired size. If you’re feeling creative, you can also make them into shapes.
Glue is optional depending on your access to the previous materials. If the adhesive material is not present, you can go traditional with glue! It may take a bit more time since it has to dry before continuation, one can never go wrong with glue. It’s less expensive too and is basically everywhere.
Step #2. Edit and develop photos
The photos are the main focus so you have to be very careful in choosing them. We suggest a picturesque image that can liven up the mood of your kitchen. Color themed ones that match your space are good too! Even better, a personal image that can bring memories back. It woud be nice to have a bit your past to remind you and make you nostalgic.
Take your printing essentials and photo paper because this is a major step. Make sure you have the needed ink. Print out your photos and if needed, cut into your desired size. You can use a ruler to make sure of the lines and angles.
Step #3. Cut and prepare magnetic paper
Take out the magnetic paper and cut according to the size of your photo. Help yourself with pencils and rulers available to make definite lines and lessen mistakes. If you only have magnets, don’t worry! Magnets ccome in different sizes so make sure you chose a size hat can accommodate the photo. Either buy the exact size or a smaller, discrete one. As long as it sticks effectively.
Step #4. Attaching photo and magnet together
Aren’t you excited? This is the last and final step! Take your cut magnets and photos. Now, put them in pairs to make sure you have enough. Take one of each and carefully attach them. All the edges of the photo should fit in every edge of the adhesive.
A tip: don’t take out the adhesive fully. Only remove the first edges and slowly peel it off as you go over the entire thing.
That way, you can still adjust the edges and fix creases. If you’re using traditional magnets, take firm glue and paste it on the magnet and attach the photo on the sticky part.
Conclusion
Now that you know how to make fridge magnets with photos, time to create some eye-catching fridge decorations that will liven up your kitchen. All you need are a bunch of photos, magnets, and some determination! Want to know more about fridge magnets? Click here to know how to dispose fridge magnets. Have fun!
