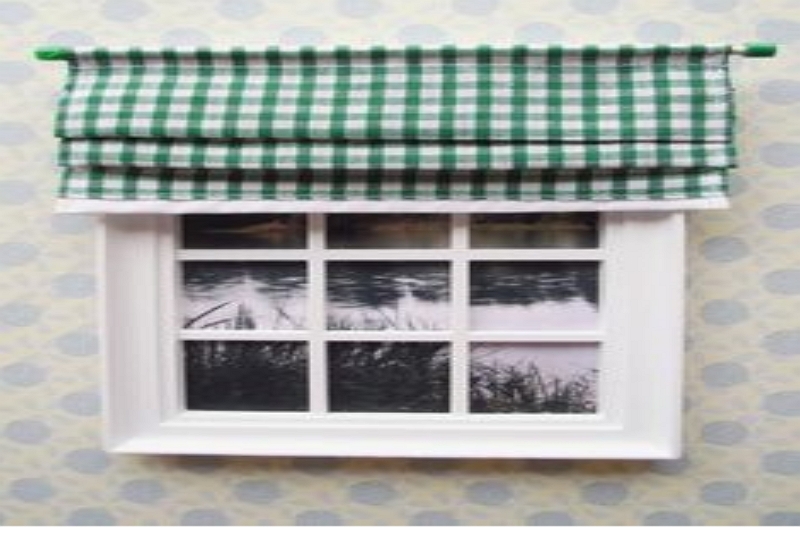
Hi Guys, I will be guiding you on how to make dollhouse curtains in this article. A dollhouse, as you know, is simply a small house that contains toys and other accessories for children to play with. Making a curtain for this kind of house is quite easy. You do not need any super skills for this task.
To start with, you need the following materials to make the dollhouse:

- Mat Board (Also known as Crescent Board or Museum Board)
- Foam Board
- Aluminum foil
- Cutter or a Ruler and an Exacto Knife
- Exacto
- Tacky Glue
- Container (This should not be used for food)
- Sewing Pins
- A pair of Scissors
- Fabrics
Steps on How to Make Dollhouse Curtains
Step #1: Measure an inch from the mat board and cut it out using the cutter.
Step #2: Place the cut out from step one on top of the dollhouse window and measure out the width of the window. Leave an extra ¼ of an inch at each side.
Step #3. From the measurement in step 2. Cut out the centerpiece and leave a ¼ of an inch at the end to give you a c-shaped piece. The C-shaped piece is supposed to sit above the dollhouse curtain.
Step #4: Cover the foam board with Aluminum foil. The essence of covering it with a foil is to protect it from being damaged by moisture.
Step #5: Trace out the C shape piece made in step 3 on the foam board that you did not cover with Aluminum foil.
Step #6: Take a measurement of the dollhouse window, and with that measurement, draw a line on the foil-covered foam board showing the length of the window.
Step #7: Get the fabrics you want to use for the dollhouse curtain. Measure out a rectangle that is the shape of the dollhouse window and cut it out from the fabrics.
When doing this, leave out extra space on each edge of the fabrics. Space should be around ¼ inch. You will use this for making a hem at the four edges of the fabrics. Make two of these for each window.
Step #8: At this stage, you need to make the hem of the two fabrics cut in step 7. You can decide to buy them with a glue or sewing machine depending on the resources available.
When hemming with glue, make sure you apply the quantity that is just enough for the hem. Applying too much glue can make the glue drip from the other side of the fabrics, and this can cause some stains to the curtain.
Step #9: After hemming the two fabrics, the next thing you need to do is to make a glue solution. Take a container and fill it with 75% water and dissolve some tacky glue inside the water. Stir the solution continuously until the glue properly dissolves in the water, leaving a whitish solution with no precipitate under.
Step #10. Dip the two fabrics inside the glue solution for some minutes. Bring them out and wring them thoroughly and then fold, then make very small accordion folds with the fabrics. The smaller the accordion folds, the better. Do this for each of the two fabrics.
Step #11: Take the folded fabrics and then place them on your foil. It would be best if you placed each of the two fabrics at each side of the window shape that you measured out on the foil.
Step #12: Expand the top of the fabrics at the top and use a sewing pin to hold them down at different positions. You should place the fabrics on the foil. It will make the foil appears as if you hold up each of the fabrics on each side of the window.
Step #13: Allow the Fabrics to stay there for some time and then you can go ahead and remove the sewing pin.
Yeah, you are down, and that is how to make dollhouse curtains. The next thing to do now is hanging the dollhouse curtain, which we will discuss in the next section.
How to Hang Your Dollhouse Curtain
Aside from knowing how to make dollhouse curtains, you should be able to hang them easily. After making the curtains, as explained in the last step, follow the steps below to add a top to your dollhouse curtains.
Step #1: Measure the width of the curtains you made and with that measurement, cut out an equivalent length from your mat board. Add a ¼ inch extra at the end of the mat board.
Step #2: On the mat board, measure out the exact measurement of the curtain, leaving out the extra ¼ inch at both ends. Make a little cut at each end of the mat board such that you can bend it.
Step #3: Cover the mat board with glue and then wrap it with the same fabrics as your curtains.
Step #4: Use glue to hold it to the top side of the curtain
Step #5: You can now hang the curtain by applying tacky glue at the back of the top of the curtain and then gluing it to the surface.
Conclusion
I have taken you through the process above on how to make dollhouse curtains. I believe the process is quite simple and straightforward. Have any questions or suggestions? Reach out via the comment box.
