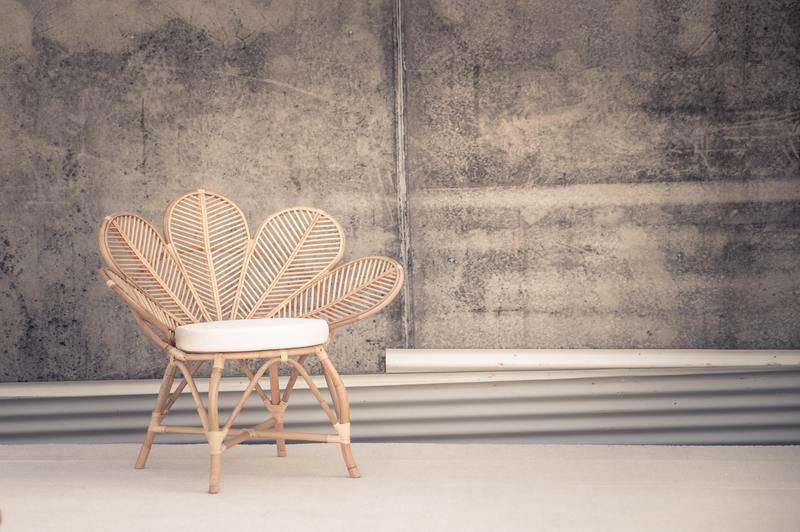
You should check out this easy and quick step guide for those who want to know how to make chair pad cushions. This article will also mention some tips and tricks to make your chair pad firmer and better. Ensure that you stay in touch to apply the techniques correctly on your handmade chair pad cushions.

What Are The Materials Needed
Before you do the procedure, you need to settle all of the materials to make your chair pad. If you have the complete set, you are good to go!
- Tape measure
- Cushion or any filling to fit chair
- Ruler
- Fabric marking pencil
- Matching thread
- Scissors
- Upholstery fabric
- Sewing machine
- Zipper
- Hand sewing needle
- Iron
Making The Chair Pads
Step #1. Measure width and depth of the cushion
A great tip before measuring you’ll need to add 1 inch to each measurement of the width and depth of the cushion. Then cut one piece of fabric for the measurements for the cushion’s bottom.
Step #2. Measure the height of the cushion
Same with measuring the width and depth, you need to double the amount and add 1 inch. To measure the height of your cushion, you have to add it to the measurement of the width and depth. Then, cut one piece of fabric to the measurements for the chair pad for the top and sides.
Step #3. Center cushion on the wrong side of the second fabric piece
Place the pad at the center on the wrong side of the second fabric to create a mitered corner with the right sides of the folded corner facing.
Step #4. Fold one corner of marked fabric half diagonally
Fold one corner of the marked fabric in half diagonal to form a mitered corner with the right sides of the folded corner facing. You will be sewing a line perpendicularly to its raw fabric edges.
Then, start at the marked line and stop a half-inch from its edge, forming a dart. After that, make a dart in all corners doing the same manner.
Step #5. Trim fabric at corners
You’ll need to trim the fabric’s corners within the seam for about a half-inch. After that, press the seams open.
Step #6. Pin the zipper to the back edge of the piece to the cushion bottom
For the zipper, with your right sides facing and make sure the raw edges are even. You will need to pin the piece’s back edge to the pad’s bottom with the raw edges and proper side matching.
Using your pencil, you need to mark the placement for the zipper at the center of the pinned area. Then, you will need to sew it from corner to corner with a half an inch seam. With the basting stitches, use it for the zipper area, then press the seam open.
The zipper needs to be centered, and once it is placed correctly, you need to pin it in front so that it’ll press an open seam between the marks. On each side, you have to baste ¼ inch from the seam.
When it’s right side up, sew it over the basting lines to attach the zipper. After everything, remove your hand and machine for basting and then open the zipper for several inches.
Step #7. Pin the remaining sides
Pin down the remaining sides of the bottom to the other sides of its darted top and sew it with half an inch seams while pivoting stitching at its corners.
Step #8. Turn right side out
When you turn it right side out, press it. Insert the cushion through the zipper opening, then zip it to close.
How to make chair pads firmer?
Add an extra filling for an easier way to make sure that your chair pads are firm enough for the chair pad cushion. Since we’re using these zippers for the pads, it’ll be easy for you to add extra fillings. You’ll unzip the cover of the pad and add the right amount of filling.
What is the best filling for your chair pad?
Here’s the list of fillings that is best for your chair pad:
- Foam – This is a common material used for filling in a chair pad since these come with a variety of densities. With a high density, it’ll provide a firm pad for the chair.
- Polyester – This one an excellent choice if you’re on a budget. It’s always available in several densities, but the disadvantage is that it flattens out quickly.
- Batting – This material is used for the foam to keep the filling, make it smooth, and avoid itself from slipping.
- Feathers and down – This material also has some downsides for a cheaper option since feathers don’t dry up properly when the material gets wet. For a helpful tip, use waterproof covers to protect it from spills.
Conclusion
You’ve reached the end of this article on how to make chair pad cushions. Follow the given steps and look through the fillings that’ll suit your chair to achieve the comfort you’re aiming for.
