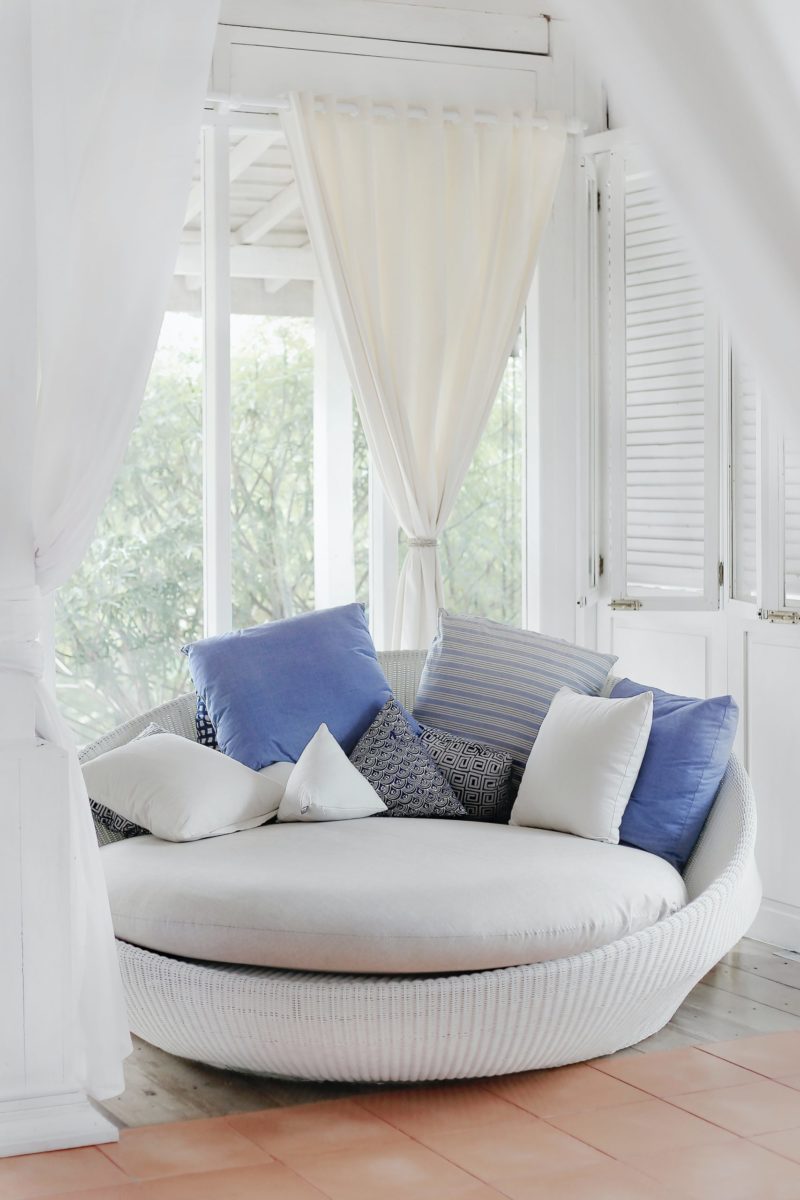
Give your campervans more privacy and provide a warmer and homely feel when you learn how to make camper curtains. Luckily, they are not too difficult to make. Enjoy better insulation, more privacy at night, and add a touch of style inside your campervans in just a few easy steps.

You can quicken the process with a sewing machine and drill. Don’t worry if you do not have these, as there are also tremendous and efficient alternatives that will leave you with the same result. It is budget-friendly and cost-efficient.
Of course, you might need some basic sewing skills and knowledge on how to use sewing machines. Luckily, this DIY project tutorial is pretty easy to follow, so don’t feel too intimidated by the sewing process.
Step 1: Get your materials
This is a relatively simple and straightforward process. All you need is your fabric of choice, a thread, a small curtain cord, some sewing materials (needle, thread, shears, sewing machines), a drill, and drill pieces, and you are ready to learn how to make camper curtains.
Step 2: Measure your window
If you are buying a new piece of fabric for this curtain project, you might want to pre-measure your window before purchasing the material. Simply take your measuring tape and take note of the window’s dimensions.
Fortunately, you don’t really have to buy curtain fabric. In fact, you can easily make these camper curtains from an existing blanket, an old towel, a duvet, and other types of scrap fabric. Just make sure that it has enough material to cover the window.
Determine how many panels you want to make. You can opt for two window panels that you can slide along the curtain cord. The choice is yours to make. Don’t be afraid to go for three or four window panels, especially if you have wider campervan windows.
Step 3: Prepare your fabric
When calculating the width of your curtain fabric, make sure to add the seam allowances of at least an inch. Determine your panel’s width by multiplying the window’s actual width by a fullness factor of 1.5 or 2.
Compute for the width of each panel, by dividing the actual curtain width with the fullness factor, by the number of panels. For instance, a 48-inch width with four panels should give you 12 inches of fabric per curtain panel.
Don’t forget to add the seam allowances once you have determined the curtains’ exact dimensions.
Add an inch or two to the initial length of the curtains for the rod pocket at the top section of your curtain. You can measure the circumference of the cord to get a more precise fit. Make sure not to create a rod pocket that is either too big or too small for your chosen curtain cord.
Cut off the excess fabric and fold the hems in place. Use a sewing pin to hold them together and iron them in place. Do this for all sides of the curtain.
Step 4: Sewing
If you have a sewing machine, you can definitely finish this step in less than ten minutes. Simply sew the side and bottom hems together. Do the rod pocket by hemming the top part of the fabric and leaving holes at its sides for the cord to pass through.
However, you can also do this using traditional hand-stitching methods or a fusible iron-on hemming tape. Use longer stitch lengths when hand-stitching the hems. Don’t forget to remove the pins once you finish the hemming.
Step 5: Hanging the curtains
Your curtains are already done. Now we just need to piece the curtain hardware together. Take your drill and screw holes in the campervan to connect your curtain cord. For wider curtains, don’t be afraid to use five or more screws throughout their horizontal length.
Drill a small hole into the metal. Be careful and remember to use small screws since we are working with a campervan and not an actual house. If you don’t have a drill, you can always use a regular hammer and nail.
Cut the curtain cord to your desired length and hook one end onto the screw. Slip your rod-pocket curtain onto the rope and pull the string tight towards the opposite side before securing the other end. This will prevent your curtain from sagging in the middle.
Secure the other end of the curtain cord and cut off the excess piece. Adjust your curtain panels until you are satisfied with their look.
Tips
You can play around with the material for your campervan curtains. Do a blackout curtain for better privacy and improved insulation. You can also add another set of curtain cords at the bottom to secure both ends. For that, you will need two sets of rod pockets at the top and bottom part of the curtain fabric.
Add a piece of velcro at the sides of the curtain to hold together while you are traveling. You can also use a twice or thin rope to hold or tie them together if you want to let in natural light.
Overall, learning how to make camper curtains is pretty much similar to making regular curtains. You just have to adjust the fabric size so that it suits your smaller spaces. Making your own camper curtains are also a neat alternative compared to purchasing expensive insulated coverings.
