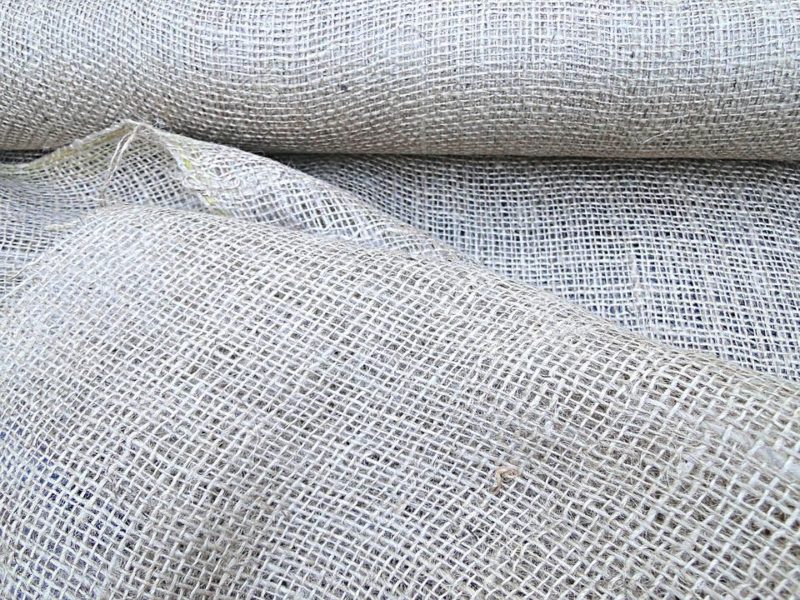
You can learn how to make burlap bows for wedding in two steps. You only need to cut and construct the burlap pieces for an easy DIY bow you can use to decorate the wedding venue.
We will also help you make other wedding decors made from burlaps, such as two-colored bows and giant burlap ribbons. Then, please read what colors go with burlap wedding decoration.

DIY Burlap Bow Tutorial: How To Make Burlap Bows For Wedding
Step 1. Cut the burlap ribbon bow into four strips of different sizes
- Start the easy burlap bow with the parts you’ll need to construct it; cut two 18-inch burlap ribbons, a 15-inch piece, and a 4-inch piece from your standard burlap roll bought from the store
- Get one 18-inch burlap ribbon and use a glue gun to stick the ends together and create a circle; do the same with the 15-inch burlap piece
- After letting the circles dry, dab glue in the middle of the larger piece and place the smaller circle over it
- You should be able to make out a classic bow from the two circles glued together
Step 2. Construct the burlap bow and repeat until you have enough burlap bows for the wedding
- To make the burlap bow look more obvious, grab the middle of the glued circles and accordion-fold so the middle is puffy and there are dimples on both sides
- Add the other long burlap strip underneath the bow and adjust, so the resulting ribbon tails are equal
- Wrap the shortest burlap piece around the bow with the tail to finish the DIY burlap bow
- To make the burlap wedding bow more refined, cut the bottom edge of the tails at an edge or make notches similar to a classic bow
- After everything is dried, fluff out the burlap bow and press the folds as needed for a more 3D-look
- You can glue decors in the middle of the bow
- Make as many wedding burlap bows as needed and play with the size, depending on how you’ll use it
Tutorial On How To Make A DIY Burlap Wedding Bow With Two Colors
Some wedding themes will look best if burlap is combined with other colors or materials. Therefore, why not make burlap bows with wired ribbons for two-colored wedding bow decors on your pews and other parts of the venue?
- Cut a long and short piece of burlap ribbons and glue their ends to create two circles; you can also use two similar-sized circles but tie them with burlap in the middle so you’ll end up with a four-loop bow
- Stack them on top of each other and glue them in the middle
- Pich the burlap ribbon in the center and tie it with twine
- Place the bow tail underneath so when you tie the center with burlap again, the two tails will be in similar lengths
- Create another ribbon using a different-colored material; make sure that it’s smaller than the burlap bow you just made
- Attach the smaller bow over the burlap bow and tie everything with twine to finish
Easy Tutorial On How To Make A Wedding Bow With Wide Burlap
If you want a giant wedding bow, you’ll need to create a multi-loop burlap bow. You can choose between wide bows or not, and the width of the ribbon can dictate how fluffy it will be.
- Cut a 4-feet piece of burlap ribbon and fold one end to the other so it will reach the width you want for your wedding bow; since this will be a multi-loop bow, this loop should be about ¼ of the total ribbon length
- Fold the opposite end towards the front of the bow so that it’s stacked on top of the first loop and as big as it
- Continue working the loose end of the ribbon back and forth to create loop pairs
- Make sure the loop on top is always smaller
- Get a twine and tie the center of a giant burlap bow; you can also use wire then cover with a piece of burlap; you can use this coverage piece’s ends as the bow tails
- Fluff out and separate the loops to finish
How Do You Tie A DIY Burlap Bow On A Mason Jar?
Burlap ribbons are one of the best decors you can use for wedding mason jars. They can be your decorative jars on the reception tables, or you want to give rustic wedding favors to the guests using mason jars.
Here are the instructions for using burlap on mason jars:
- Plan where you’ll position the burlap band around the mason jar
- Dot the glue gun on your decided placement and wrap the jar with burlap
- Overlap with another burlap strip as needed, starting on one end
- Glue the other end to finish wrapping the jar
- Add a smaller lace strip over the burlap for a bridal look
- Tie twine around the mason jar neck to finish the rustic wedding jars
Read how to decorate mason jars for a wedding for more ideas.
Conclusion
Was this guide helpful? To recap how to make burlap bows for wedding, you only need to stack two circles together and tie them in the center with the tail.
You can also stack a smaller ribbon over it to have two colors or use a wide burlap strip for a giant wedding bow. Let us know below how you use burlaps for decors.
