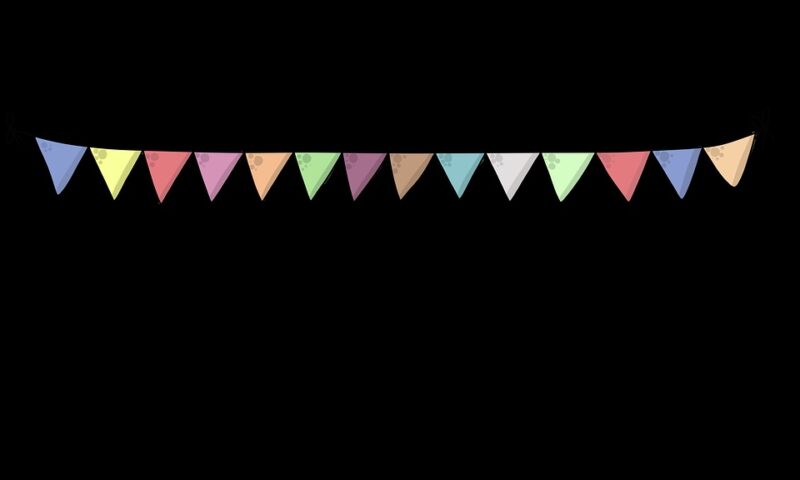
There are three easy steps on how to make baby shower banners. This tutorial uses MS Word to create a template; you don’t need to spend much on the materials required for this DIY baby shower banner.
We’ve also included a guide for those who want to make baby shower banners from fabric instead of paper pieces. And for other DIY decorations for the party, why not learn how to make baby shower diaper centerpieces for something creative and unique?

How To Make Baby Shower Banners At Home
- Open MS Word on your computer and insert the oval shape onto the document; you can also choose another shape for your banner letter, but a circular template is the easiest one to cut without any unique tool
- Adjust the shape size to three for the height and width
- Design another circle but in size four
Step 2. Print the template on cardstock
- Print the two circular templates you made on MS word on any sturdy paper like cardstock; you should have one small and big circle per letter
- For each letter on the baby banner, type them out in MS word and print them on cardstock paper individually
- Be mindful of the font and size of each letter as you’ll cut them by hand
- For the baby shower banner letters that will be on the size three circles, make sure they’ll be 2.5 inches tall
- Use the baby shower theme to know what colors and designs to print
Step 3. Construct the pieces together
- Lay out the circle pairs and plan the banner design
- You’ll be stacking the smaller circle over the larger one, so you’ll cut out these designs on your chosen colors of papers
- You can play with different color combinations for the two circles and the letter
- Arrange each set so you can read the baby shower banner
- It should be a big circle stacked with the smaller circle and the letter
- Glue the banner letters and add other stickers and decorations as needed
- Let the glue dry completely
- To construct the DIY party banner, punch two holes at the top of each piece
- Thread a string or ribbon through these holes, ensuring that you have enough length on both ends for setting up the baby shower banner at the party
How Do You Make Sure The Baby Shower Banner Is Sturdy?
Making a DIY baby shower banner is easy, as it’s a set of sturdy letters threaded through a string. But to ensure it will last throughout the party, use cardstock for the letter paper to maintain its structure and keep the design readable.
Then, select a piece of string or ribbon that can hold the paper letters nicely. How you install banners at the venue will affect their durability, so use enough tacks or tie them somewhere stable.
How Do You Make A Baby Shower Banner Out Of Fabric?
You can prepare a fabric length and paint it yourself with greetings for the baby shower. Another idea is to collect scrap fabric pieces and create a banner where you can add letters.
Here’s an easy tutorial for the latter:
- Prepare seven fabric pieces of different designs and colors that match the baby shower theme
- Cut fabric strips according to the size you want for the fabric baby shower banner
- For a large fabric banner you can use as a backdrop for greetings, each strip could be 36 inches long and 1.5 inches wide
- Fold every strip widthwise with the design outside
- Tie the string between two objects for easier construction
- Hold the strip against the string and pull the two ends through the loop to tie them in place
- Continue adding fabric strips through the string until you achieve the banner length
- For the baby shower greetings, you can create a smaller banner with letters using the tutorial discussed earlier
- You can also make a smaller fabric banner as a design over a chalkboard with the baby banner
Wondering who should be learning these DIY banner tutorials? Check out who throws the baby shower to know the host.
What Is The Best Way To Cut The Letters For The Banner?
There are many ideas for creating the letter pieces for the baby shower banner. You can print one letter per paper using MS Word or cut a template as a stencil that you’ll trace over the papers.
But if you don’t have many tools, how will you nearly cut the letters and other shape designs for the DIY baby banner?
- Use large and thick fonts
- Capitalized letters are easier to cut
- Consider printing letters on colorful papers and designs, so you’ll be cutting a shape instead of a letter
- If the font or design of the letter is too complicated, use a scalpel to make tiny cuts
- Start with the smallest details of each letter
- Cut away from the point in both directions of the letter’s corner
- Use a sharp scalpel in one smooth motion for the curves of each letter
Conclusion
And that’s it! To recap how to make baby shower banners, start with a circular template for each letter and cut the letters on cardstock.
You can construct each letter you’ll thread through a string for the baby banner. You can also directly cut shapes with the letters if the font is too complicated to cut.
