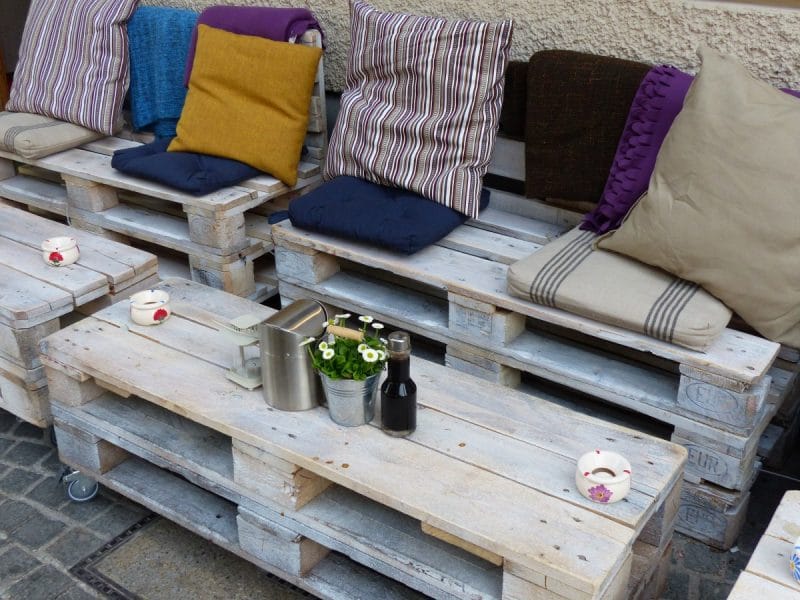
Are you wondering how to make an outdoor pillow? In just six easy steps, you can DIY!
Adding pillows to a room or an area is one of the best ways to give it more style and personality.

Beautifying a space is not only limited within the walls of your home but extends to the outdoors also.
With your creativity and fundamental sewing skills, you can make your very own outdoor pillows.
Outdoor spaces are quite a challenge because these home accessories are prone to rain, heat, and other environmental factors that can cause damage.
But with this guide, you can ensure that your finished product will not only be suitable for your preference but can pass your standards of an outdoor pillow.
Through this process, you will get to appreciate the outside area more. Not only this, your visitors will see and feel a part of you in the space.
Supplies And Tools Needed
- Outdoor or exterior-grade fabric (3/4 yard)
- Outdoor pillow insert (Polyfill)
- Cotton piping (the same measurement with the pillow form’s diameter)
- Sewing machine (with zipper foot)
- Hand-sewing needle
- Thread
- Pins (Heavy-duty)
- Scissors
- Pencil
- Yardstick or ruler
Step By Step Instructions
Do you know how to make an outdoor pillow?
In just six steps, you can make your outdoor pillow. Ensure to execute each part properly to achieve your desired results.
Step #1. Cut the outdoor fabric
Take your outdoor fabric and lay it flat on the working surface.
Use your ruler and pencil to measure and mark it according to your pillow form’s dimensions with an additional seam allowance of 1/2 inches on all sides.
For instance, the fabric should be 17×17 inches if the pillow form measures 16×16 inches.
Make sure to repeat it twice because you’ll need two identical pieces for the pillow’s front and backside.
Get your scissors and begin cutting the fabric and secure both pieces.
Step #2. Make the Piping
Using your scissors, cut the cotton piping to a length that will match your pillow form’s diameter.
With the same 16×16 inch pillow form example, the piping should be 64 inches long.
Take your excess fabric and cut a piece to cover the welt, 2 inches in width by piping’s length.
In case you have several fabric pieces, you can make one continuous piece by sewing the ends of the strips.
In doing this, you have to remember to stitch with the right sides facing each other.
With the right side facing outside, take your fabric and wrap it around the cotton piping.
After this, use your sewing machine’s zipper foot to stitch the piping.
Step #3. Put Together the Pillow Cover
Get your identical square pieces of fabric and lay them on top of one another, with right sides facing together.
Take the piping you just made and align it to the fabric pieces, ensuring that the raw edges are in the same direction.
Secure the three parts together using your sewing pins or clips.
To make the piping look and lay smooth, cut slits around the corners of the fabric.
Ensure to leave an opening at the bottom of the pillow cover so you can turn it inside out and insert the pillow form.
Step #4. Sew the Fabric Pieces
In this step, you will see how the pillow will come to shape.
Using your sewing machine, stitch the areas you’ve previously pinned.
Make sure to remove the pins as you go along the sides of the cover.
Remember the part you left open earlier?
Don’t sew them together.
Step #5. Insert the Pillow Form
Now that you’ve done the sewing part successfully, it’s time to trim excess threads and turn your pillow cover inside out.
Take your pillow form and insert it inside the case through the opening left unsewn earlier.
With gentle hands, pull the form gradually up to the corners of the pillow cover that it can fill all spaces.
Outdoor furniture and accessories have to withstand various weather conditions.
For this reason, a polyfill insert is more suitable for outside spaces as it needs less maintenance and can maintain its shape for a long time.
Moreover, it does not absorb much moisture making it dry faster compared to other pillow inserts.
Step #6. Close the Opening
For this part, you have to use your hand sewing skills to close the gap.
Pinch down the opening of the pillow and secure it with pins to avoid mistakes.
Take your needle and thread and sew it to close.
Cut the excess threads, and voila, your pillow is ready for decoration and use.
You can always choose to explore your creative side in the future and maybe add some zippers, ruffles, etc., to your future pillow projects.
Furthermore, you can also opt to use practical inserts, like shredded plastic, for example.
Final Words
Congratulations on creating a new beautiful addition to your outdoor space!
Through this home accessory, may your outdoor area cohesively come together.
Yes, it may take time and effort to make your outdoor pillow, but a store-bought one can never replace the feeling of satisfaction and a sense of accomplishment.
Now, you can be more confident in sewing any pillow you need for your home.
Enjoy how to make an outdoor pillow.
