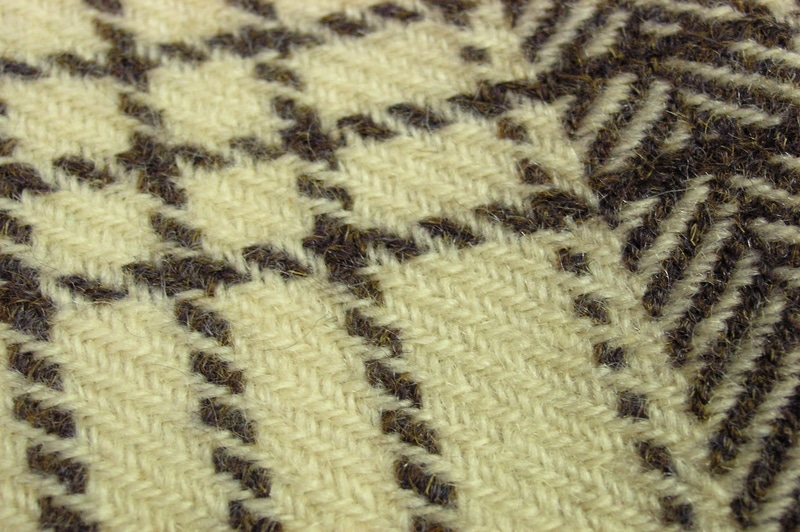
Did you know that learning how to make a wool blanket only takes three steps? Blog posts note that wool has been among the top choices for beginner knitting and crochet materials. So if this is your first time with wool, you’ve already made an outstanding choice!

Their large loops and bulky volume characterize wool blankets. These blankets have constantly been growing their fanbase from aesthetics enthusiasts. After all, not only are they comfy to sleep and hang in, but ultimately pretty and something that can make you proud for making one.
They might look complex at first glance. Those sophisticated loops look discouraging for beginners, but making them is actually quite simple. You will find knitting and crocheting relaxing in the long run, so we’re here to guide you on your journey to your first wool blanket.
Steps On How To Make A Wool Blanket
As soon as you’ve prepared your wool for the knitting, you are set to begin. Lucky you, knitting a wool blanket doesn’t require any other specific tools. Wool yarns are available on online stores that offer deliveries worldwide, and you’ll need approximately 300 yards of yarn for a large blanket.
For now, here are the steps to make a wool blanket by knitting:
Step #1: Prep your wool
Prepping should include washing and drying. You will see the blanket’s actual size if you wash the wool before knitting since wool shrinks after washing.
You can dry your yarns by squeezing them in a towel then hanging them in a rack. Doing this will also help them straighten out. Avoid machine drying your wool and putting them under direct sunlight.
Step #2: Unravel
As the step suggests, unspool the yarn. Ensure that you remove all knots before you start knitting so you won’t have a problem later on.
Step #3: Knit
Start near the end of your yarn but leave at least 1 foot for securing later on. Let’s call the shorter end: the tail and the longer one: the head. Hold the two sides and make a loop by crossing the head over the top of the tail.
Create a slip knot by pushing the extension of the tail inside the loop from the top. Pull the long side while holding the folded part of the shorter side inside the loop. This slip knot will serve as your anchor and lock to keep the entire blanket together.
Now, gently pull the head inside the formed loop from the bottom. Observe the head’s length that you draw, as this will determine how big the hole is afterward. However, keep it large enough to cater to the next layer of the loop connected to it later on. Again, pull the head inside the formed loop from the bottom.
Do this nine consecutive times. Adjust your formed loops by squeezing on them and keep their sizes uniform. Be careful not to pull the head forcefully, as it will unravel all your formed knots.
You create more loops as you want on this first section as it will determine how wide your blanket will turn out. Just take note that more loops mean more yarn. You wouldn’t want to run out before you finish your project.
Count two loops starting from your ninth (last loop of the first section) loop, then insert the head from the bottom of the third loop. If the first section is in the horizontal plane, check that this new loop looks vertical. If so, continue making the second section by inserting the head into the next corresponding loop at the first section, from the bottom.
Adjust each loophole’s size in your second section to match the holes you made in the first section. Slightly pull on your first section’s last loop from time to time so that your blanket doesn’t fall apart.
Once you’ve reached the slip knot, it means you finished your second section. Next, you need to insert the head from the bottom of the second section’s last loop. Keep going until you reach the first loop of your second section.
Now, you’ve completed the third section. Start with the fourth one by inserting the head from the bottom of the second loop of the third section. Make sure you skip the first loop. Keep creating these loops until the second of the third section.
Create more sections by following this pattern. Start a row by skipping the previous section’s last loop and end it with the previous section’s first loop. Keep in mind that section looks like a winding snake where the next section starts from the end of the other.
The direction of the wind should go alternate from clockwise then counterclockwise. Create as many sections corresponding to how long you desire the blanket to be.
To finish, pull the head through the bottom of the two last loops of the previous section. Enter in the second-to-the-last and exit on the last loop, creating a new coil.
Hold this loop beside the third-to-the-last, then pull the head through the bottom of these loops, creating a new coil. Again, hold this new loop beside the fourth-to-the-last, then pull the head through them.
Repeat this until you reach the first loop of the last section. Tie the head to the last loop you created, and you’re done!
Adjust the form of your blanket so that all loops are of the same size. You can slowly tug on yarns with larger holes to accommodate smaller ones. Just don’t pull too much that you destroy your creation!
Conclusion
Studying how to make a wool blanket is like learning how to knit. If you have experience, you will find making your wool blanket easy, and you can mix in different styles. Besides knitting, you can also try crochet and weaving blankets, clothes, and other home decors.
