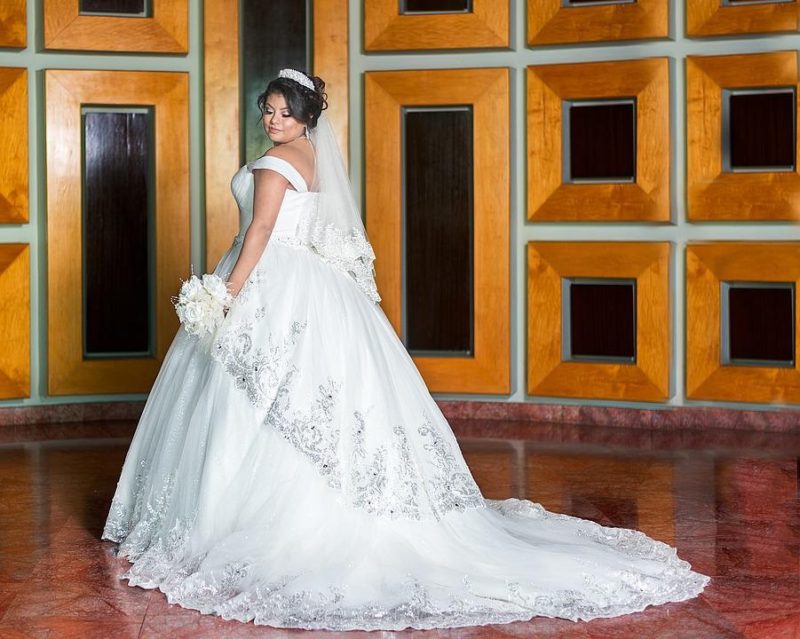
Those who want to learn how to make a wedding crown can do so at home in four easy steps. For this wedding crown tutorial, you’ll need steel wire, crystals, silver solder, and flux paste.
You can make this bridal crown even if you’re not crafty, but it’s better if someone familiar with soldering can assist you. And speaking of wedding crowns, do you know what is a wedding trousseau?

It might include the wedding crown and other wedding items, so please dedicate time to reading about it.
How To Make A Wedding Crown At Home
Step 1. Prepare and make the wire for the wedding crown
- Create the crown from zinc-coated wire by straightening it first with a vice and a drill
- Cut different pieces for the parts of the bridal crown on the straightened wire
- How to make a simple wedding crown? You’ll need a 12-inch piece for the headband, two 6-inch pieces for the upper arc and lobe, four 3-inch pieces for the end pieces and lower arcs, and another 9-inch piece for the lower arc
- You will get the 6-inch pieces and mark its center with a pen
- You will also mark the middle of the 9-inch wire
Step 2. Reshape the wedding crown wire
- Creating a wedding crown from the wire is easy if you have made a craft before where you bend or give another shape to the wire
- Form curves on the marked 9-inch section and 6-inch pieces by placing a spray can in the marks and bending both ends of the wires
- Prepare a tube with a notch on edge and use this with pliers on the ends of the curved wires to form French curves
- Take the other 6-inch piece and bend it to 45 degrees to form the bridal crown’s center lobe; then, create the lower portion by reshaping it with pliers and a socket
- Use the notched tube earlier to reshape the other wire pieces for the wedding crown; be careful in using the pliers or have someone assist you because they will also crimp the hooks for the crystals later to mimic traditional wedding crowns
Step 3. Create more curves on the wedding crown and solder
- Use a polished hammer for flaring the wire or hammering on the side of the curve; then, re-crimp the ends if needed
- After you have made the crown, you can clean the wedding crown parts with rubbing alcohol, then brush where you’ll put the solder
- Solder on the edge of the aluminum, and once it melts, bond the top part of the wedding tiara
- Solder from the bottom to create a stronger joint since it flows towards heat; repeat on all the joints
- If you’re not experienced with soldering, please have someone do it for you
Step 4. Polish and finish the wedding crown
- To create a more professional look on the crown to suit all types of weddings, give it a final reshaping
- Since it’s flat, you will use a large spray bottle to bend the tiara into a half-circle shape for wearing; you may need to reset each joint with a torch and soldering paste if some parts deconstruct
- File the excess solder on joints for a cleaner look and polish with sandpaper and buffing compound
- Prepare the crystals for decorating the bridal crown; use those with a heat-activated glue for convenience
- Clean up the dark spots on the front with steel wool, then loop the headband’s ends and file with solder
- Finally, wash the polishing compound residues with soap, water, and a toothbrush to have a professionally made-looking wedding crown.
How Do You Make A Crown For A Wedding Veil?
Besides a bridal tiara, you might also be interested in learning how to make a crown used to secure the wedding veil.
- Find a tiara that is the right size for your bridal hairstyle
- Apply hot glue on the two inside corners of the crown and attach the hemmed tulle veil to them
- The middle of the tulle should also be glued to the center of the crown’s inner curve
- Add more glue to secure the tulle to the crown entirely and also create folds for the veil’s style
- Trim the veil to the length you want and sew embellishments throughout the fabric
And for those interested in creating a floral crown for the wedding, here’s an easy guide on making a wedding flower crown.
How Do You Make A Bridal Hair Band?
Here’s an easy tutorial for a bridal hair band if you prefer it to a crown:
- Prepare decors for the bridal hair band, such as jewelry pieces, brooches, or even cutouts from fabrics like tulle; make sure they are light enough for the fabric hair band
- Glue the tulle pieces onto the back of the embellishments
- Prepare the headband using a piece of fabric according to the size you want for your headpiece
- Measure it around your head and tie the two ends to secure
- Take off the fabric band and glue the decors to finish
Conclusion
And that’s it! You just learned how to make a wedding crown in four steps.
You will start with reshaping the different wire pieces and then solder them together. Alternatively, you can decorate a headband or attach a veil to a comb for your bridal headpiece.
